
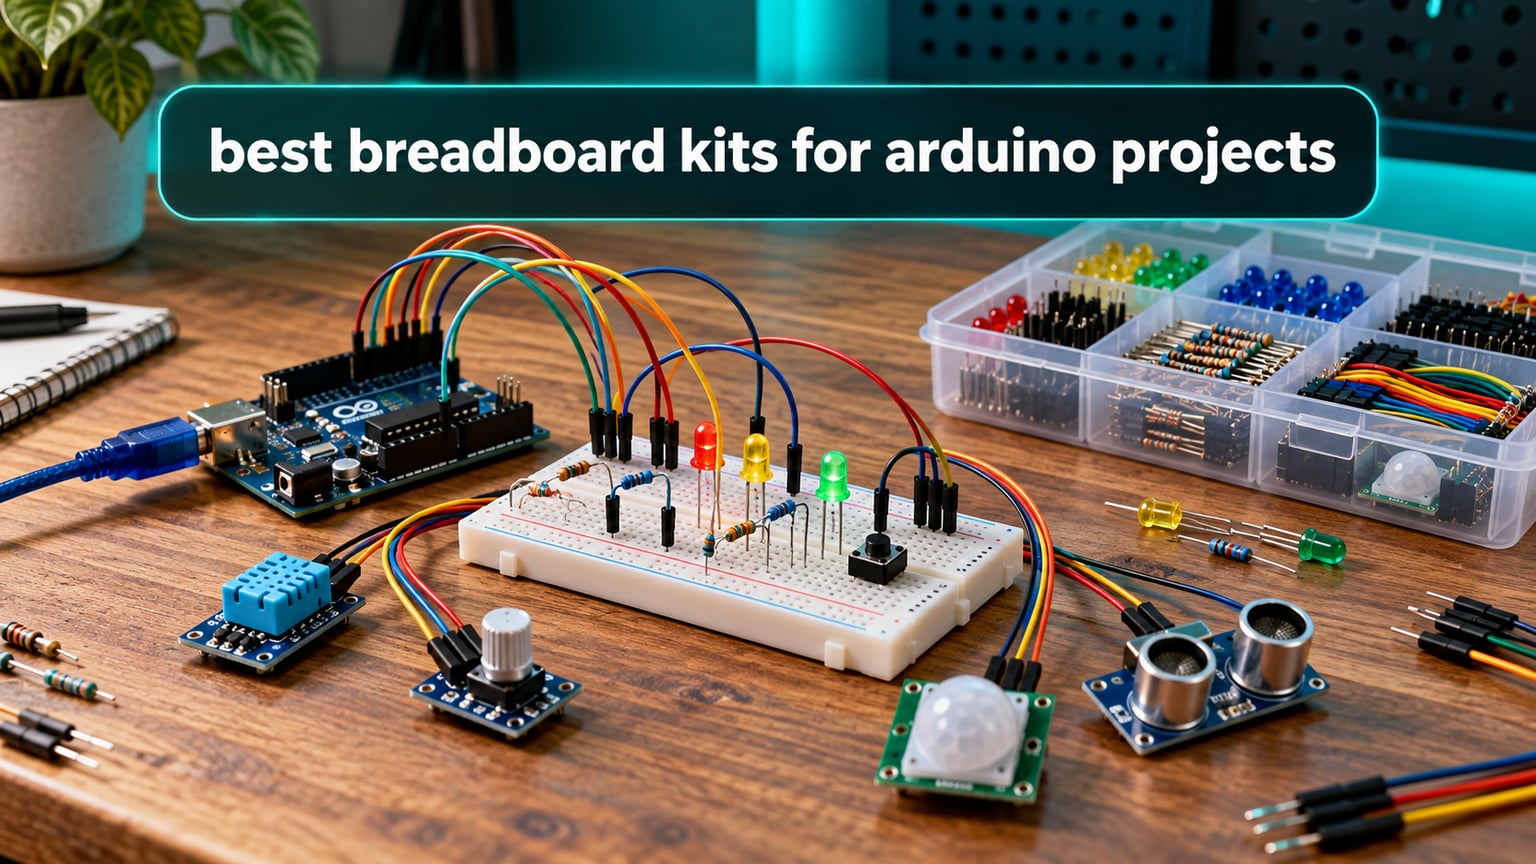
If you have ever wired a resistor directly into an Arduino board and then had to undo it three times to change a value, you already know why the breadboard exists. A solderless breadboard is a prototyping board with a grid of interconnected tie-point holes and split power rails, so you can push in components and jumper wires, test the circuit, and pull it all apart again without touching a soldering iron. It is the single most-used tool in an Arduino kit, and the board you choose decides how fast you can iterate once the code is written.
We put together this list of the best breadboard kits for Arduino projects after working through tie-point counts, contact quality, included wiring and what is genuinely missing from the box. Twelve kits are covered, from bare board packs to component bundles with a breadboard power module. Our short version: if you want one kit to cover almost everything a beginner does, the REXQualis Four-Pack Breadboard Set is the pick, and the ELEGOO Three-Pack of 830-Point Boards is the budget route into the same territory.
Every Arduino, ESP32, ESP8266 and Raspberry Pi Pico build we have run in the last few months started on a board like these. The differences that actually matter in daily use are the number of tie points, how tightly the spring clips grip, whether the printed legends line up with the holes, and whether a power module is in the box so the breadboard can run without your Arduino board attached.
Before the full list, one more definition. People ask what a solderless breadboard is called, and the answer is simply a solderless breadboard, also sold as a prototyping board or tie-point board. Metal spring clips under each hole join five holes in a horizontal row into one electrical node, the center channel splits the board into two independent halves, and the outer rails run power and ground separately so you can split either rail in the middle for a second voltage.
Related reading if you are building out a bench: our educational electronics kits ranking covers the wider parts side of this, and science lab kits for homeschool is useful if the breadboard is part of a supervised learning setup rather than a hobby bench.
Table of Contents
Top 3 Best Breadboard Kits for Arduino Projects (October 2026)
Three kits stand out once you weigh contact quality against how much wire and board area you get for the money. These are the ones we keep reaching for on the bench.

REXQualis Four-Pack Breadboards
- Two 830-point and two 400-point boards
- 20-29 AWG compatible
- Interlocking side grooves

REXQualis Component Fun Kit
- More than 400 labeled components
- 830 tie-point board
- USB breadboard power supply

ELEGOO 3-Pack 830-Point
- Three full-size 830-point boards
- Four power rails each
- Self-adhesive backs and side clips
All 12 Breadboard Kits at a Glance
Everything in this roundup, with the board sizes, wiring and extras that separate them. Bars and boards are what make one kit fit a classroom and another fit a single first circuit.
| Product | Specifications | Action |
|---|---|---|
| REXQualis Four-Pack Breadboards |
|
Check Latest Price |
| REXQualis Component Fun Kit |
|
Check Latest Price |
| ELEGOO 3-Pack 830-Point Breadboards |
|
Check Latest Price |
 ELEGOO 235-Part Fun Kit ELEGOO 235-Part Fun Kit |
|
Check Latest Price |
 Smraza 298-Piece Starter Kit Smraza 298-Piece Starter Kit |
|
Check Latest Price |
 REXQualis Basic Kit with Power Supply REXQualis Basic Kit with Power Supply |
|
Check Latest Price |
 BOJACK 480-Piece Fun Kit BOJACK 480-Piece Fun Kit |
|
Check Latest Price |
 BOJACK Four Boards with 126 Jumper Wires BOJACK Four Boards with 126 Jumper Wires |
|
Check Latest Price |
 ELEGOO 6-Pack 400-Point Boards ELEGOO 6-Pack 400-Point Boards |
|
Check Latest Price |
 Aypzuke Breadboard and Jumper Kit Aypzuke Breadboard and Jumper Kit |
|
Check Latest Price |
 WayinTop Electronics Starter Kit WayinTop Electronics Starter Kit |
|
Check Latest Price |
 HUAREW Four Boards with 120 Jumpers HUAREW Four Boards with 120 Jumpers |
|
Check Latest Price |
1. REXQualis Four-Pack Breadboards for Keeping Several Circuits Alive
4PCS Breadboards Kit Include 2PCS 830 Point 2PCS 400 Point Solderless Breadboards for Proto Shield Distribution Connecting Blocks
Two 830-point and two 400-point boards
White ABS body with printed legend
Self-adhesive backing
20-29 AWG wire
7.4 oz, 6.6 x 6.6 x 0.5 in
Pros
- Four boards let you keep separate projects powered at once
- Tight forgiving contacts hold DIP ICs resistors capacitors and JST-XH connectors
- Detachable power rails add flexibility
- Adhesive backing mounts cleanly on a prototype shield
Cons
- Contact resistance is not perfectly uniform for sensitive analog work
- Boards are slightly smaller than some competitors so rails do not always align when joined
- Adhesive pads can let go in humid conditions
This is the pack we keep on the bench, and it is the one we hand to people building their first Arduino projects. Two 830-point boards and two 400-point boards come in the same pack, which is the most useful combination we have found: the full-size boards take an Uno with a shield, a servo and a sensor module, while the half-size boards handle a status LED row or a small logic test.
The contacts on these are the part that keeps working. In our builds they held 0.25 inch pitch headers, resistors on their leads, transistors and a 14-pin DIP IC without anything springing back out, which is exactly the failure mode forum readers complain about with cheaper boards. The boards accept 20-29 AWG wire, so both the thin leads that come with Arduino and standard Dupont leads fit without being forced.
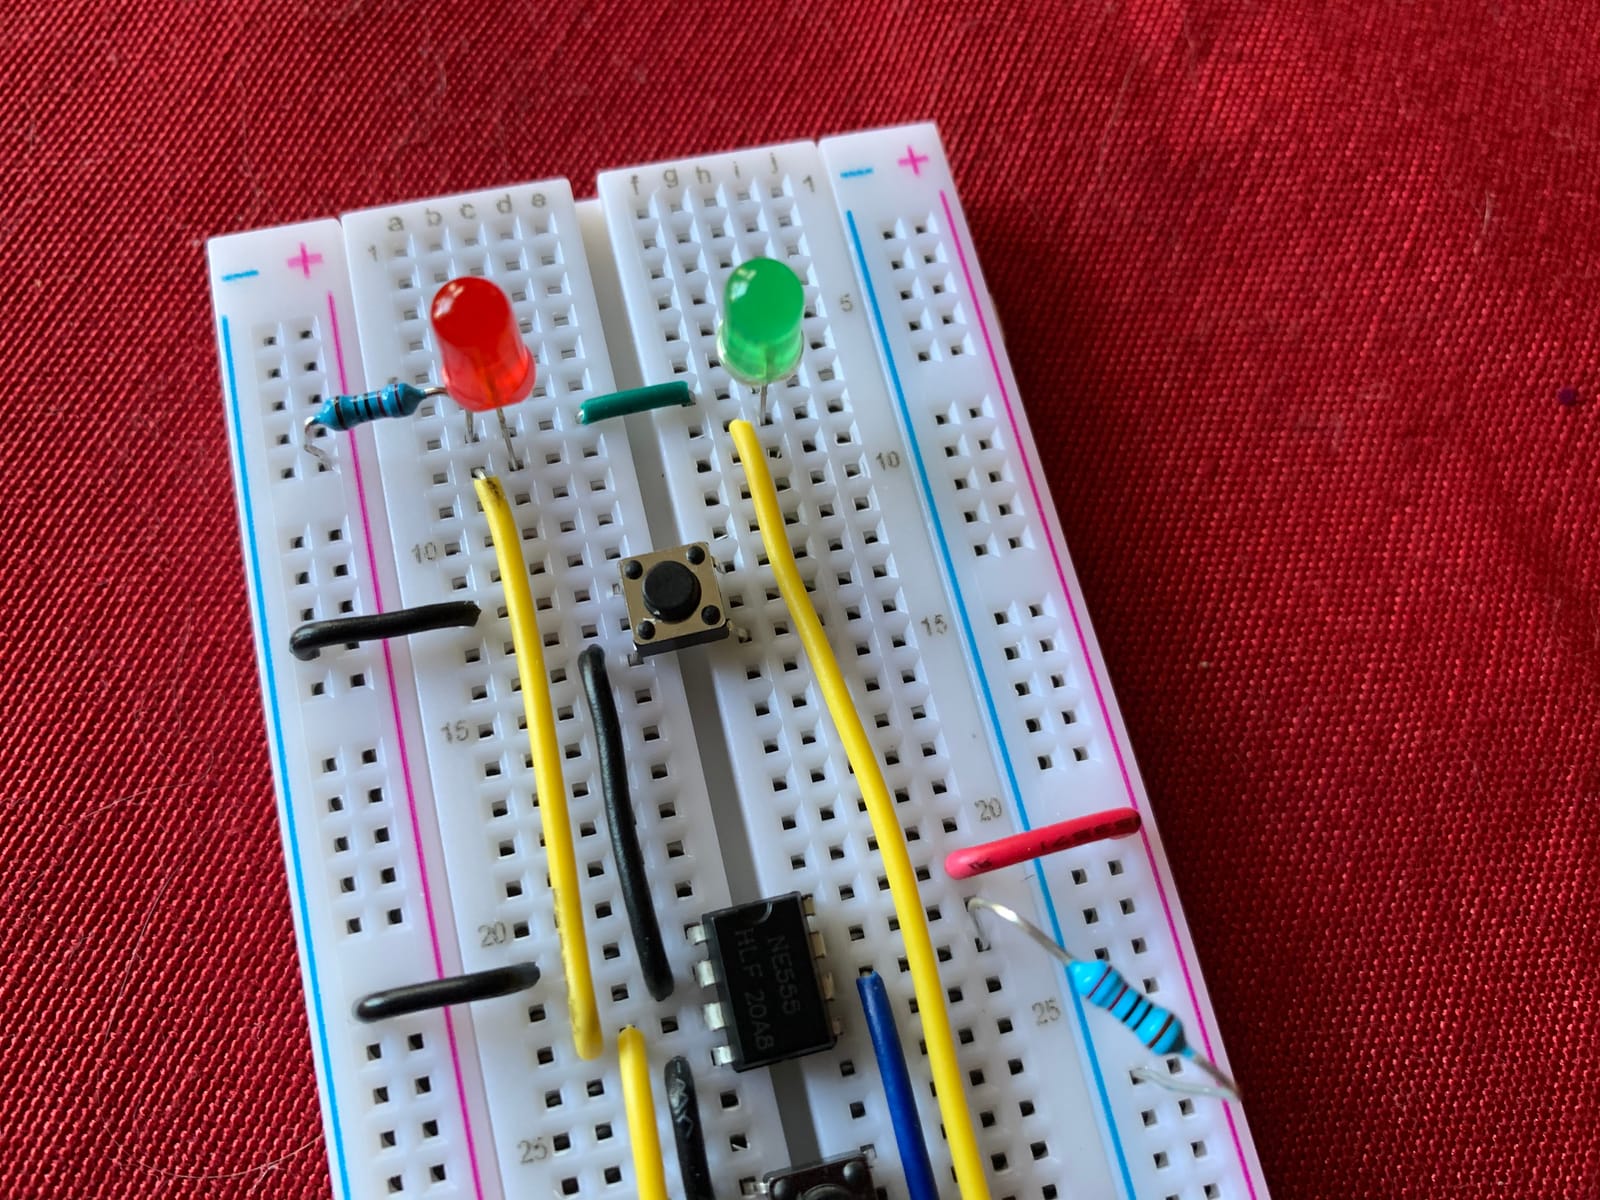
The self-adhesive backing on the underside is a small thing that matters more than the spec sheet suggests. Once a prototype is proven, you can peel the backing and stick the board to a prototype shield or inside an enclosure instead of pulling it apart, and the interlocking side grooves let you extend a build sideways when a single board is not enough.
Reviewers are consistent about the two caveats. Contact resistance is not perfectly uniform across the board, so we would not choose this set for a noise-sensitive analog front end where every millivolt counts, and the boards are a fraction smaller than some competitors, so the power rails do not line up perfectly when you splice two together. Arduino Forum regulars who weigh boards by clip strength still point to this style of board as the reliability benchmark, and buying four or five separate boards so each project keeps its own wiring is common advice there.
What fits on this board
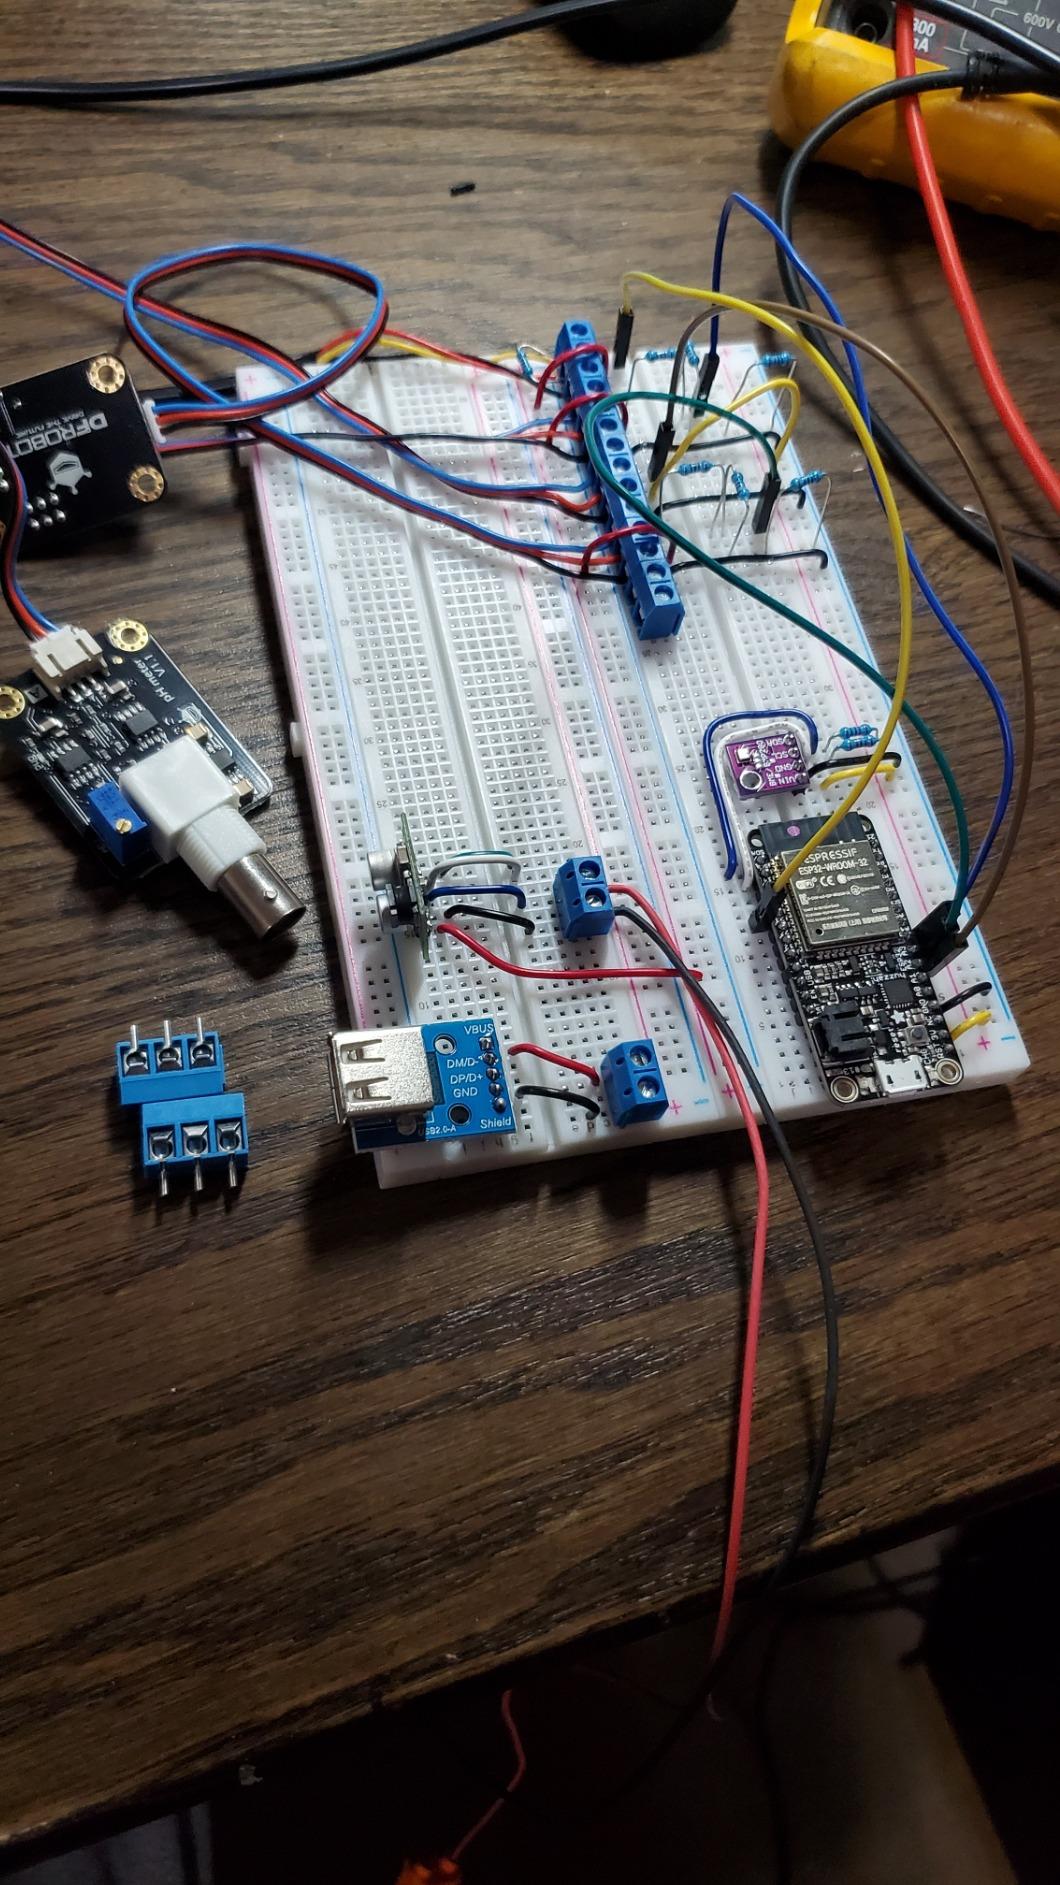
A full Uno or Nano circuit with a shield on top, plus a servo or relay module and a sensor, fits comfortably on one 830-point board. The second board is where a Wi-Fi module or a display goes, which is the single biggest reason people move up from one board to several.
Because each board has its own detachable rails, you can run one project at 5V and another at 3.3V without any cross-connection. That is what makes this a good fit for ESP32 and ESP8266 work alongside a 5V Arduino.
What to check when it arrives
Push a jumper into about ten holes in a few different rows and make sure each one grips without a push tool. Contacts that feel loose or that need real force both point to a bad spring, and the fix is to exchange the board before you build anything on it.
Also confirm the printed row numbers and rail markings match the holes. A misaligned legend slows every later debugging session, and this pack gets the printing right.
2. REXQualis Component Fun Kit With Breadboard Power Supply
REXQualis Electronics Component Fun Kit w/Power Supply Module, Jumper Wire, 830 tie-Points Breadboard, Precision Potentiometer,Resistor Compatible with Arduino, Raspberry Pi, STM32
More than 400 components included
830 tie-point solderless breadboard
Breadboard power supply with USB cable
Labels and datasheets online
7.4 oz, 7.87 x 5.11 x 1.81 in
Pros
- Very large component count for a bundle at this level
- Every part bagged and labeled so nothing gets mixed up
- 830 tie-point board plus power module covers most beginner circuits
- USB cable for the breadboard supply is a genuinely useful inclusion
Cons
- Documentation lives on the manufacturer website rather than in the box
- Controller board must be purchased separately
This is the kit we recommend when someone asks whether they should buy a breadboard kit or a full Arduino starter kit. It does not include a microcontroller, so it is a breadboard kit by definition, but with more than 400 components the component side is close to a starter kit.
The breadboard power supply module with a USB power cable is the detail that changes the experience. Most bundles advertise a power module and give you a barrel jack that needs a wall adapter, but this one runs off USB, so the board is testable before you have written a line of code. The 830 tie-point board gives you a 630-point terminal area plus distribution strips, which is room for an LED circuit, a potentiometer input and a shift register at the same time.
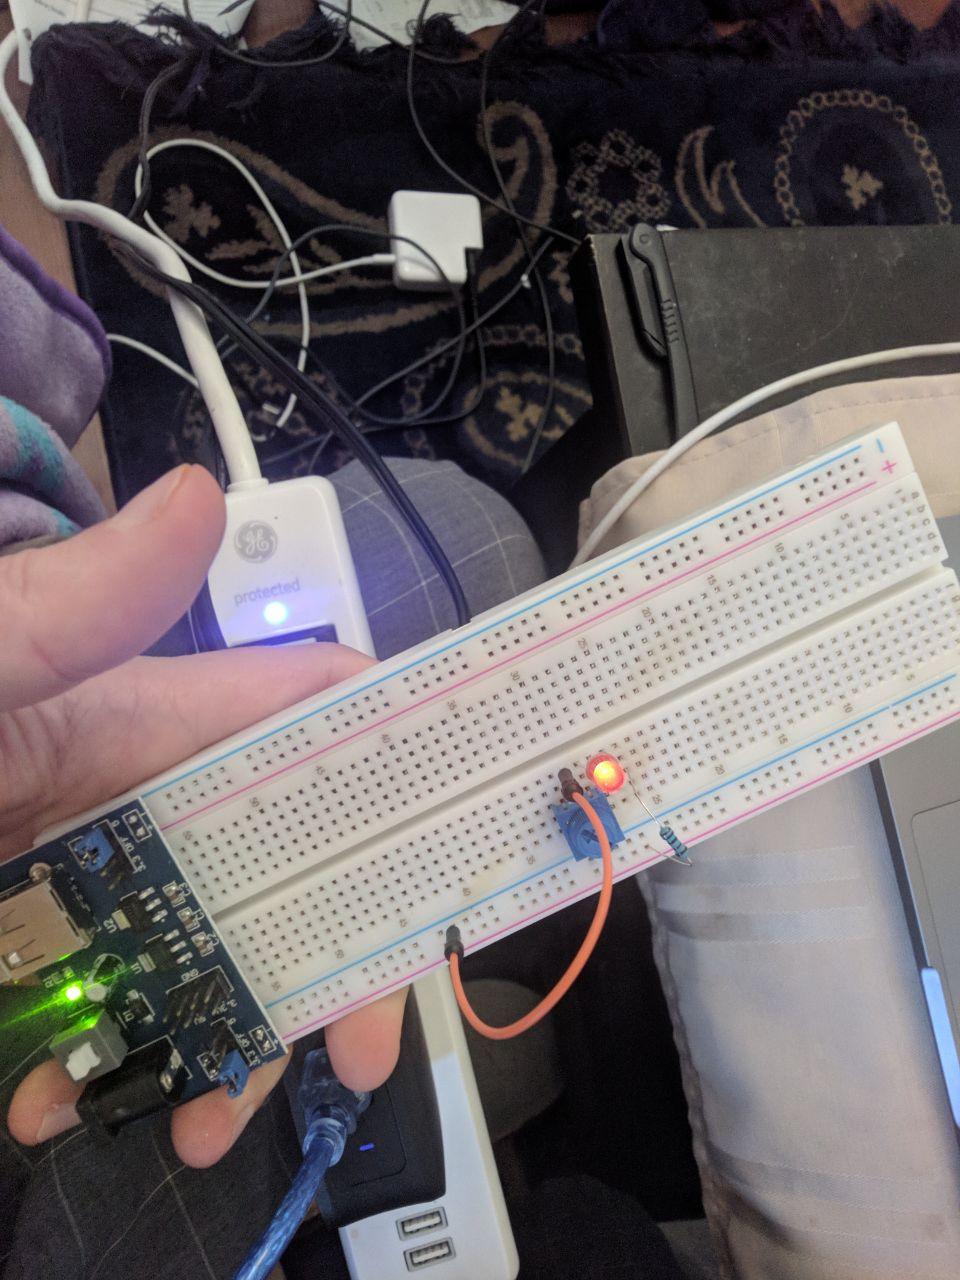
Every resistor, LED, transistor and integrated circuit is bagged and labeled separately and stored in a sturdy box. On a bench that looks like small housekeeping, but loose parts rolling across the table is the first thing beginners report losing, and labeled bags are the difference between a five-minute setup and a twenty-minute search.
Two things are not in the box and you should plan around them. There is no controller board, which is fine if you already have an Arduino, and there is no printed manual, because the datasheet and tutorial live on the manufacturer website. If you like having instructions in your hand from the first minute, weigh that against the element count before you commit.
What fits on this board
The 830-point board handles a traffic-light LED sequence with current-limiting resistors, a pushbutton input, and a 74HC595 driving more outputs than the board has pins. Add a light-dependent component and you have the classic light-activated alarm from the tutorial material.
Because the power module runs from USB, this is also the better kit for a classroom where a dozen boards need to come up at once without a drawer full of adapters.
What to check when it arrives
Count the bag labels against the parts list before you start, and photograph any damaged leads. Very small parts like transistors and diodes are easy to bend in transit, and finding a broken one mid-project costs more time than five minutes of unpacking.
Test the power module on a bench multimeter before connecting anything else, and confirm which rail is selected. Mixing a 3.3V part into a 5V circuit is the classic way to waste an afternoon.
3. ELEGOO Three-Pack of 830-Point Breadboards for Modular Builds
ELEGOO 3pcs Breadboard 830-Point Solderless Prototype PCB Board Kit
Three 830-point breadboards
630-point terminal area plus two 100-point rails
Four power rails per board
21-26 AWG lead design
3.04 oz, 6.5 x 2.16 x 0.39 in
Pros
- Three full-size boards let several circuits stay assembled at once
- Printing is clearly legible and rails are easy to trace
- Side clips expand a prototype into a wider area
- Brand customer support has replaced sets with bad traces
Cons
- Contact tension varies between boards with some too tight and some too loose
- Power bus strips have been reported not gripping reliably on some boards
- Side clips do not fit smaller 400-point boards
- Jumper wires and components are sold separately
This is the cheapest route to a full-size prototyping area, and three boards is the number that makes it interesting. Most people buy a single 830-point board, get to the point where they need a second circuit running, and end up ordering more. This pack solves that on the first purchase.
Each board carries a 630-point terminal area plus two 100-point power distribution strips for 830 tie points in total, with printed letters, numbers and colored rail guides. Traceability is what you notice first: when a circuit misbehaves, being able to follow a rail line across the board rather than guessing saves a lot of time.
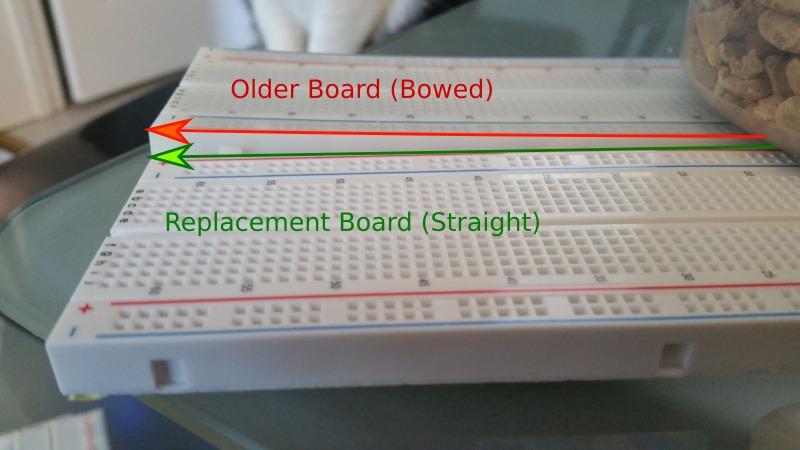
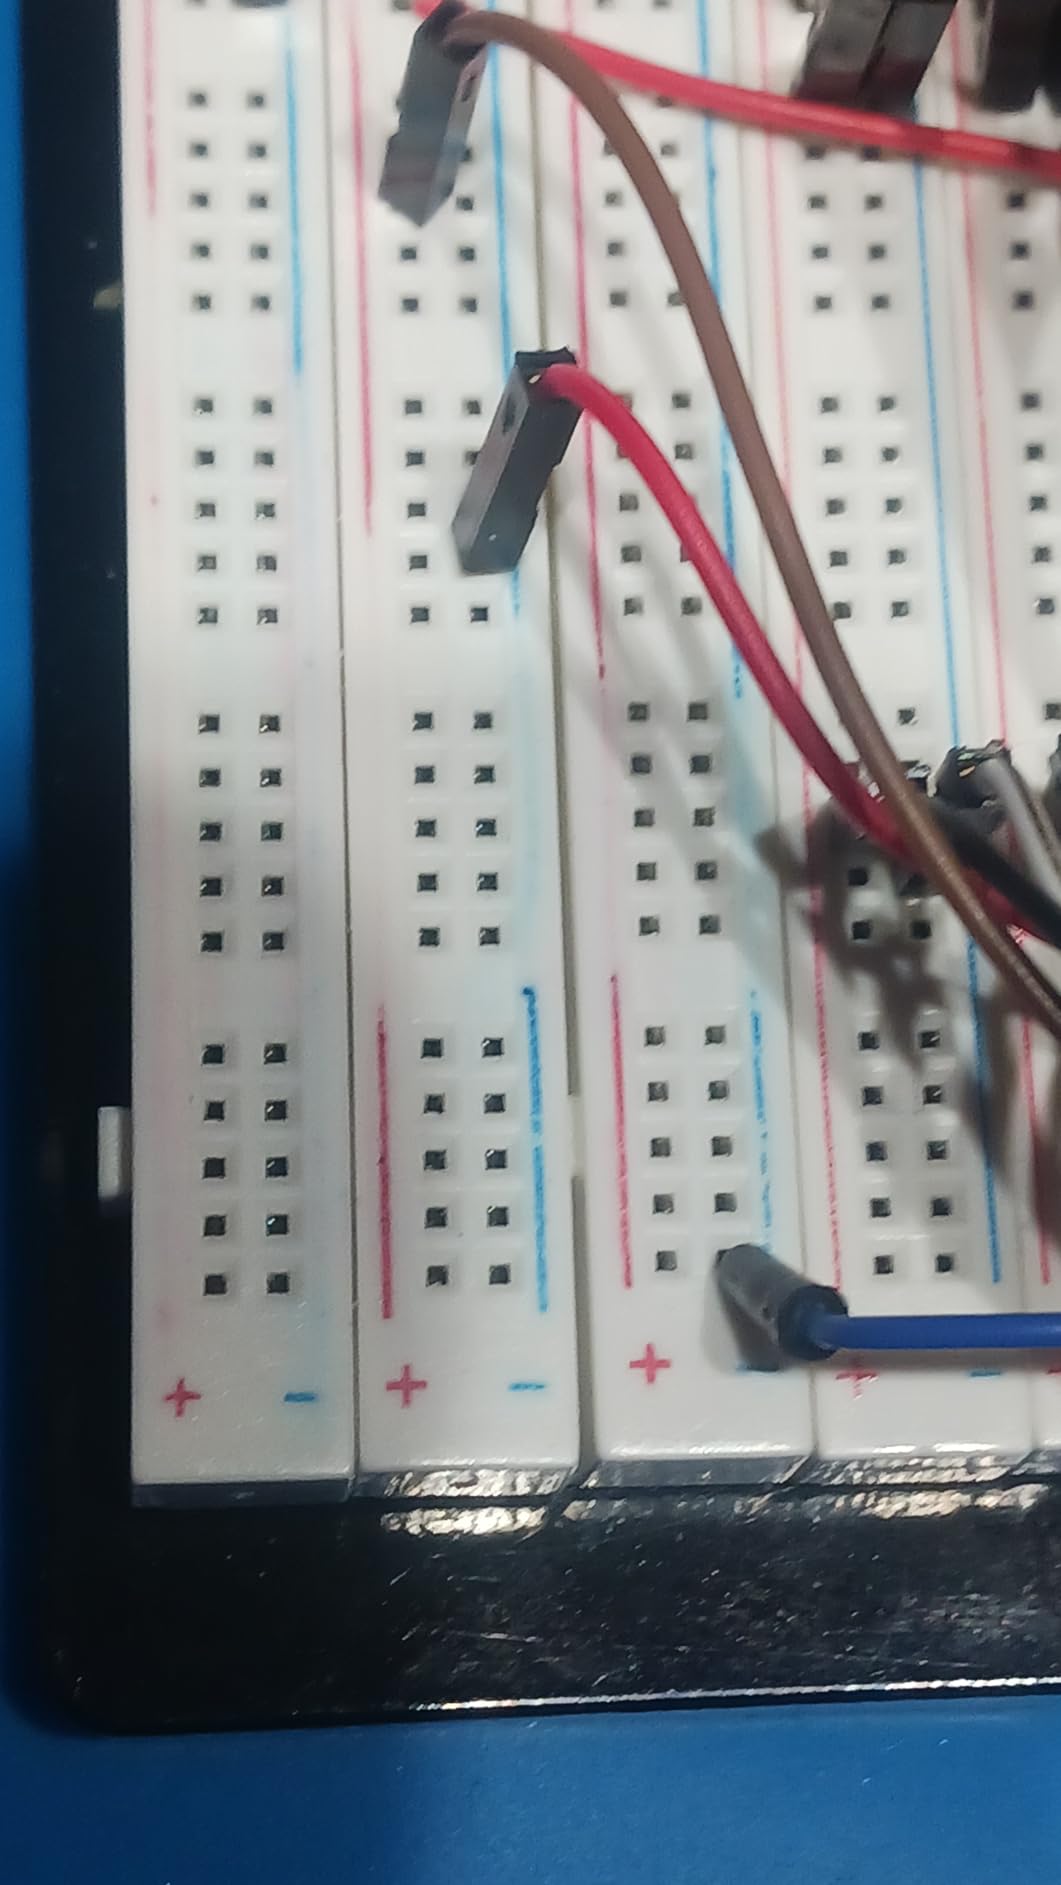
The side clips matter more than the photos suggest. They let you align two or three boards edge to edge and build a prototype wider than any single board allows, which is how you fit an ESP32 development board with a display and a sensor array on one bench surface. Self-adhesive backs on the underside handle the other half of the problem, mounting a finished prototype to a clean flat surface.
Where this pack needs care is contact tension. Reviewers report that tension varies from board to board, with some too tight and some too loose, and that the power bus strips on a minority of boards do not grip reliably. Bad traces do turn up, and the manufacturer has generally replaced affected sets on request, which is a real advantage when you are three boards deep in a build.
What fits on this board
An 830-point board is the practical size for an Uno R3 with a shield, a relay plus a transistor driver, and a sensor on the same surface. Three of them means three independent experiments running without being torn down.
The 21-26 AWG design is worth noting. Straight Dupont leads and component leads fit comfortably, so if your wiring habit leans on thick hook-up wire you will feel the difference on the entry.
What to check when it arrives
Test each board separately and set any that feel wrong aside. Clip a jumper into the power bus strips on all three and confirm the metal strip holds, since a loose rail is a debugging session you do not want to have.
Note that the side clips only interlock with boards of the same size, so a 400-point board will not join to this pack. Plan on buying small boards separately if you want mixed sizes.
4. ELEGOO 235-Part Fun Kit With a 400-Point Breadboard
ELEGOO Electronic Fun Kit Bundle with Breadboard, 235 Items for Arduino
235 parts including a 400 tie-point breadboard
Power module with 3.3V and 5V rails
74HC595 and 4N35 optocoupler included
6.5-9V DC input, 9V maximum
Pros
- 235 labeled parts support repeated experiments
- Breadboard tie points grip component leads firmly
- 400-point board is a practical fit for many circuits
- Includes useful ICs such as the 74HC595 shift register and 4N35 optocoupler
Cons
- Printed documentation is minimal and the referenced online manual can be missing
- Breadboard is small at roughly 2.125 x 3.25 inches for complex builds
- Self-adhesive pad on the breadboard limits expansion
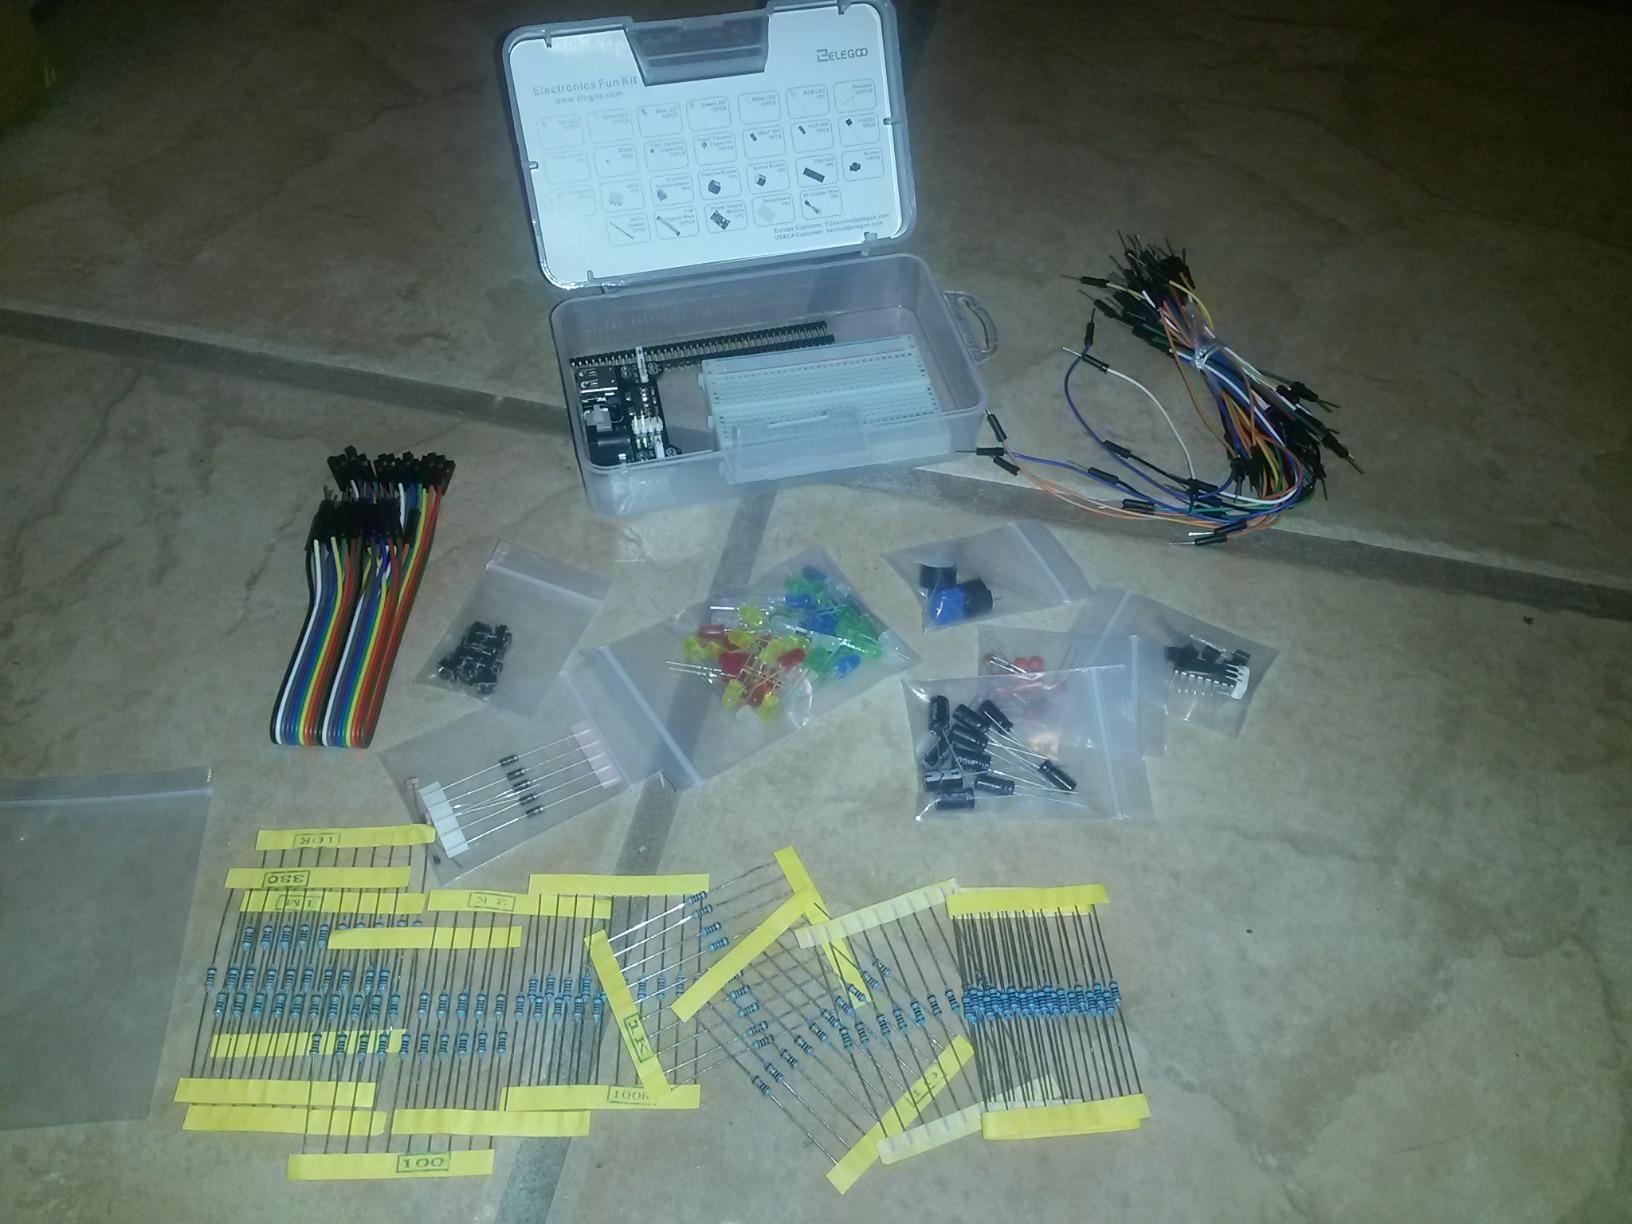
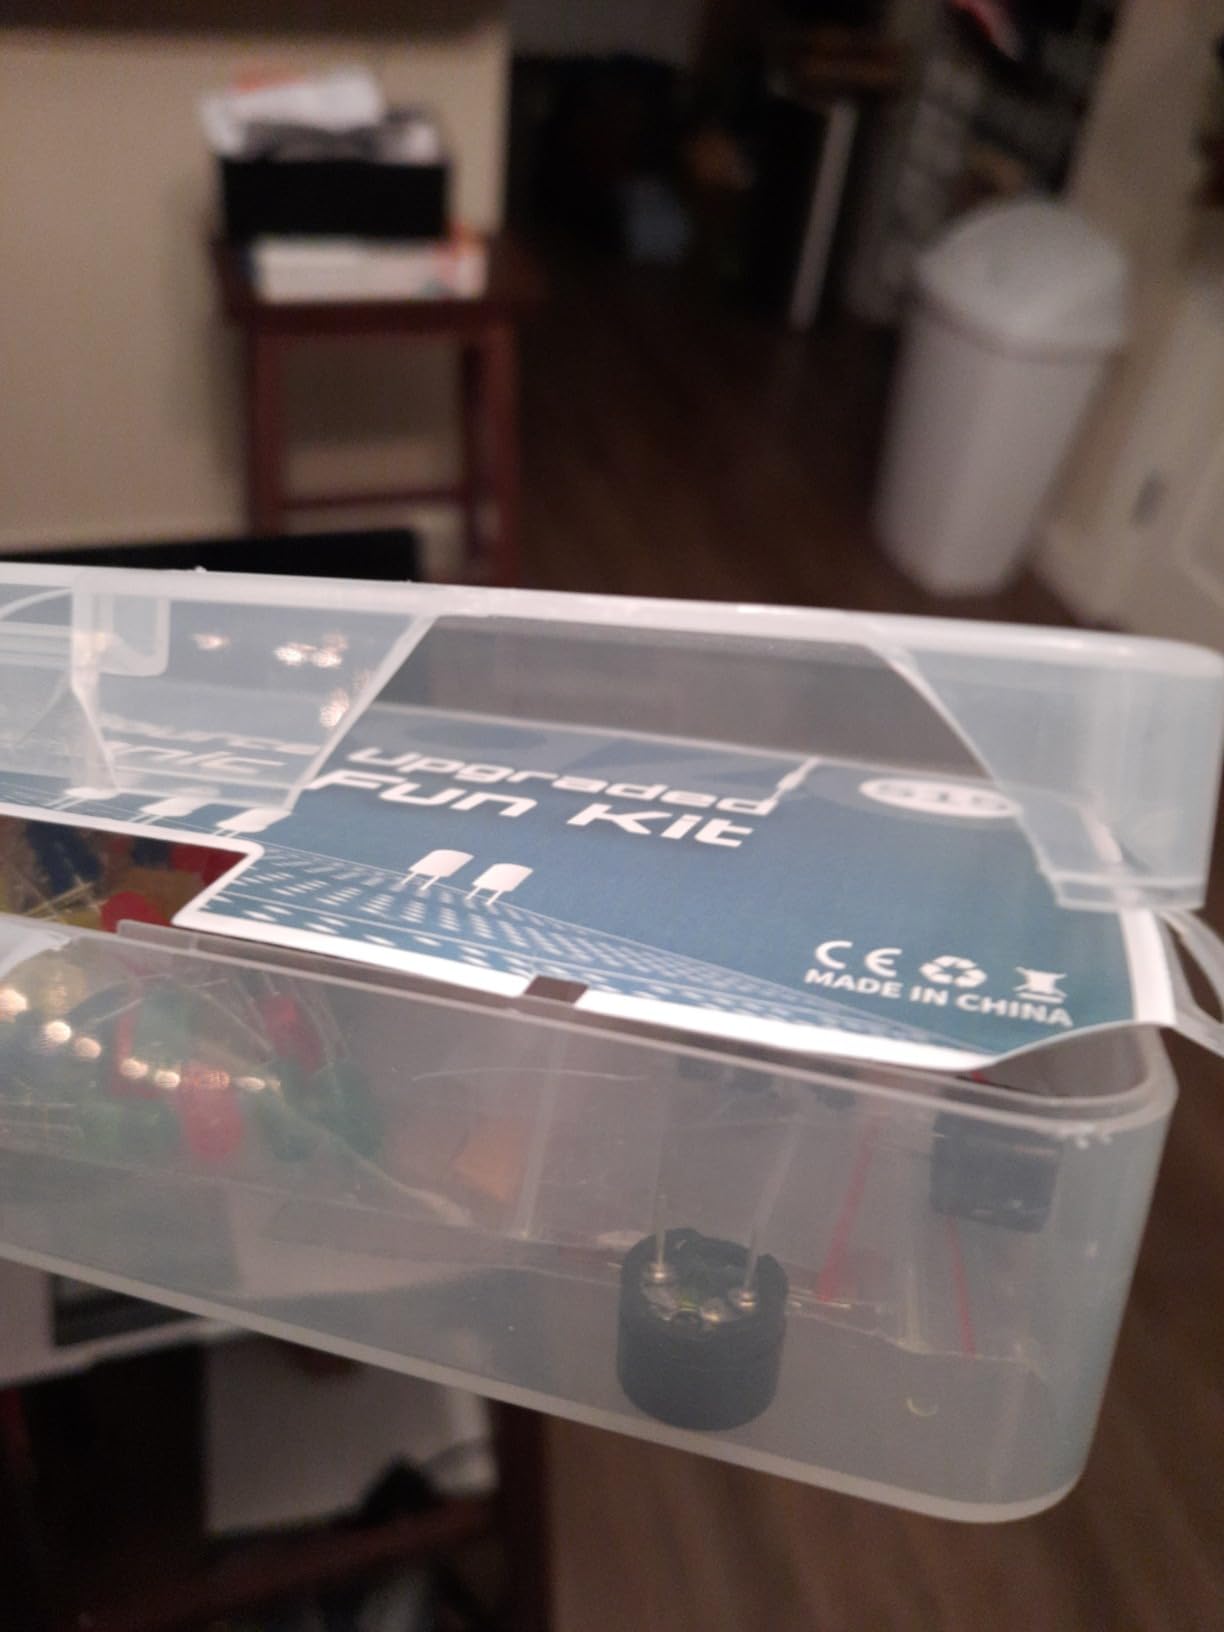
This is the bundle we hand to a classroom, because the part count is matched to a term of exercises rather than to a single afternoon. The 235 parts cover LEDs, buttons, a potentiometer, capacitors, diodes, transistors, buzzers and light-sensitive components, which is enough to work through traffic-light sequences, RGB effects and buzzer alarms without buying parts twice.
The 400 tie-point breadboard grips leads firmly, and a middle-sized board is an honest fit for most beginner circuits. The power module offers selectable 3.3V or 5V rails, and the input should be 6.5-9V DC, so do not push past 9V. That flexibility is what lets the same kit serve an ESP32 project and a 5V Arduino project.
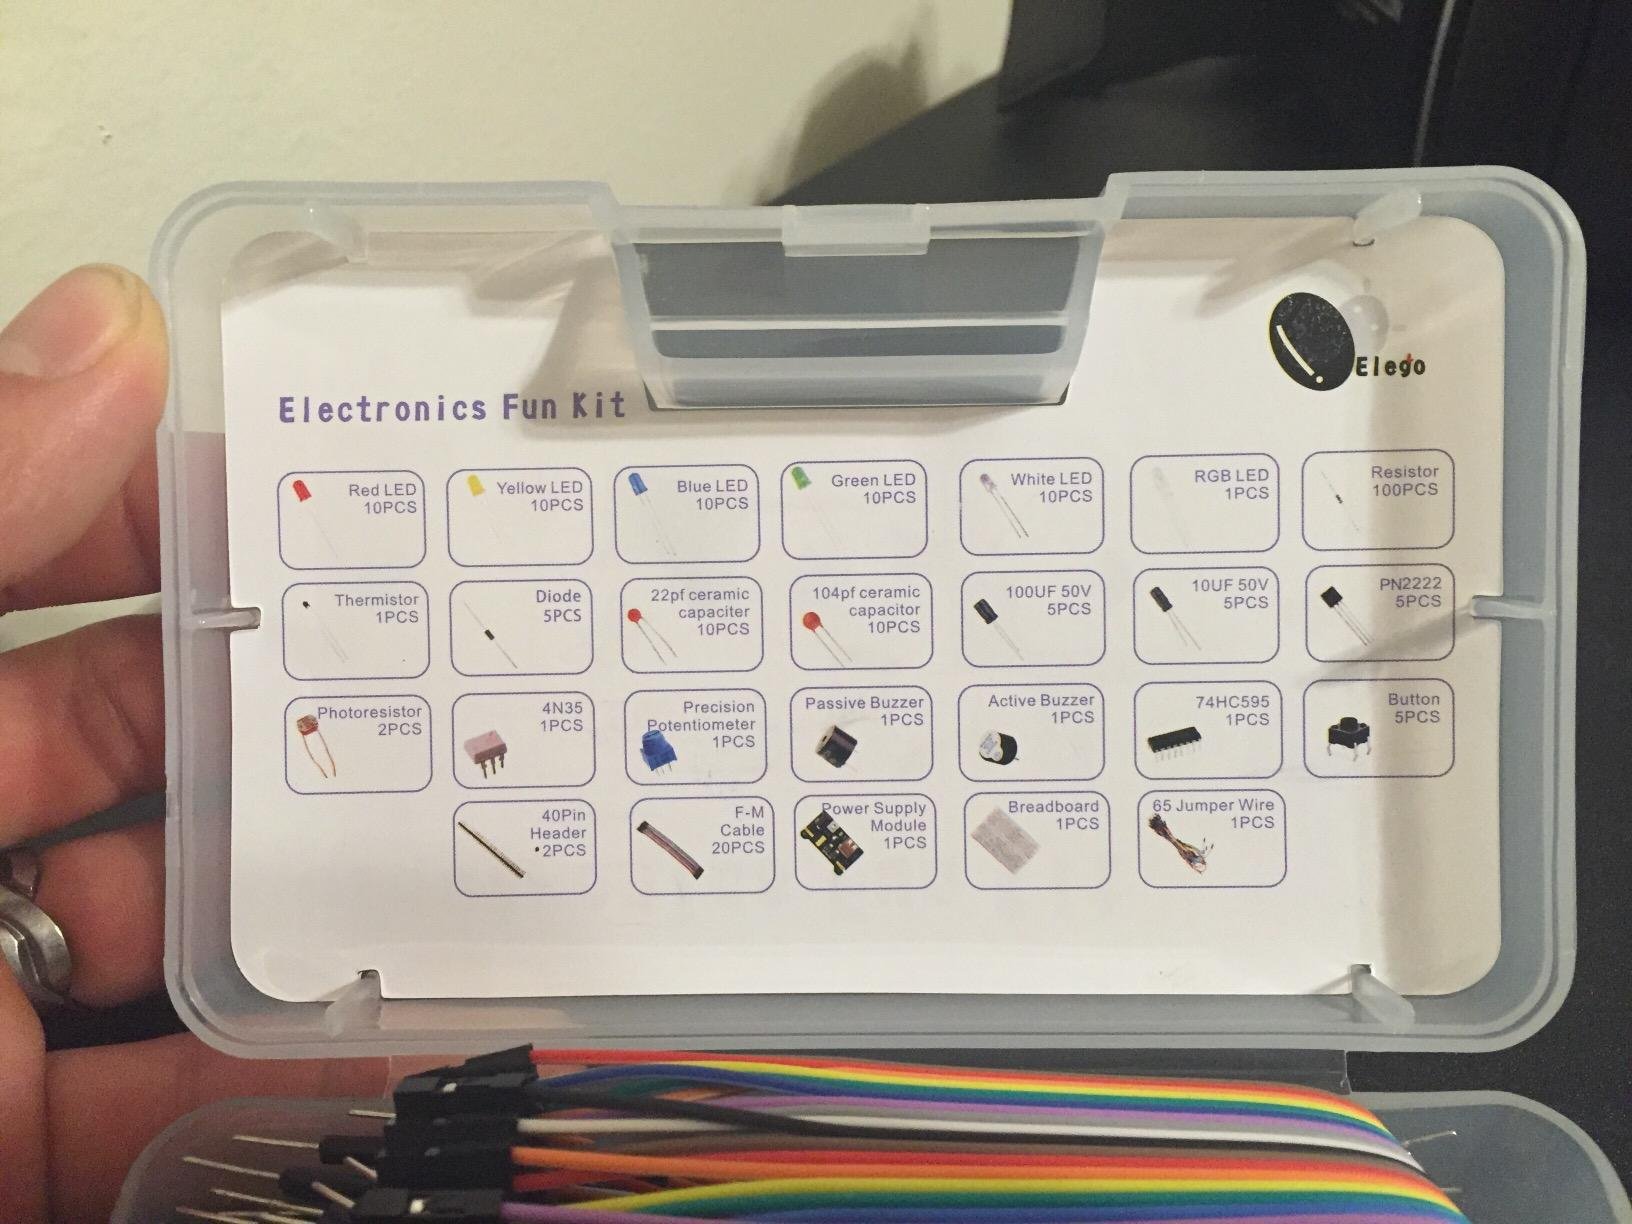
Two components stand out from a generic parts list. The 74HC595 shift register lets you drive more outputs than the board has pins, and the 4N35 optocoupler shows signal isolation in a way that is hard to fake with a wire. Add PN2222 transistors for switching loads and 1N4007 diodes for polarity protection, and the kit supports the kind of experiments that teach why a component exists.
Be realistic about two limitations. The printed documentation is minimal, and the online manual referenced for this specific kit is not always available, so plan to follow the current tutorial and datasheet guidance rather than expecting a book in the box. And the breadboard itself is small, so anything with several modules on it will outgrow it quickly.
What fits on this board
A 400-point board handles an LED plus resistor, a pushbutton, and a potentiometer comfortably, plus a shift register if you are driving several outputs. Once a second sensor joins in, you will want a larger board.
Because the parts are labeled and stored in a box, this also works well as a take-home kit where students build the same circuit on their own bench.
What to check when it arrives
Verify the resistor values against the label list before class, because mislabeled parts are the most common source of confusion in a group build. Push-fit legs on the pushbuttons are worth straightening before insertion, as with any small kit.
Confirm the power module selector is set to the rail your project needs before connecting a microcontroller, and keep the input within the 6.5-9V DC range.
5. Smraza 298-Piece Starter Kit With Breadboard and Power Module
Smraza 298 Pieces Electronics Starter Kit with Breadboard for Arduino
298 pieces with breadboard and power supply module
Jumper wires plus male-female Dupont wires
Storage box included
6 x 3.8 x 1.5 in, 8 oz
Pros
- Broad range of basic consumable components for Arduino and Raspberry Pi work
- Storage box keeps parts tidy and doubles as a resistor reference
- Tutorials matched to the kit are available from the manufacturer learning site
- Works with Arduino UNO Mega2560 Nano and Raspberry Pi
Cons
- Breadboard is smaller than some buyers would like
- Power supply module has a 9V maximum and its rail can fail over time
- Parts are small and need careful handling when reading markings
- Pushbutton legs need straightening before fitting
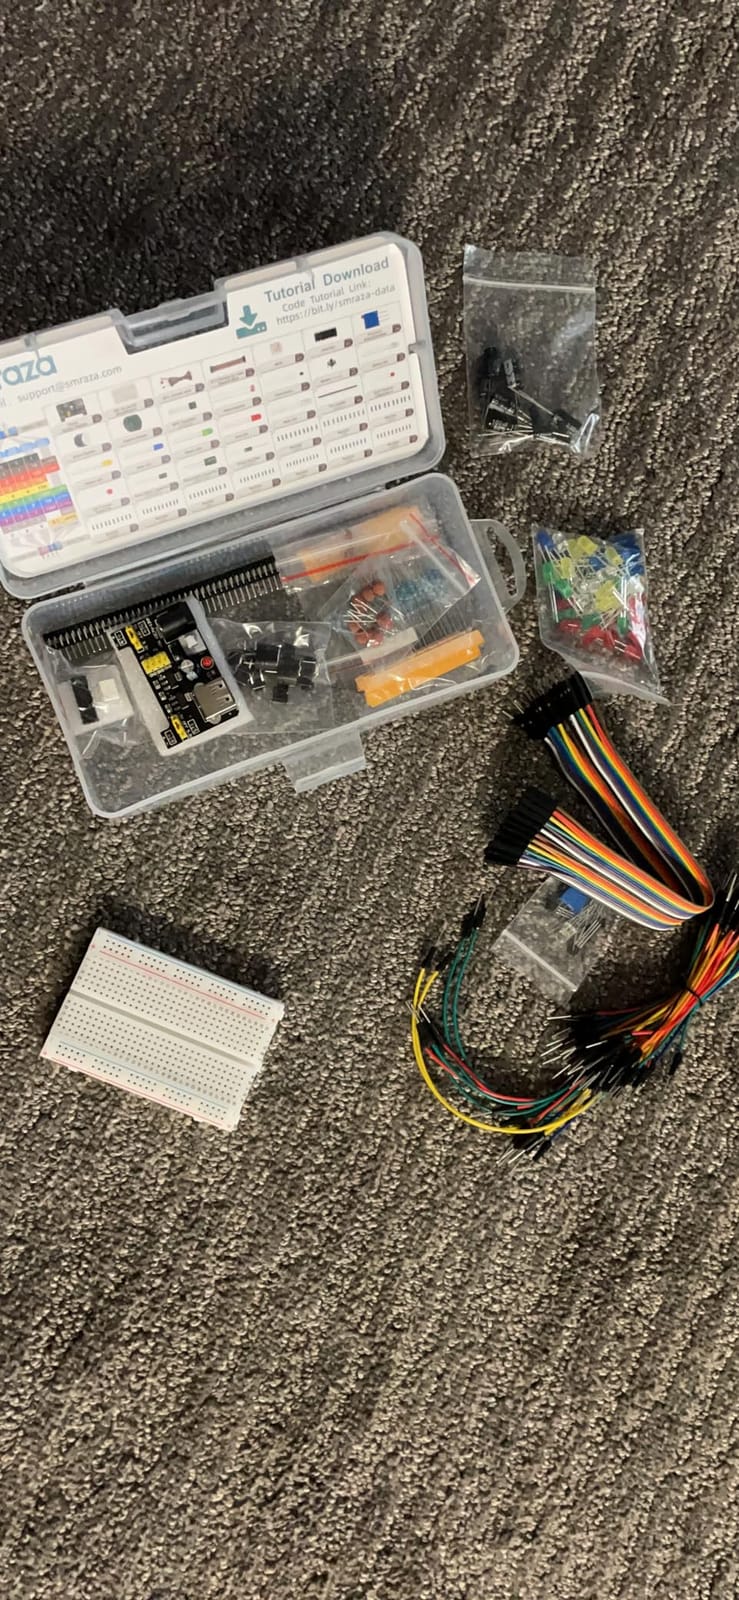
Compatibility here is the headline: the kit is stated for Arduino UNO, Mega2560 and Nano plus Raspberry Pi, which covers most boards people actually own. The 298 pieces are the consumable basics, LEDs, resistors, buttons, capacitors, transistors and diodes, so this is a restocking kit as much as a first kit.
The storage box is more useful than it looks. It keeps parts neat after a session, and several owners use the printed lid as a resistor reference so they stop guessing values while wiring. Kit-specific tutorials are available from the manufacturer learning site, which matters when the components are a beginner’s first contact with schematic reading.
Two practical warnings. The power supply module has a 9V maximum and has been reported to fail after extended use, sometimes pushing an incorrect voltage onto the 5V rail, so check it with a meter before trusting it in a build that matters. The breadboard is also on the smaller side, which is fine for a single circuit and tight once you add a second module.
Small parts are part of the character here. Transistor and diode markings are hard to read, and pushbutton legs arrive bent often enough that a few minutes with a small screwdriver pays for itself before class starts.
What fits on this board
The included breadboard handles a first circuit comfortably: a light-dependent input, an LED output with a resistor, and a button. Motor and servo control fits, but the board fills up fast at that point.
If your project list includes an ESP32 with Wi-Fi, check the pin count against the board before buying, because the narrower footprint is where the space runs out.
What to check when it arrives
Test the power module rails on a multimeter first, and if the 5V rail reads wrong, do not keep using the module. A failed supply on a rail is the fastest way to damage a board you care about.
Sort parts into the storage box as you go rather than in a pile on the bench, and confirm the tutorial for this exact kit is reachable from the manufacturer site before you plan a lesson around it.
6. REXQualis Basic Kit With USB Breadboard Power Supply
REXQualis Electronics Basic Kit w/Power Supply Module, Breadboard, Jumper Wire, LED,Resistor, comes with more than 300pcs sensors and components for fun and simple electronic projects.
More than 300 components included
830 tie-point breadboard
Breadboard power supply with USB cable
Labeled storage box
7.16 x 3.46 x 1.77 in
Pros
- More than 300 components in a well organized labeled box
- Breadboard power supply with USB cable removes the need for separate supplies
- Works across Arduino and Raspberry Pi projects
Cons
- Datasheet and any project guidance must be downloaded from the manufacturer site
- Controller board must be bought separately
This is the more compact version of the REXQualis component approach, and the USB-powered breadboard supply is the reason to look at it. Everything else follows the same pattern: more than 300 sensors and components, individually packaged and labeled, in a box that survives a cupboard.
Coverage is the standard beginner set across Arduino and Raspberry Pi, which means an LED blink, a button input, a transistor-driven load and a light sensor are all achievable without a second purchase. The 830 tie-point board is the size we consider the default for a Uno with any module on it.
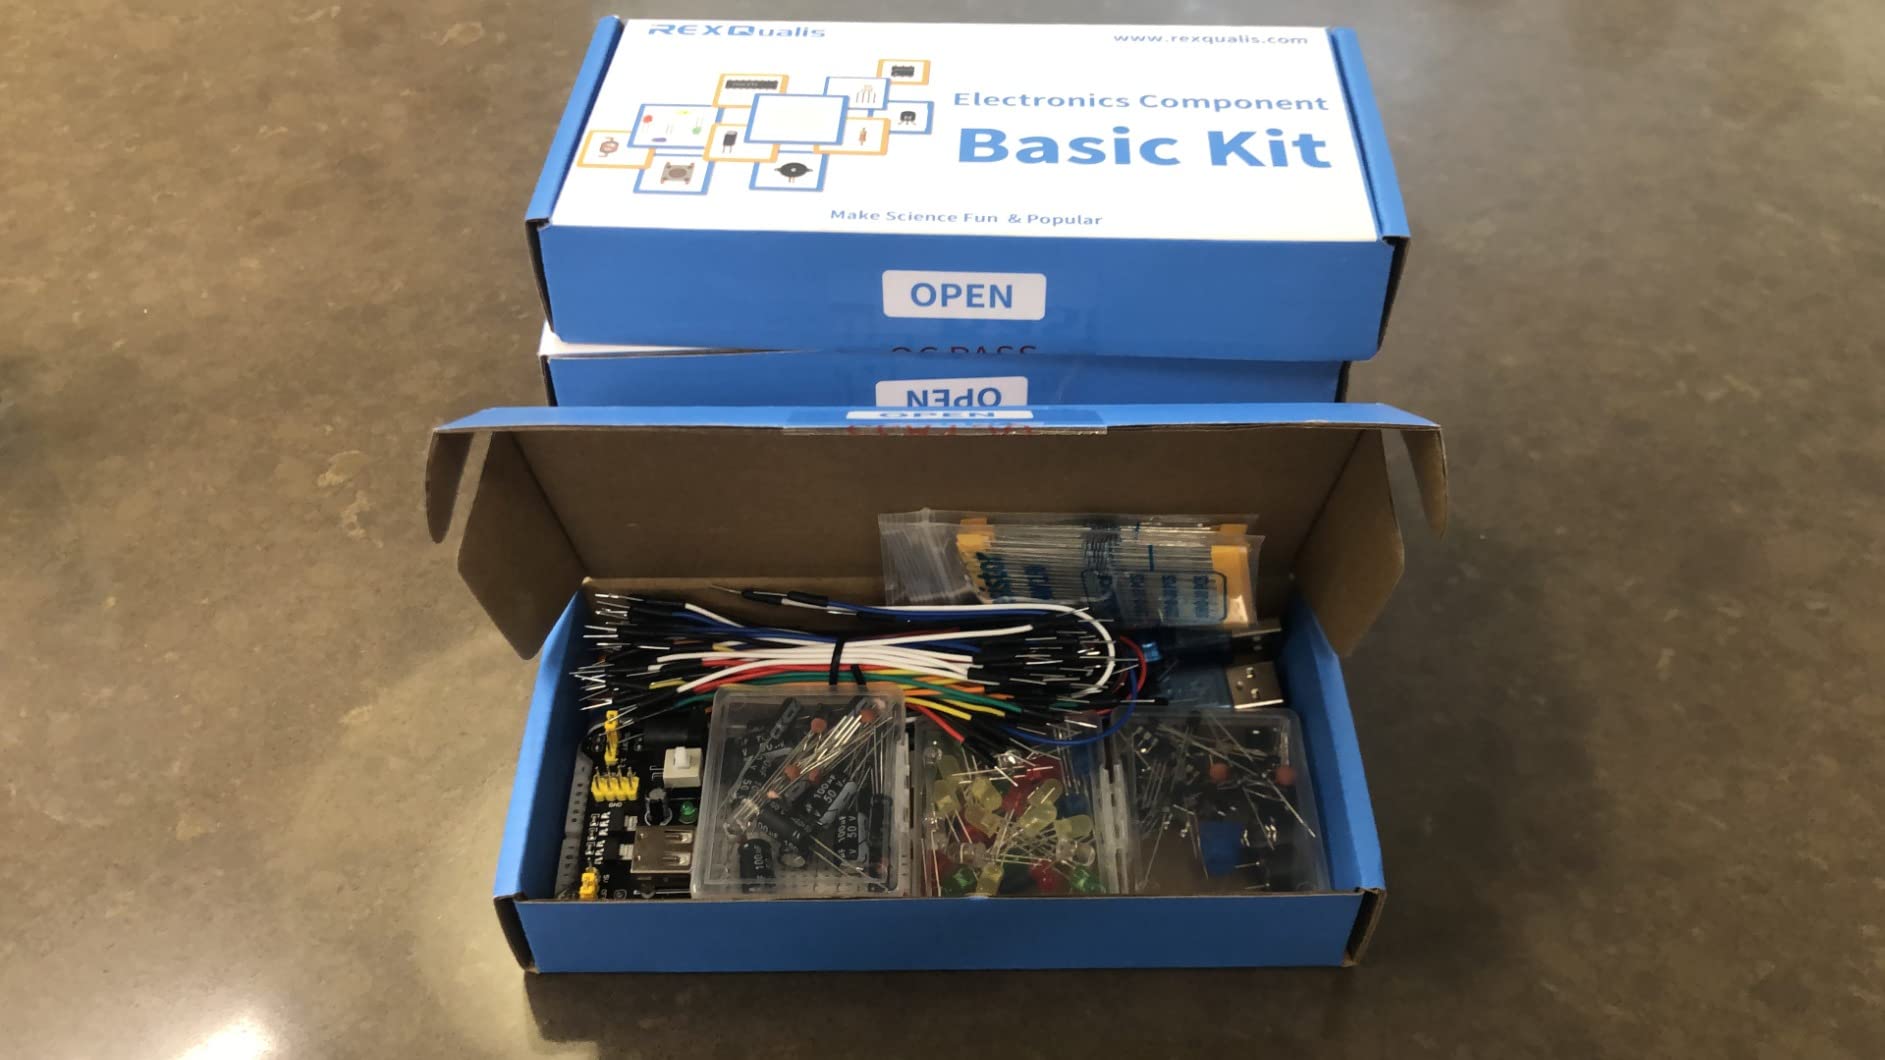
Owners rate the labeled packaging highly, and we agree. When a project fails, the first question is usually which resistor value went in, and reading the bag label takes a second instead of a squint. The 79 percent five-star share on the listing reflects how consistently that view comes up.
What is missing is written guidance. The datasheet is a download, and no controller board is included, so this is a parts and breadboard kit rather than a complete first purchase. For someone who already owns an Arduino that is exactly right; for a total beginner it is one more thing to line up.
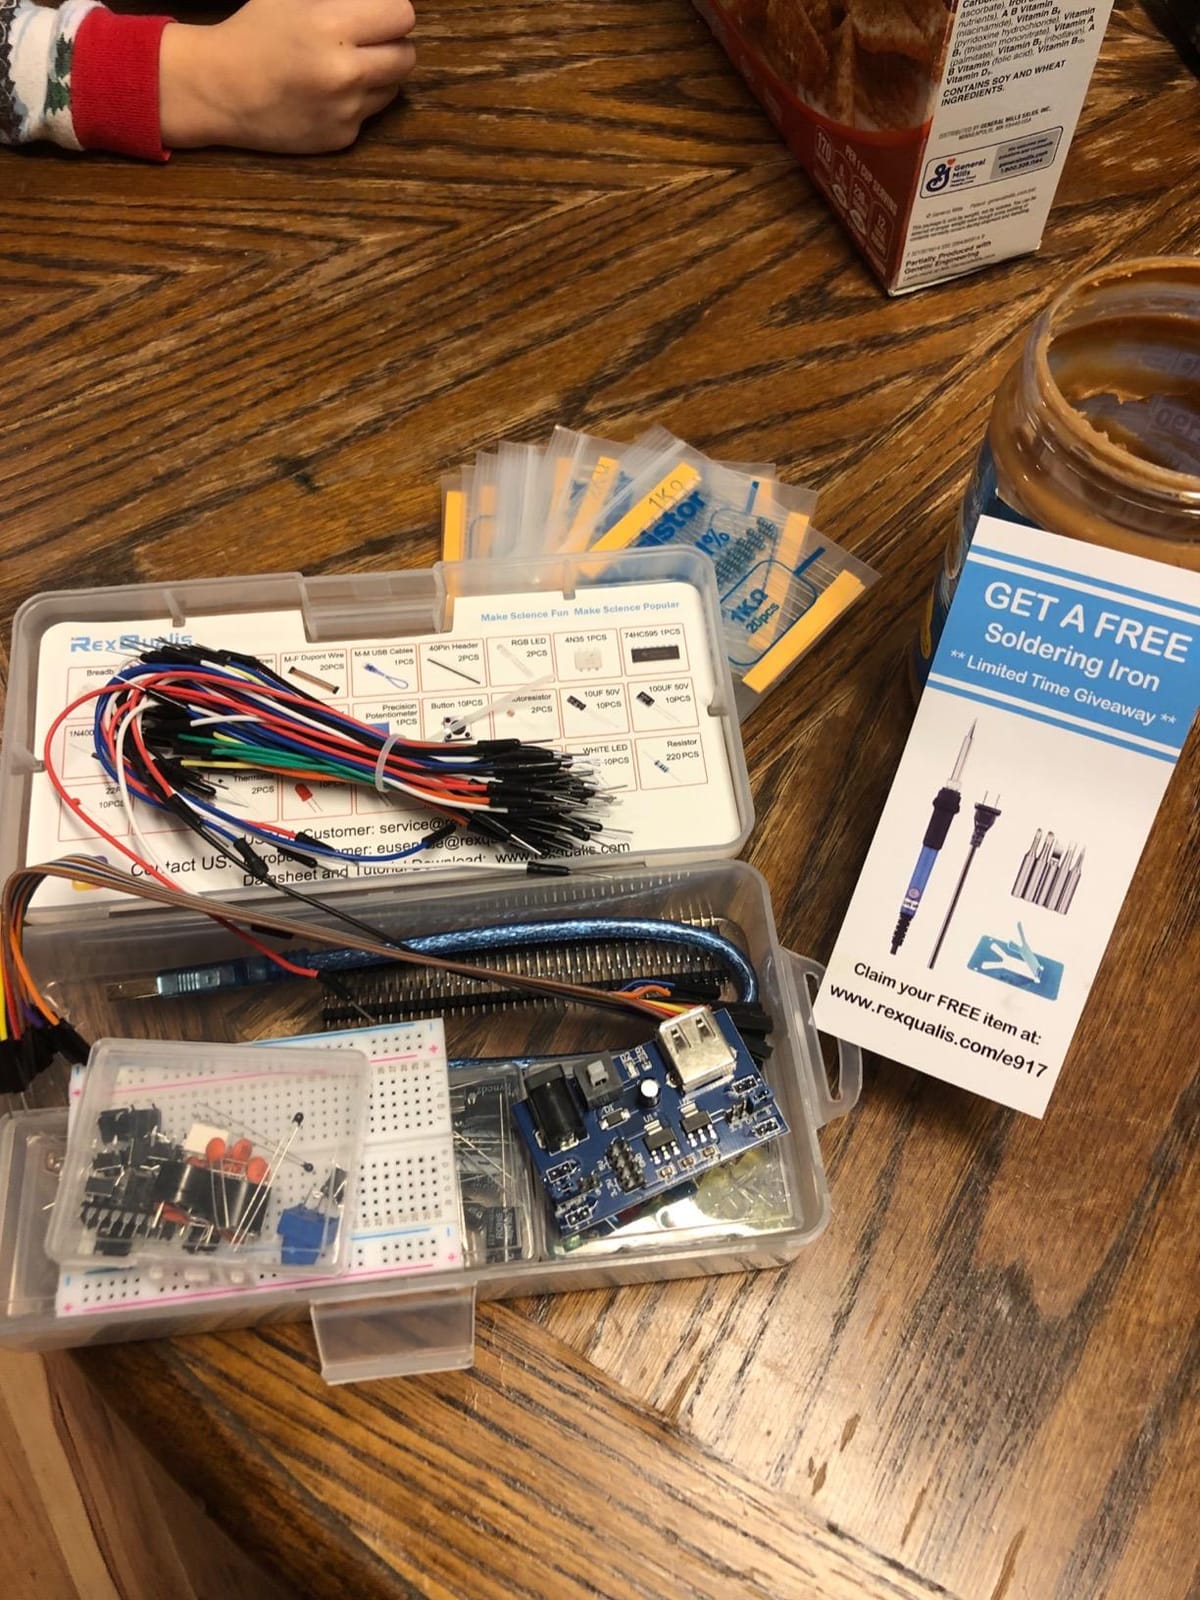
What fits on this board
A 630-point terminal area plus distribution strips gives room for a microcontroller, a sensor, a display module and the passives between them. That covers the majority of tutorial projects in one sitting.
The USB-powered supply also means the breadboard can be tested standalone, which is useful when you want to check a circuit before adding code.
What to check when it arrives
Check the bagged parts against the list and note any bent leads. The resistors and LEDs are the ones that get damaged in transit because they are loose in the box.
Confirm the USB cable reaches your computer or a supply from the position of your bench, since a short cable in a crowded workspace is a constant small irritation.
7. BOJACK 480-Piece Fun Kit With 37 Component Values
BOJACK 37 Values 480 Pcs Electronics Component Fun Kit with Power Supply Module, Jumper Wire,Precision Potentiometer,830 tie-Points Breadboard Compatible with STM32,Raspberry Pi,Arduino
37 values across 480 pieces
830 tie-point breadboard
Power module and USB data cable
Compatible with STM32 Raspberry Pi and Arduino
Pros
- Very large parts count spread across 37 values
- Clear sturdy compartmented packaging makes parts easy to find
- Includes power module and USB cable so no extra power supply is needed
- Works with STM32 Raspberry Pi and Arduino boards
Cons
- Breadboard is a single full-size board so complex circuits need additional boards
- Component values are basic passives with no sensors or modules of substance
Sort by value and this kit wins on range. Thirty-seven values across 480 pieces means you can pick a resistor from the box rather than deduce the nearest value, which removes a whole category of slow beginner work.
Everything plugs straight into the included 830 tie-point breadboard with no soldering, and the power module with a USB data cable means the board is live without a separate supply. Compatibility is stated for STM32, Raspberry Pi and Arduino, so it works across the three platforms people actually prototype on.
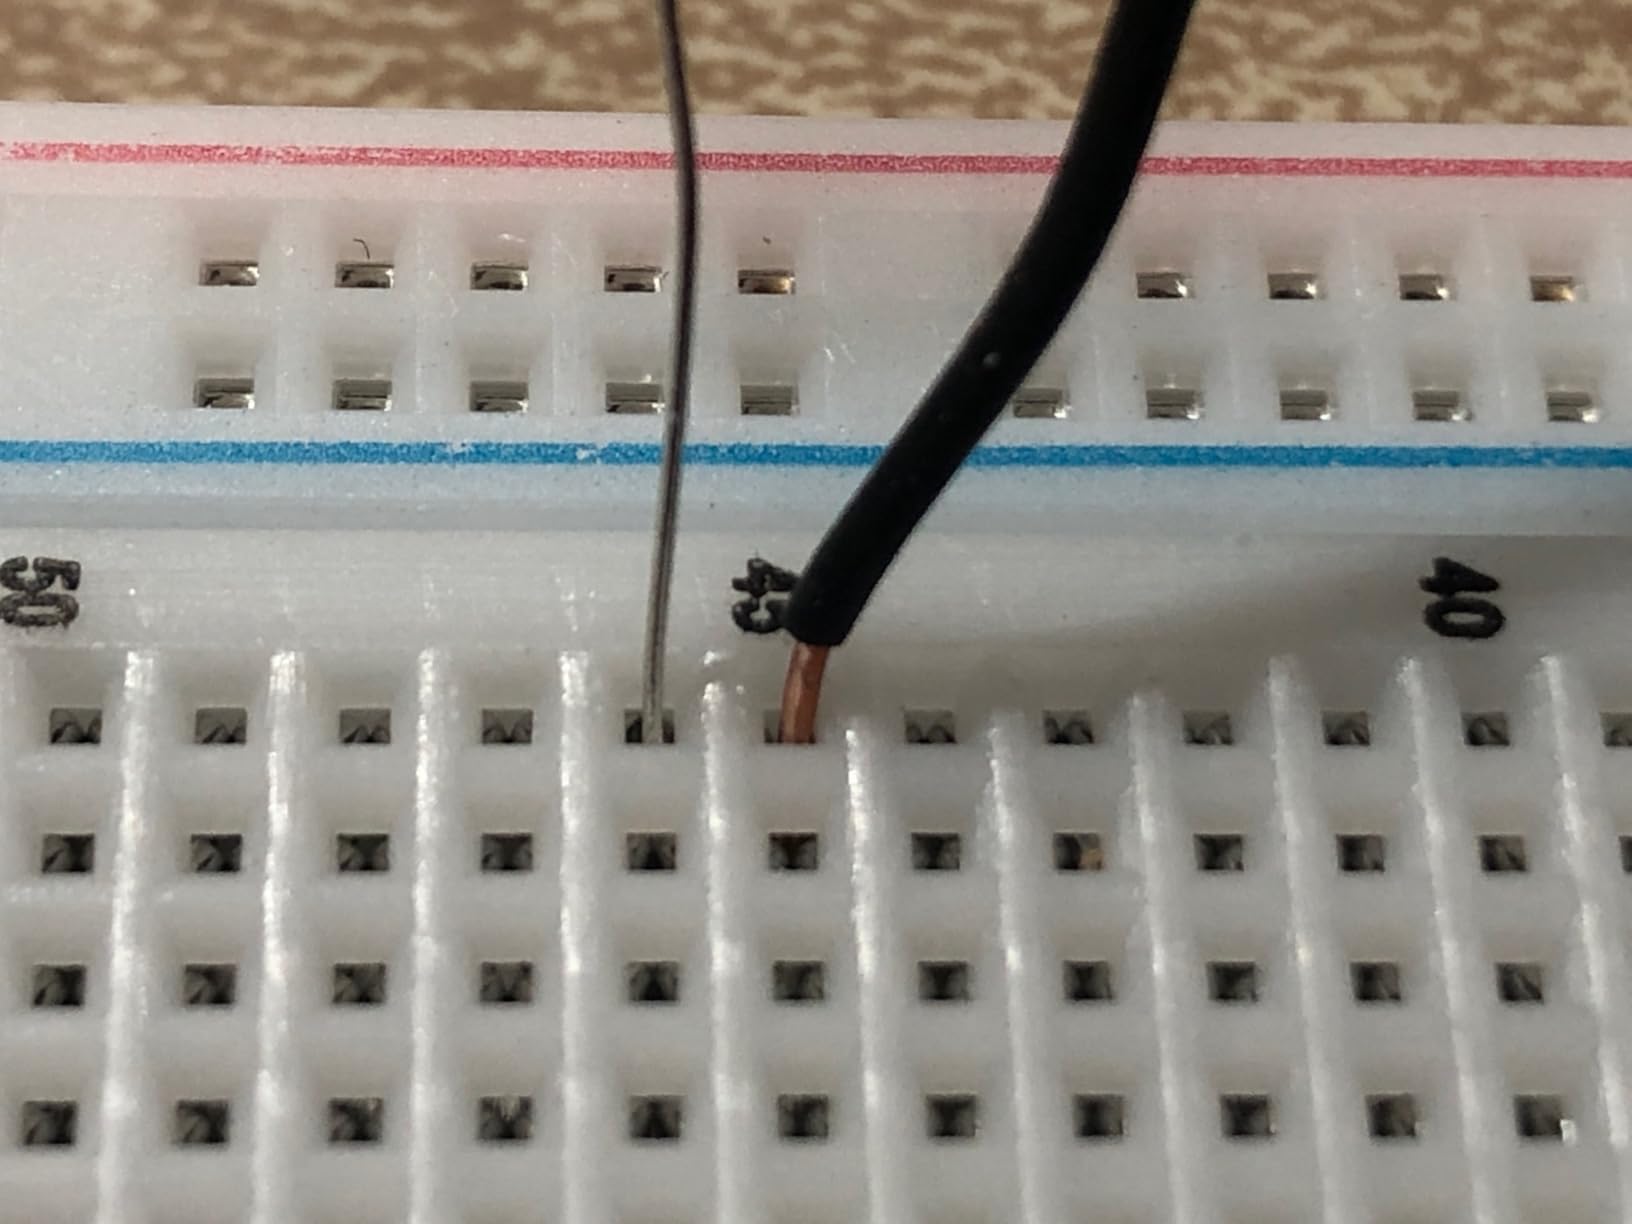
The transparent box with labeled compartments is the standout feature in owner reviews, and it is the reason this kit ends up as the shared bench box rather than a personal one. Part identification stops being a task.
Two limits are worth weighing. There is one full-size breadboard, so anything beyond a single moderate circuit needs boards added later, and the component set is basic passives with no sensors or modules of substance. If you want to read a temperature or drive a servo without a second purchase, this is not the kit.
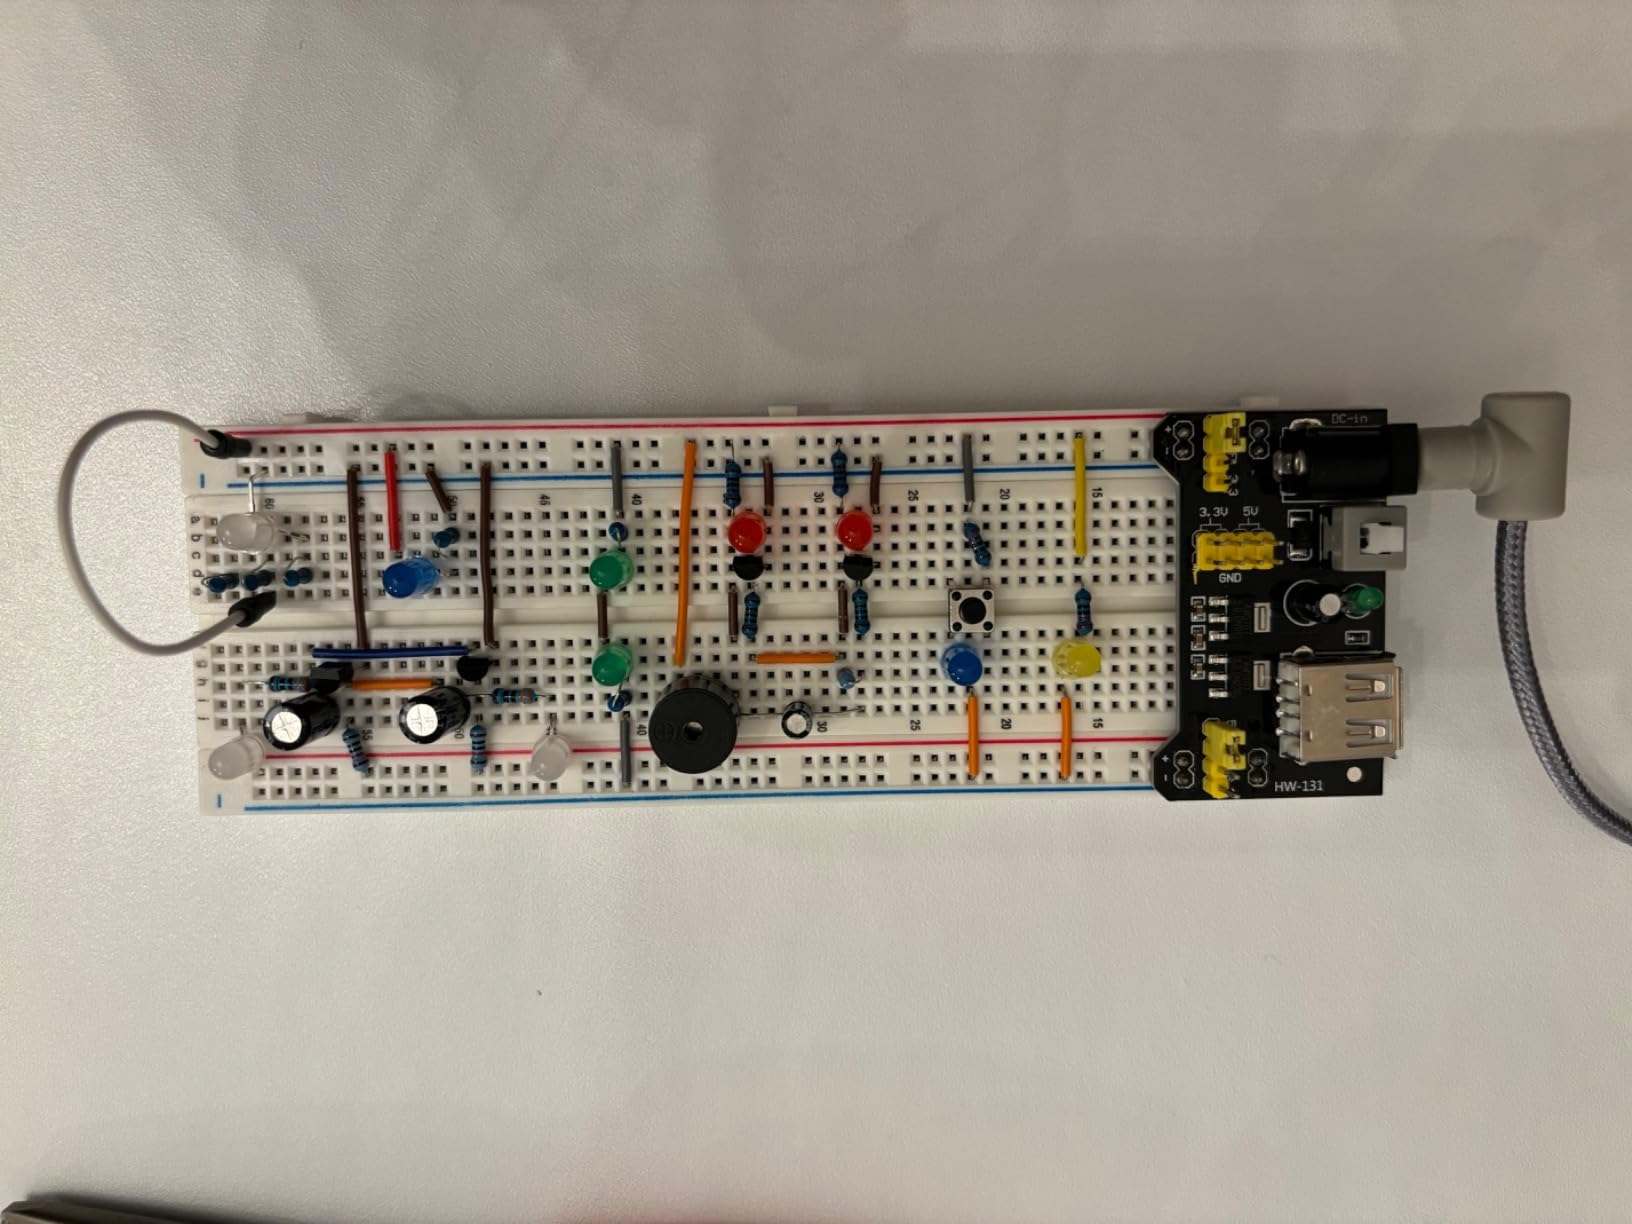
What fits on this board
A single 830 tie-point board comfortably holds a resistor network driving an LED, a couple of transistors, and a small logic circuit. Multiple parallel experiments do not fit without another board.
Because there is no microcontroller included, treat this as a complement to an existing board rather than a standalone system.
What to check when it arrives
Check that each compartment matches its label before you rely on it, since a single mislabeled bin quietly ruins a build. Also confirm the resistor value range covers what your project needs.
Verify the power module output against the rail your board expects, and keep the USB cable within easy reach of the workspace.
8. BOJACK Four Boards and 126 Flexible Jumper Wires
BOJACK 3 Values 130 Pcs Solderless Breadboard 4 Pcs 830 Tie Points & 400 Tie Points & 126 Pcs Flexible Breadboard Jumper Wires
Two 830 tie-point and two 400 tie-point boards
126 flexible jumper wires in 3 values
ABS panel with tin-plated phosphor bronze contacts
Package 7.91 x 4.06 x 1.34 in
Pros
- Mix of full-size and half-size boards covers everything from ESP32 to sensor work
- Boards splice together cleanly for larger layouts
- 126 flexible jumper wires in three values cover most interconnection needs
- Solid tin-plated phosphor bronze contacts give reliable connections
Cons
- Jumper wires are flexible type only so straight runs need extra solid-core wire
- Color coding is simple rather than elaborate
This is the most genuinely solderless-focused bundle in the list. Four boards in two sizes plus 126 flexible jumper wires means you can build and rebuild without cutting wire or hunting for a length that fits.
Contact construction is specified as an ABS plastic panel with a tin-plated phosphor bronze contact sheet, and owners report consistent, solid contact behavior in daily use. The power rails run along the top and bottom rows, split in the middle, with the remaining holes connected vertically, which is the standard layout you will find in most tutorials.
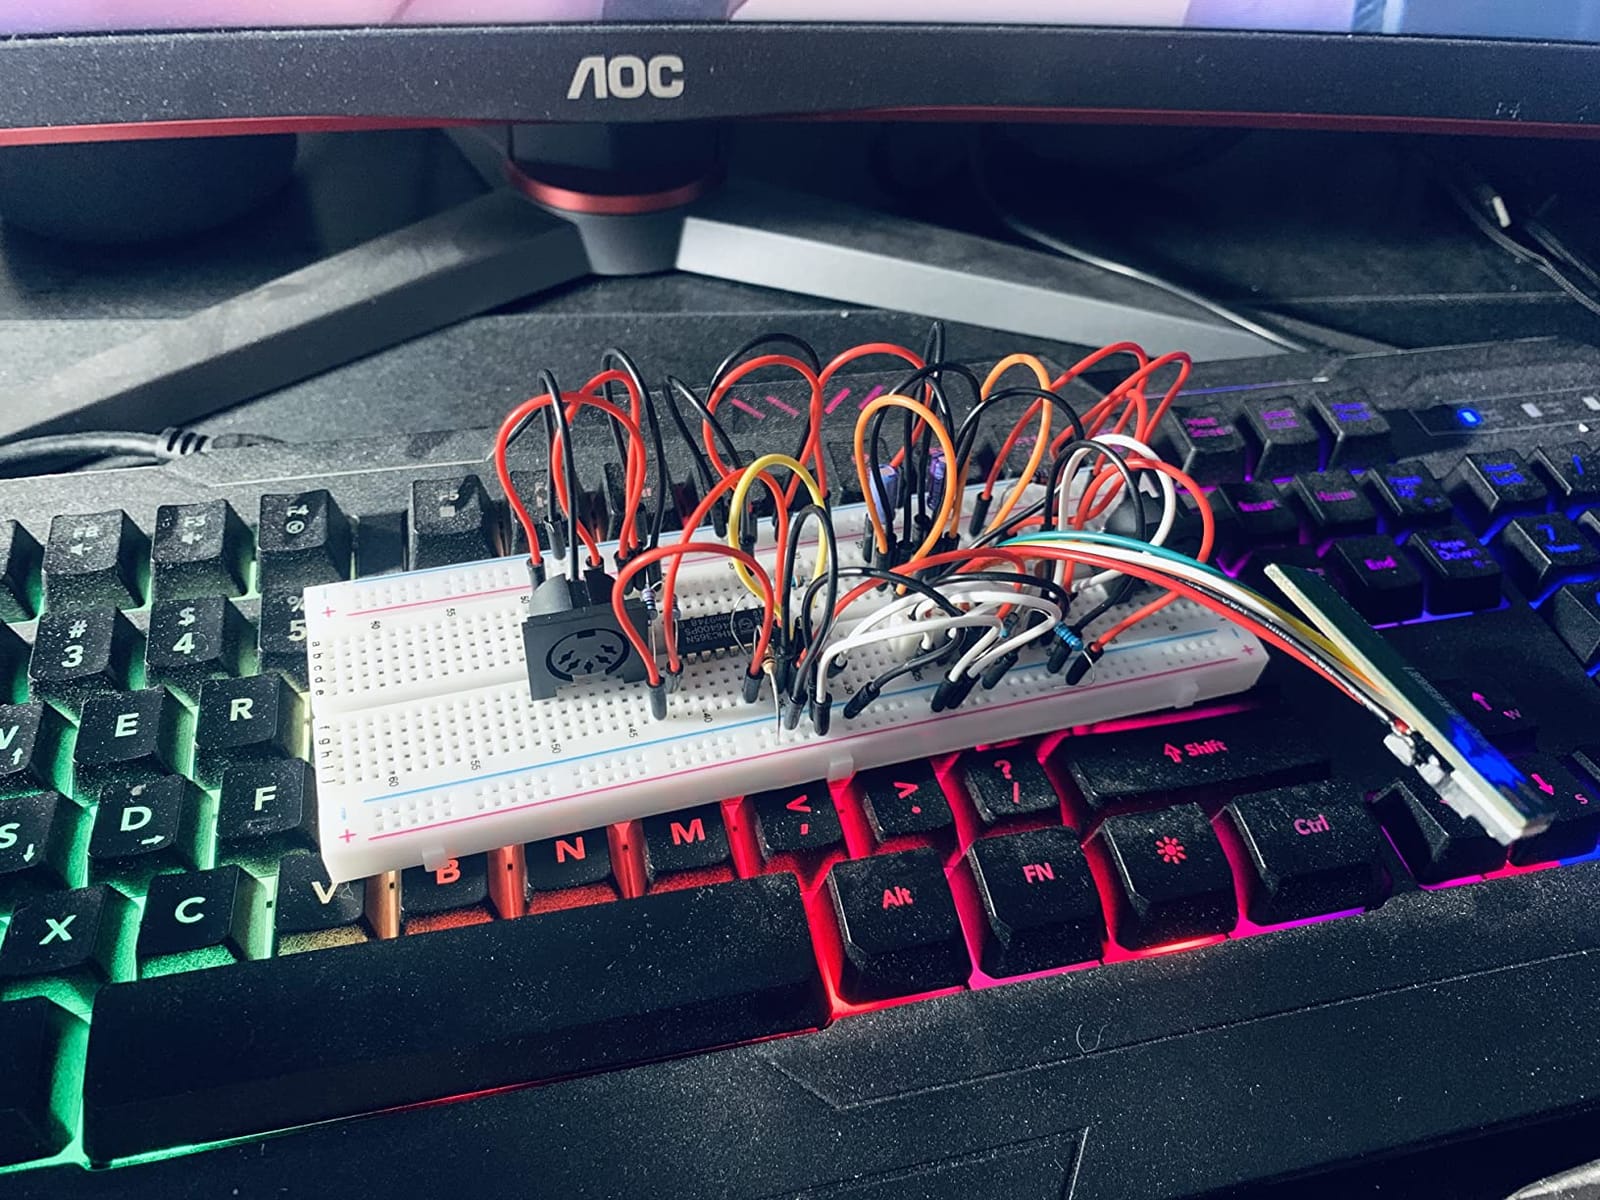
The board mix is the reason this works for ESP32. A full-size development board, a sensor and a display all live on one of the 830-point boards, and the two 400-point boards handle a smaller sensor node or a second microcontroller. Boards splice side by side when a build outgrows one surface.
The wire set is flexible type only. That is a deliberate choice for routing around parts, but if your project needs a straight rigid run for style or for a mechanical connection, you will add solid-core wire separately. Color coding is simple rather than elaborate, so you will be reading lengths rather than decoding colors.
What fits on this board
An ESP32 development board with three sensors, a display and the associated resistors fit on a single 830-point board with room to spare. The 400-point boards suit a status LED array or a compact sensor node.
Because the rails split in the middle on each board, you can run 3.3V and 5V parts on the same board without bridging the split.
What to check when it arrives
Count the jumper wires and check for bent or creased pins, which flexible wires pick up easily in a box. Sort them by length on arrival so the next build does not turn into a search.
Push-fit a pin into a rail section on each board to confirm the horizontal bus strips grip as expected before you build on them.
9. ELEGOO Six-Pack of 400-Point Breadboards for Shared Workbenches
ELEGOO 400 Point Solderless Breadboard Kit, Small Prototyping Boards 6PCS
Six 400-point boards for 2400 tie points
300-point terminal area plus four 25-point rails
2.54mm standard spacing
3.22 x 2.12 x 0.35 in, 8.4 oz
Pros
- Highest rating in this group thanks to consistent contact quality
- Six small boards let several experiments stay assembled at once which suits classrooms
- Side clips and adhesive backs make both expansion and permanent mounting easy
- Wide ESP32-style modules can span two boards while keeping nearby rows accessible
Cons
- 400-point size limits larger circuits compared with full-size boards
- Jumper wires power supply and components are sold separately
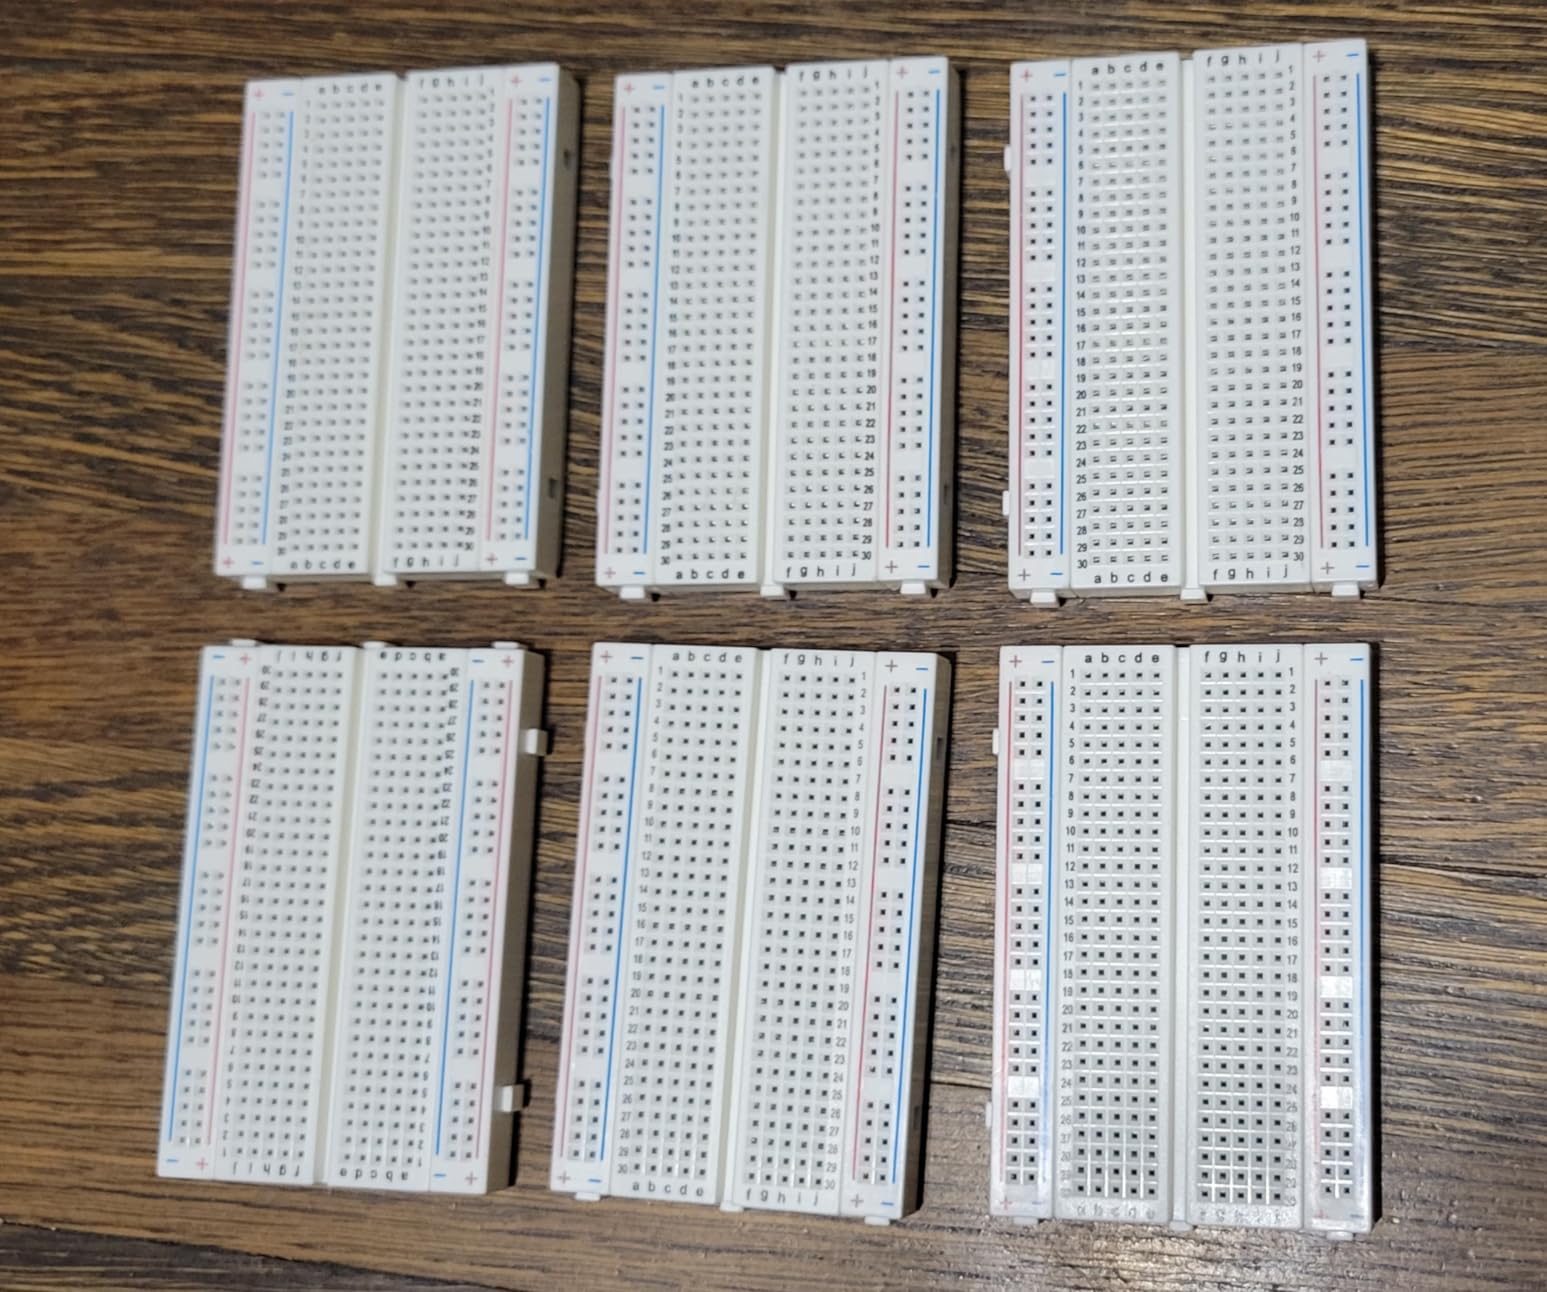
This pack has the highest average rating of the twelve at 4.7, and the reason is straightforward: contact quality is consistent across the set. The 300-point terminal area on each board plus four 25-point power-rail sections gives predictable grip, which matters more than raw capacity when several people are wiring at once.
Six small boards is a genuinely different idea from one big board. Give each student, family member or task its own board and several experiments stay assembled instead of being dismantled every time you want to try something new. At 2.54mm standard spacing, the boards take straight 21-26 AWG jumper wires, resistors, LEDs, capacitors, transistors, pin headers and compatible DIP ICs.
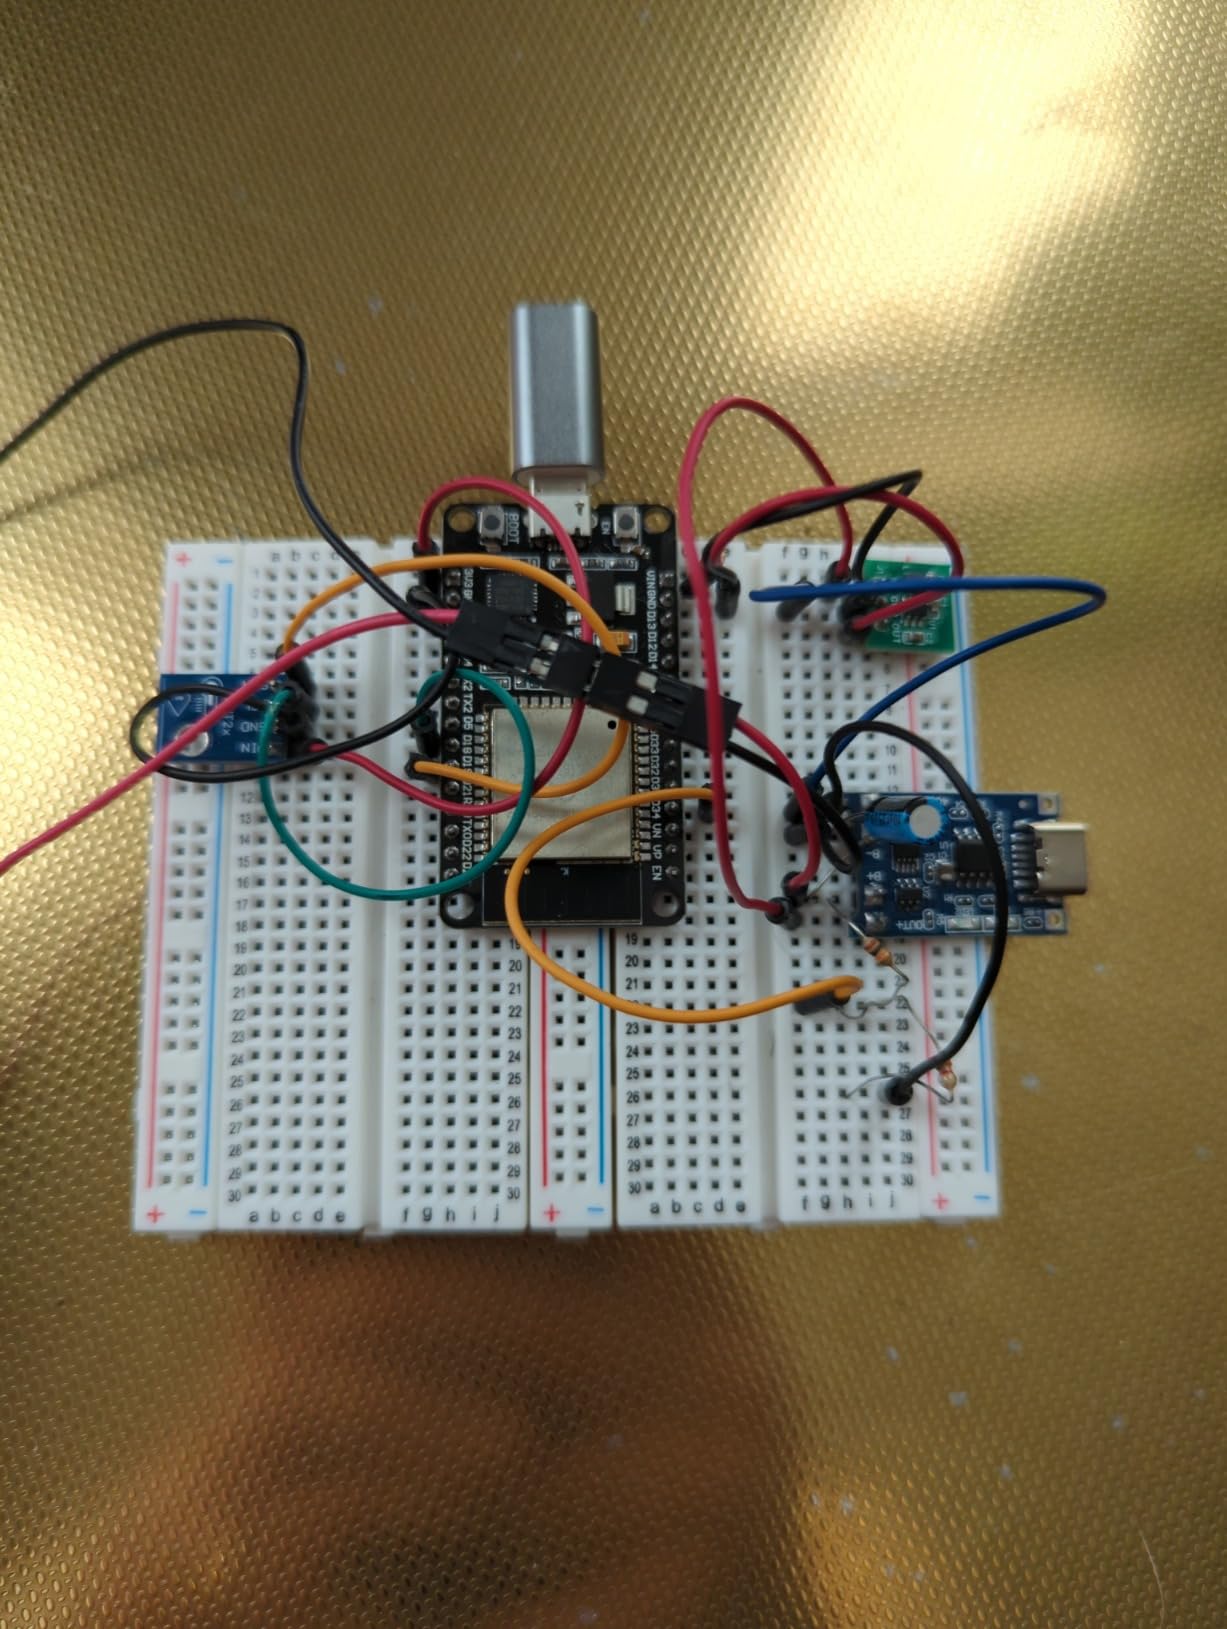
A useful trick in the product guidance is that a wide ESP32-style module can be placed across two boards, keeping nearby rows accessible. That converts two 400-point boards into a workable surface for a development board with a display attached, which is a good argument for buying in pairs.
Keep the limitation in view. A 400-point board limits larger circuits, and this is a passive bundle, so jumper wires, power supply and components are all bought separately. That is fine for a shared bench with a wire drawer already full, and a poor fit for a first purchase on its own.
What fits on this board
A 300-point terminal area handles an LED plus resistor, a button, a sensor module and a small shift register. Two boards handle an ESP32 module and its display without crowding.
Side clips interlock compatible boards when a prototype needs more room, and adhesive backs let you mount a proven circuit on a clean flat platform instead of leaving it loose.
What to check when it arrives
Insert leads vertically and never force oversized or bent pins into a tight hole. Check questionable nodes with a multimeter before powering, as the product guidance recommends.
Count the boards against the pack size you ordered, and confirm the printed rail markings line up with the holes on each one.
10. Aypzuke Breadboard and Jumper Wire Kit With Tweezer
Breadboard Jumper Wire Kit:2X830&400 Breadboards,130 Flexible+280 Jumpers,1 Tweezer for Arduino Raspberry Pi
Two 830 and two 400 tie-point boards
280 rigid jumpers in 14 lengths
130 flexible jumpers plus tweezer
24 AWG single strand, ABS with tinned phosphor bronze film
Pros
- Two full-size plus two half-size boards give plenty of working area
- 280 rigid jumpers in 14 lengths cover almost every connection a prototype needs
- Tweezer is a genuinely useful addition for placing parts and removing boards
- Spring contacts hold inserted pins firmly and feel sturdier than cheaper sets
Cons
- Holes are tight so larger pins such as header pins may need gently widening
- Storage box compartments do not keep jumpers sorted
The jumper selection is the reason to buy this one. Two hundred and eighty rigid U-shaped jumpers across fourteen lengths, from 2mm up to 125mm, is more wire coverage than any other kit here, and it is the single most practical thing on a bench where you rewire constantly.
Boards come as two 830 tie-point and two 400 tie-point units with ABS plastic plates and a phosphor bronze tinned contact film. Reviewers consistently rate the contact feel as sturdier than cheaper sets, and the spring clips hold inserted pins firmly.
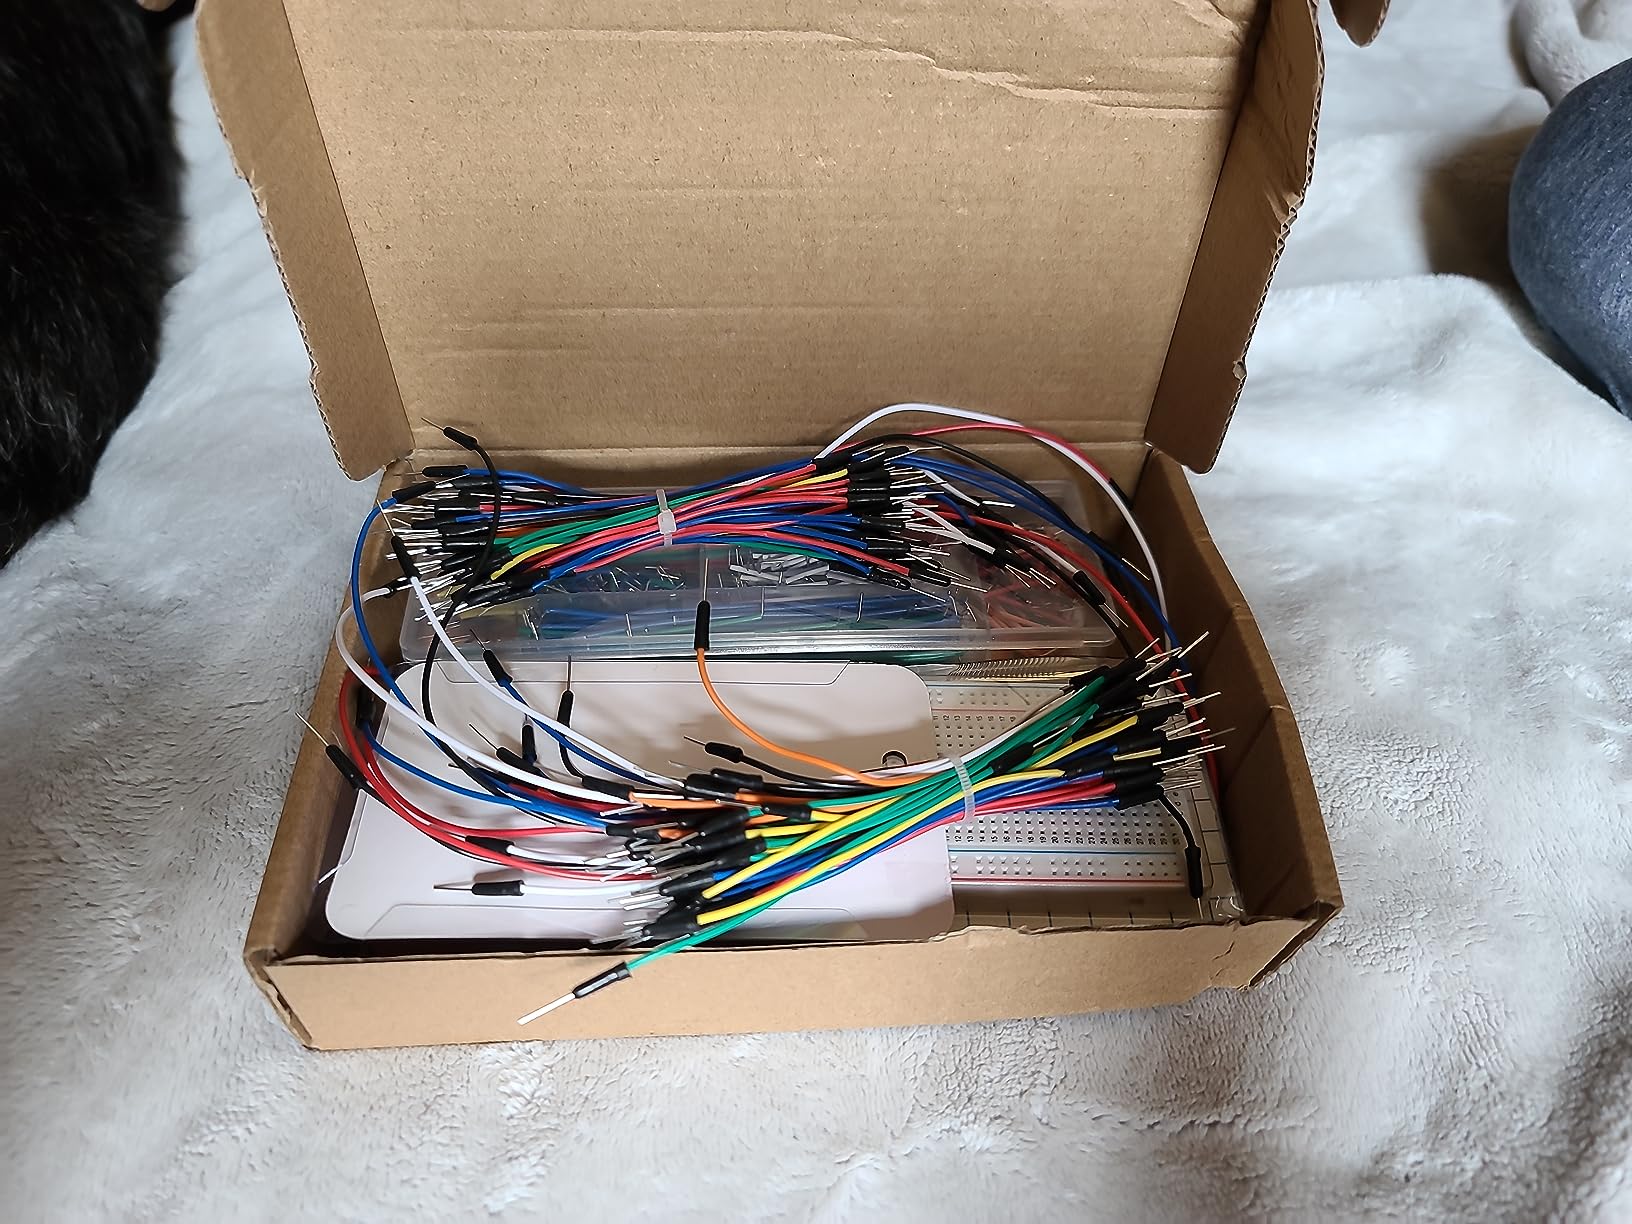
The included tweezer is a small addition that turns out to matter. Placing a resistor lead into a specific hole without bending the adjacent one, and lifting a small IC out of a tight grid, are both much easier with tweezers than with fingers.
Two caveats come up repeatedly. The holes are tight, so larger pins such as standard header pins may need gently widening before insertion, and the storage compartments do not keep the jumpers sorted in transit, so expect a few minutes of sorting before the first build.
What fits on this board
With two full-size and two half-size boards you can keep a microcontroller project and a smaller sensor project running side by side, and the wide wire assortment means most connections need no cutting or stripping.
The 24 AWG single strand wire suits standard breadboard holes and is thin enough to insert without a tool in almost every case except thicker header pins.
What to check when it arrives
Test one header pin in a few holes to see how the tension feels. If it needs force, ease the hole gently rather than pushing, since a widened hole loses contact quality over time.
Sort the jumpers by length into the box compartments as you unpack, and check for bent pins on the flexible cables.
11. WayinTop Electronics Starter Kit With E-Book
WayinTop Electronics Component Fun Kit w/E-Book, Upgraded Electronic Starter Kit with Breadboard, Jumper Wires, PCB Soldering Kit, LEDs & Resistor Kit for Arduino, Raspberry Pi, ESP32, ESP8266
Breadboard jumper wires and PCB soldering kit
LED and resistor assortment with capacitors
5V and 3.3V selectable power module
E-book with project walkthroughs
Pros
- Wide component selection covers many entry-level circuit and solder practice exercises
- Included e-book gives clear step-by-step project guidance and code
- Power supply module offers selectable 5V and 3.3V outputs
- Resistors are labeled and the storage box is useful
Cons
- Breadboard quality is rated as the weakest part of the kit
- ICs can arrive with bent pins and without anti-static foam
- Bundled ribbon cables and case lid can arrive damaged
- Tutorial download process is described as awkward
This kit has an angle none of the others do: it includes a PCB soldering kit, so it bridges the gap between breadboarding and a permanent build. If your plan is to prototype on a breadboard and then transfer to perfboard, this is the only option here that prepares you for the soldering step.
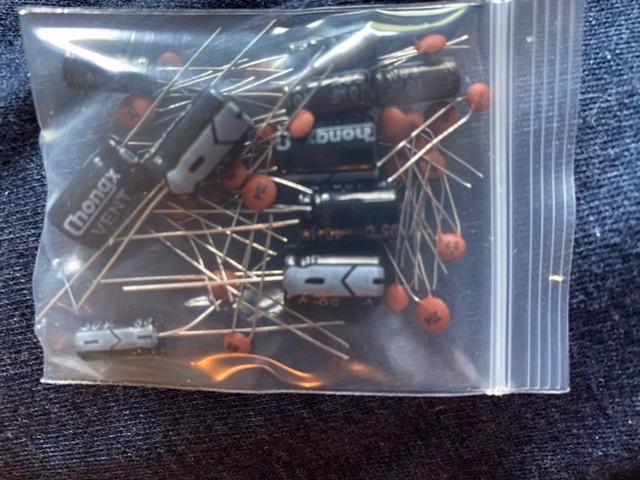
The component list covers breadboard jumper wires, an LED and resistor assortment, capacitors, a diode, a photocoupler, a button, a buzzer, a potentiometer and a power supply module with selectable 5V and 3.3V outputs. It is stated for Arduino, Raspberry Pi, ESP32 and ESP8266.
The e-book is the reason this stays popular with classrooms and families. It walks through real projects with code, which answers the beginner question of what to build rather than what to buy. Resistors are labeled and the storage box keeps things organized.
Now the honest part: owners repeatedly single out the breadboard as the weakest part of this kit, and some report sloppy packing with bent IC pins or a cracked case. The vendor has been responsive about replacements, but the board itself is not the reason to buy this bundle, the soldering kit and the e-book are.
What fits on this board
The included breadboard handles standard entry-level circuits: an LED and resistor chain, a button input, a buzzer output and a potentiometer for analog input. Larger builds are where it stops being comfortable.
If you plan to solder, buy a separate full-size board. The soldering kit and the e-book are the durable parts of this purchase.
What to check when it arrives
Inspect the ICs for bent pins before anything else, since those are the most common packing complaint and the easiest to fix with a small screwdriver. Check the ribbon cables and the case lid too.
Run the tutorial download before your first session, because buyers describe the process as awkward and it should not eat into build time.
12. HUAREW Four Boards and 120 Mixed-Connector Jumper Wires
HUAREW Breadboard and Jumper Wires Kit Include 830 Tie Points Breadboard 400 Tie Points Breadboard Jumper Wire
Two 830 and two 400 tie-point boards
40-pin jumpers in F2F F2M and M2M types
20 AWG with 10 braided copper strands
124 items in the pack
Pros
- Breadboards and 120 jumper wires in three connector types cover most first prototype needs
- Neat pinholes and metal pins that resist bending
- Two board sizes work well together for wider ESP32 dev boards
- Seller is quick to respond and replace boards with tight pins
Cons
- Board shape can be awkward with the end sections needing careful seating on the adhesive pad
- A few pins on a board can start out tight
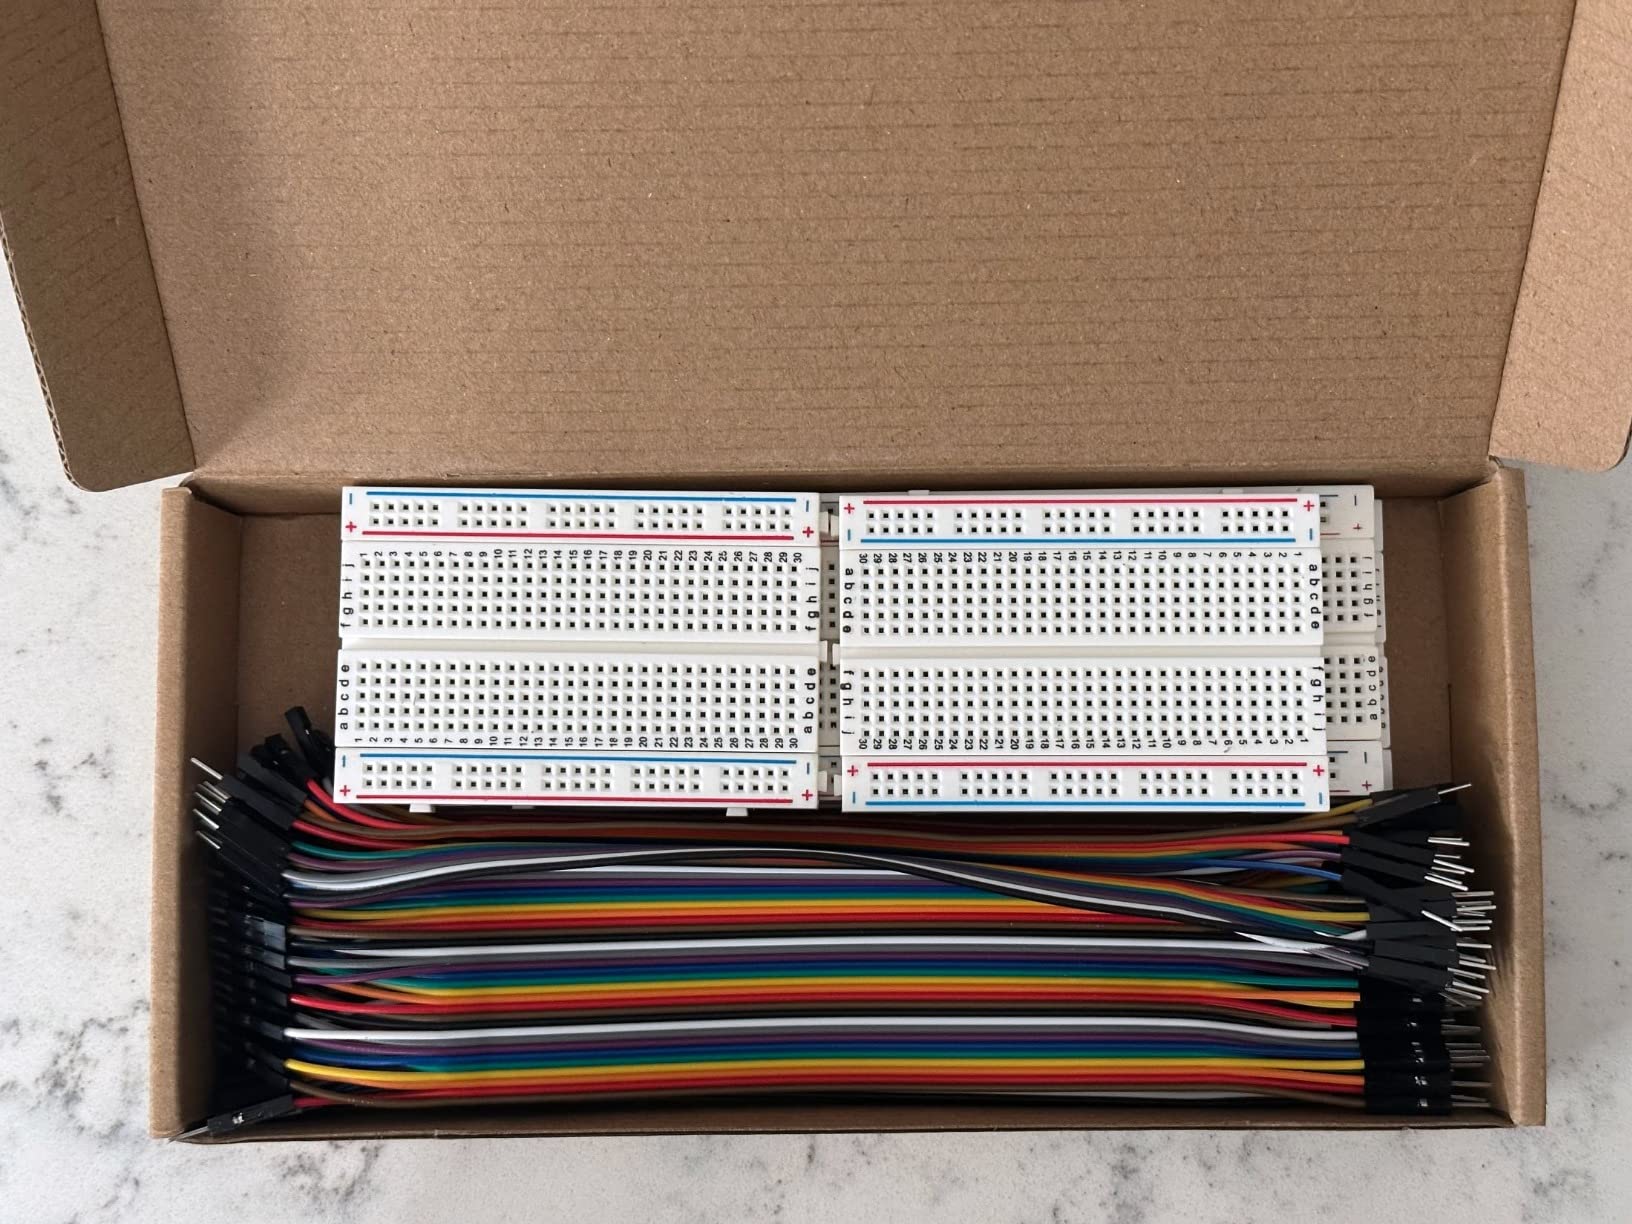
The distinguishing feature is connector coverage. Forty-pin jumpers in female-to-female, female-to-male and male-to-male, 120 wires in total, which is the only set here that handles all three connection types from Arduino modules to sensor boards without an adapter.
Wire construction is specified at 20 AWG, 0.33mm, with sturdy plastic housings and ten braided copper strands per terminal. The boards accept 20-29 AWG wire, so both these jumpers and thinner leads work in the same hole.
Build quality reads as solid in owner feedback: neat pinholes and metal pins that resist bending. The two board sizes combine usefully, since a wide ESP32 development board can straddle the seam between a 830-point and a 400-point board. Support is also responsive when a board arrives with tight pins.
The quirk is the board shape. The end sections need to be seated carefully on the adhesive pad, and a few pins can start out tight on arrival. Neither is serious, but both are things you notice in the first five minutes and then never think about again.
What fits on this board
Female-to-female jumpers connect sensor modules and display boards directly, female-to-male handles headers and the board’s own power pins, and male-to-male covers the runs between boards. That range removes most of the adapter juggling in a mixed build.
Two board sizes mean a microcontroller project and a compact sensor node can stay assembled on the same bench.
What to check when it arrives
Push-fit a pin in several rows and watch for tight spots, since replacement is straightforward with this seller. Seat the adhesive-backed end sections firmly before building.
Sort the three jumper types into separate groups from the start, because mixing them in one drawer is how a female-to-female ends up in a male header.
Common Breadboard Mistakes and How to Fix Them
Almost every dead circuit we debug is one of the mistakes below. None of them require a better board, only better habits or a board that suits the job.
1. Confusing the two power rails. The red and blue lines are two separate buses, not one continuous rail. Most boards split each rail in the middle, so the top half and the bottom half are electrically isolated until you bridge them with a jumper. Many “dead” circuits are simply an unbridged split.
2. Forcing bent pins into holes. A bent lead does not make contact, and pushing harder only makes it worse. Straighten pins with a small screwdriver and a light touch, or use the tweezer approach of holding the part steady while you push once, straight down.
3. Powering up before checking the rails. Confirm the rail voltage with a multimeter before connecting a microcontroller. A power module that has failed will happily push the wrong voltage onto the 5V rail, and a board running at 3.3V into a 5V circuit is a common way to fry a sensor.
4. Using blue and white LEDs in a first circuit. White and blue LEDs have a higher forward voltage than red, green or yellow, so on a 5V supply they glow dimly or not at all and beginners assume the board is faulty. Forum advice consistently recommends starting with red, green or yellow LEDs.
5. Too few resistors of the right value. An LED wired straight to 5V without a current-limiting resistor will fail, sometimes immediately and sometimes after it has been on the bench for a week. Fit one every time.
6. Ignoring the wire gauge limit. Boards are specified for a gauge range, typically 20-29 AWG or 21-26 AWG depending on the model. Wire that is too stiff will not seat properly and creates an intermittent connection that is miserable to track down.
7. Building one giant circuit on a small board. When a build is crammed, split it across two boards and join the rails with a jumper. This is why board packs beat single boards once you pass the first few projects.
8. Chaining boards that do not align. Side clips only interlock between same-size boards on most models, and rail spacing varies between brands. Before buying boards to chain, check that they are the same model and that the rail lines line up.
How to Choose a Breadboard Kit for Your Projects
Start with tie points, not brand. Tie points are the number of interconnected holes on a board, and they are the one number that tells you whether a build will fit. A 170-point mini board handles a single LED and a Nano. A 400-point board handles a microcontroller, a sensor and a few passives. An 830-point board gives a 630-point terminal area plus distribution strips, which is the practical default for a Uno with modules. Our rule of thumb: count the components in your circuit, add the jumpers, and pick a board with roughly double the room you calculated.
Decide boards or components. These kits split into two families. Board packs give you tie points and sometimes jumper wires, and leave everything else to you. Component bundles add labeled parts and often a breadboard power supply, but usually no microcontroller. If you already own an Arduino, a board pack plus a component bundle later is cheaper than one large kit. If you have nothing, budget for the board separately, because most of these kits do not include one.
Check the power situation. A breadboard with no power module cannot run standalone, so either power the rails from your Arduino or buy a module. Modules with selectable 3.3V and 5V rails give more freedom, and USB-powered modules save you from tracking down a wall adapter. Respect the stated input limits, which on several kits here are a 6.5-9V DC maximum.
Look at contact quality over features. The five-hole spring clip is what everything depends on. Signs of a good board: a firm grip that does not require a tool, metal pins that do not bend, and printed row numbers and rail colors that match the holes. Cheap clones often have weak clips, which is the single most common complaint forum readers raise about budget boards.
Match the wire gauge. Kits specify a compatible range, usually 20-29 AWG or 21-26 AWG. Staying inside it prevents the intermittent contacts that make a circuit appear to fail at random. A kit that includes flexible jumpers covers most connections, but rigid runs may need solid-core wire added later.
Think about how many boards you will end up owning. Arduino Forum regulars consistently recommend buying four or five separate boards so each project keeps its own wiring instead of being dismantled. Kits of three, four or six small boards deliver that outcome in one purchase, and the six-pack of 400-point boards is the cheapest route to it.
Know when the breadboard is the wrong tool. A solderless board is for temporary work. Once a prototype is proven, move to perfboard, a solderable breadboard or a purpose-built PCB. Until then, if you are considering a full Arduino starter kit instead, our guide to educational electronics kits covers what those bundles add.
Know the brands. 3M-style boards are the reliability benchmark that experienced users measure against, and clones from brands like REXQualis, ELEGOO, BOJACK and Aypzuke cover the mid and budget tiers. Specialty makers such as DFRobot and Adafruit build for specific niches, including permanent solderable boards, and forum threads single out SunFounder, DFRobot and Adafruit for responsive customer support when parts go missing.
Test contacts on arrival. Push a jumper into ten holes across different rows, check each power rail section, and confirm a LED and resistor circuit works before you build anything real. Boards with intermittent contacts are common enough that this five-minute check saves hours later.
Frequently Asked Questions
What is the best breadboard kit for beginners?
The REXQualis Four-Pack Breadboard Set is our pick for beginners, because two 830-point and two 400-point boards let you keep a working circuit intact while you start a second one. Add the REXQualis Component Fun Kit if you also want labeled parts and a USB-powered breadboard supply.
What are common breadboard mistakes?
The most common mistakes are confusing the two power rails or forgetting that each rail is split in the middle, forcing bent pins into holes, powering up before checking the rail voltage, and using white or blue LEDs that need a higher forward voltage than a 5V rail comfortably delivers.
What is a solderless breadboard called?
It is called a solderless breadboard, also sold as a prototyping board or tie-point board. Metal spring clips under each hole connect five holes in a row into one node, the center channel separates the two halves, and the outer rails run power and ground independently.
Who makes the best breadboard?
Experienced makers usually measure against 3M-style boards for clip strength, and REXQualis, ELEGOO, BOJACK and Aypzuke cover the mid and budget tiers with good results. For permanent or solderable boards, specialty makers such as Adafruit and DFRobot build specifically for that job.
How many tie points do I need for Arduino?
An 830-point board is the practical default for an Uno R3 with sensors and modules, a 400-point board fits a microcontroller with a sensor and a few passives, and a 170-point mini board suits a Nano with one small circuit. Count your components and jumpers, then double the result.
Is a 400 point breadboard enough for Arduino?
Yes for a first project. A 400-point board handles a microcontroller, a sensor, a button and an LED with resistors, and it is the size used in several of the kits reviewed here. Upgrade to 830 points once a second module or a servo joins the circuit.
Which Breadboard Kit Should You Buy?
Start here if you want one set of boards that will not need replacing: the REXQualis Four-Pack Breadboard Set gives you two 830-point boards and two 400-point boards, which covers a shield build, a sensor project and a small logic test at the same time. If you also need parts, add the REXQualis Component Fun Kit for its labeled components and USB-powered breadboard supply, and keep the ELEGOO Three-Pack of 830-Point Boards as the lower-cost route to the same amount of tie-point space.
That is the short version of our best breadboard kits for Arduino projects in 2026. Pick the board pack that matches the number of circuits you want running, buy the components separately if you already own an Arduino, and stop worrying about the board and go build the circuit.