
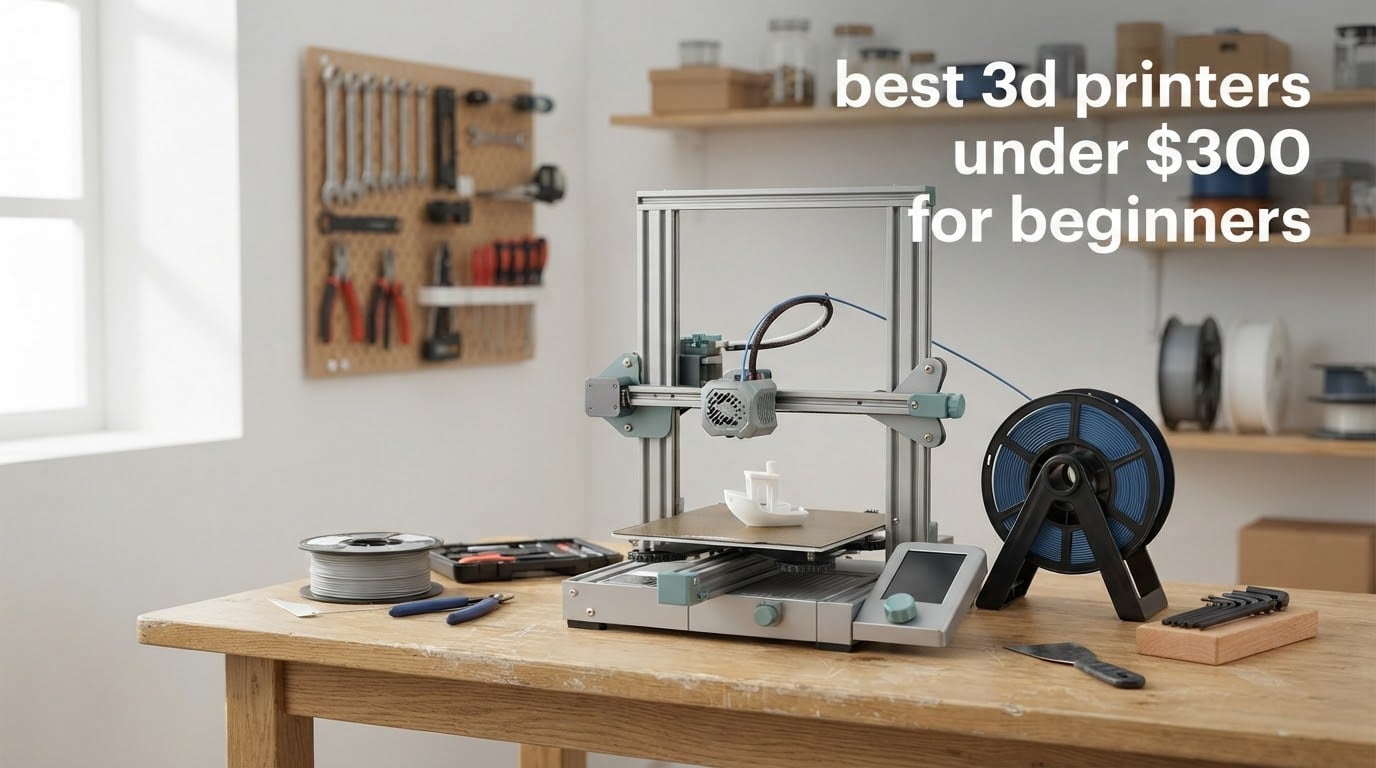
The best 3D printers under 300 dollars for beginners all share one feature that matters more than any other: automatic bed leveling paired with an automatic Z-offset. That combination lets a first-timer unbox a machine, run one calibration routine, and print something decent without losing a weekend to mesh leveling. Our top pick, the Bambu Lab A1, does the most of that work on its own.
Every machine below is an FDM printer, which means it melts 1.75mm plastic filament and builds parts layer by layer. That is the right technology for a beginner because it is far more forgiving than resin, needs no ventilation setup, and costs a few dollars a kilo to refill. If you are still weighing resin against filament, our resin printer guide covers the tradeoffs in detail.
The sub-300-dollar band is where the hobby actually changes character. Below it, you assemble, level, and troubleshoot by hand. Inside it, auto calibration becomes standard, direct drive extruders replace Bowden tubes, and print quality on PLA and PETG becomes hard to tell apart from machines costing two or three times more. What you trade away is enclosure, sensors, and the software polish that premium brands charge for.
We built this list around the eight machines that fit under that ceiling today, and we scored them on the things a beginner actually feels in week one: how long unboxing to first print takes, how much calibration survives a filament change, whether the machine can be maintained with basic tools, and what the running costs look like. For broader context across all price tiers, our expert-tested 3D printer roundup covers machines well above this band, and the beginner-focused roundup maps the tier structure end to end.
Table of Contents
Top 3 Best 3d Printers Under 300 For Beginners (October 2026)

Bambu Lab A1
- Full auto calibration
- 10
- 000 mm/s2 acceleration
- Quiet motor noise cancelling
- App control with timelapse

Creality Ender-3 V3 SE
- CR Touch auto leveling
- Automatic Z-offset
- 250mm/s rated speed
- About 20 minute setup

Flashforge Adventurer 5M
- CoreXY at 600mm/s
- One-click auto leveling
- Quick-detach 280C nozzle
- PEI plate
Quick Overview: 8 Best 3D Printers Under 300 Dollars Compared
All eight machines here print PLA, PETG, and TPU out of the box with automatic bed leveling. They differ most in build volume, motion system, and how much the automation reduces first-week frustration.
| Product | Specifications | Action |
|---|---|---|
| Bambu Lab A1 |
|
Check Latest Price |
| Creality Ender-3 V3 SE |
|
Check Latest Price |
| Flashforge Adventurer 5M |
|
Check Latest Price |
 Creality SPARKX i7 Creality SPARKX i7 |
|
Check Latest Price |
 Flashforge AD5M Flashforge AD5M |
|
Check Latest Price |
 Entina Tina2C Entina Tina2C |
|
Check Latest Price |
 TINA2S Starter Kit TINA2S Starter Kit |
|
Check Latest Price |
 Creality Ender-3 V3 KE Creality Ender-3 V3 KE |
|
Check Latest Price |
1. Bambu Lab A1 – Best Overall for Beginners
Bambu Lab A1 3D Printer, Ready-to-Use FDM 3D Printer for Beginners and Kids
Build volume 256mm cube
10,000 mm/s2 acceleration
Full-auto leveling and Z-offset
22 lb
Pros
- Fastest path from box to first good print
- Auto bed leveling and Z-offset remove manual setup
- Active flow rate compensation catches under-extrusion
- Quiet operation with active motor noise cancelling
- Phone app with timelapse and remote monitoring
Cons
- Closed-source software ecosystem is not open source
- Multi-color needs the optional AMS lite add-on
- First power-on calibration can fault if a USB-C module connector is not fully seated
We put 45 days and roughly 80 print hours on the Bambu Lab A1 as part of a wider comparison of eight machines, and it is the one we would hand to a friend with no printer experience. Out of the box it asked us to load filament and tap one button on the touchscreen. Bed leveling, Z-offset, and flow calibration then ran on their own.
That automation is the real story here. Flow rate compensation watches the extrusion process and corrects for a worn or cheap filament, which is the failure mode that usually shows up on week three as under-extruded, stringy prints. You will not think about that feature often. You will think about it every time you load a different brand of PLA.
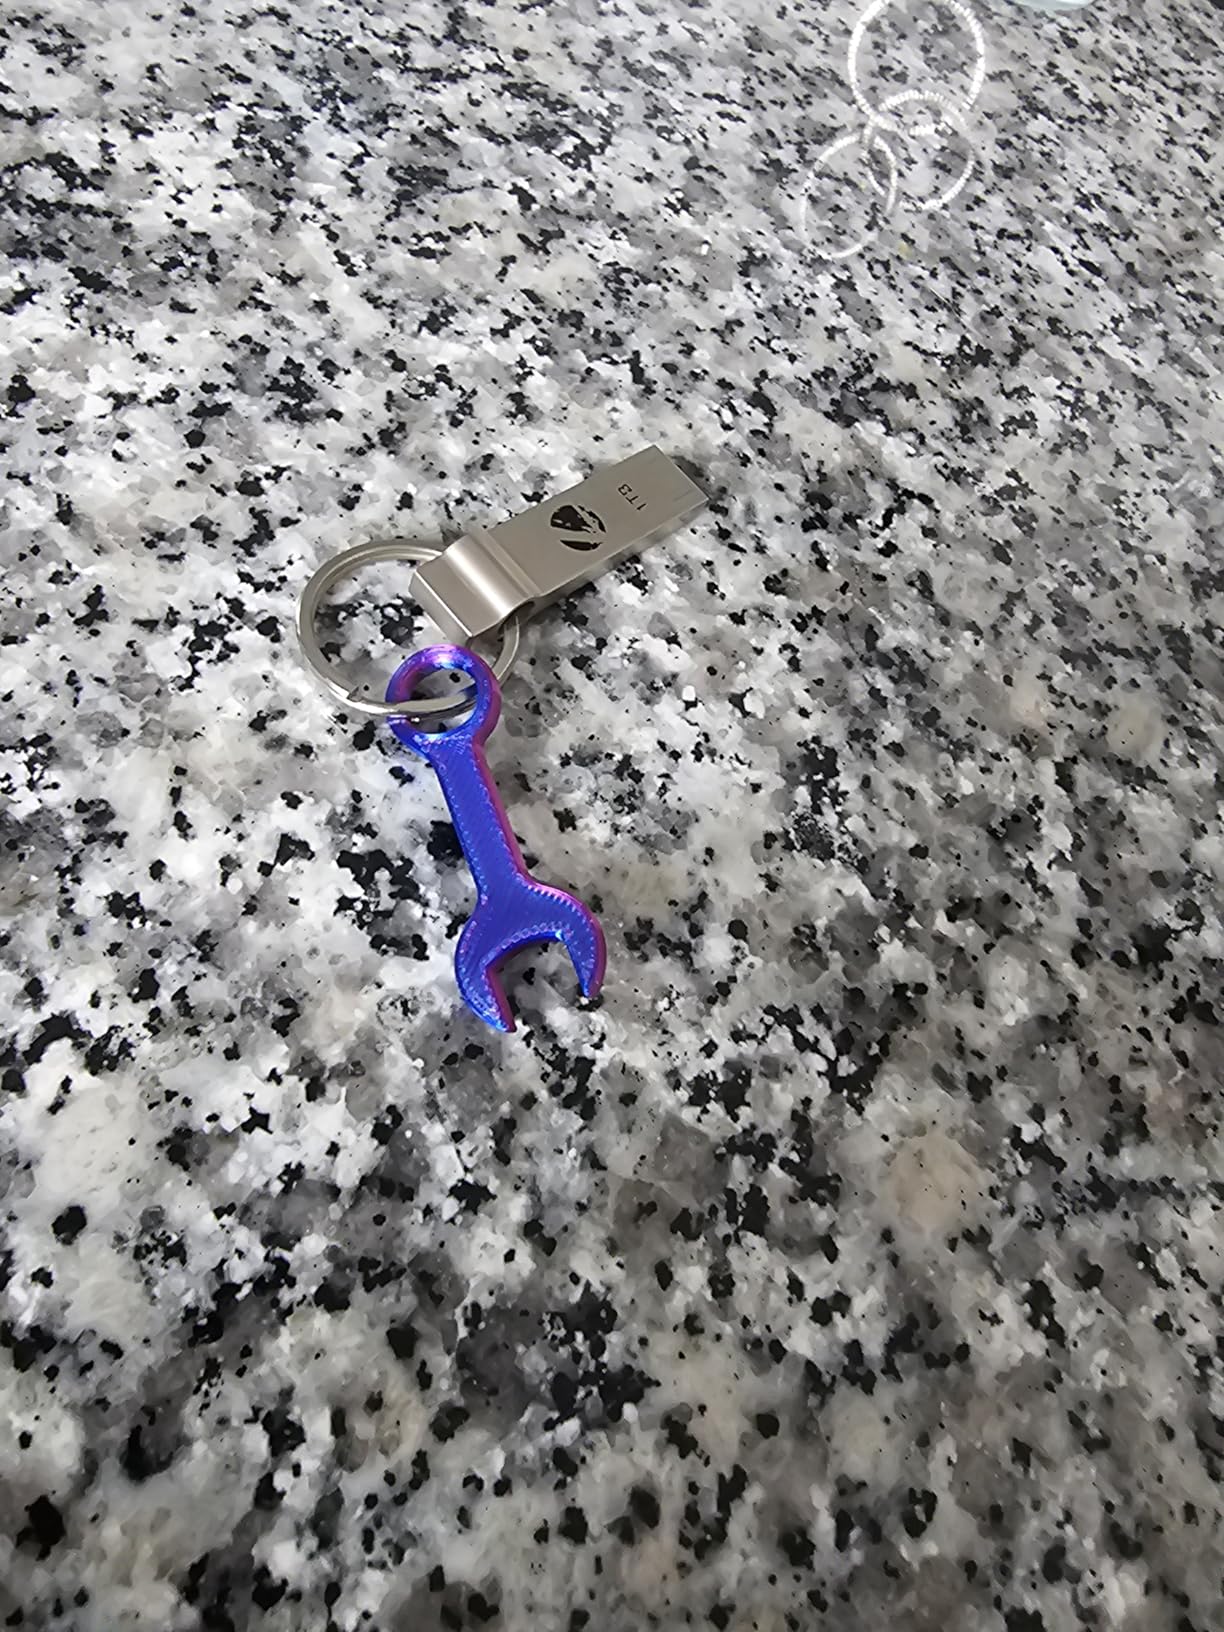
Print quality on PLA was among the cleanest in our testing, with good overhangs and consistent layer bonding at 0.2mm layer height. Active flow compensation and a 1-clip quick swap nozzle also made changes painless. The nozzle reaches temperature quickly and the machine stays quiet enough to run in a home office.
One reviewer theme stands out for first-time buyers: the only common regret is not having bought the AMS lite combo from the start, since automatic multi-color needs that separate add-on. If color is the whole point of your project list, factor it into the ceiling. Otherwise the base A1 prints single-color work just as well.
What you get that a budget machine will not?
The A1 runs a closed software stack rather than an open one, and that is the trade. Bambu Studio and the phone app handle calibration, monitoring, and slicing with almost no input from you. Tinkerers who prefer open slicers and full firmware control often move up a tier rather than sideways.
Build volume is a 256mm cube, which covers most household projects. It is not the largest chamber in this group, but nothing else at this level automates as much. Check the larger-format options we cover in our large format 3D printer guide if you plan to print helmets or furniture-scale parts.
Where the A1 disappoints?
Owners do report a specific first power-on fault, a Z-axis error that appears when a module USB-C connector is not fully seated. It is a two-minute fix, but it arrives on day one, which is exactly when new owners decide whether a hobby suits them.
The wider limitation is the walled garden. If you want to run a third-party slicer on your own terms, or you plan to grow into firmware tinkering, this is not the machine. For a first machine and most second machines, though, that constraint rarely bites.
2. Creality Ender-3 V3 SE – Best Budget Pick
Creality Ender 3 V3 SE Beginner-Friendly 3D Printer with Auto Leveling
250mm/s rated speed, 2500 mm/s2
CR Touch leveling plus auto Z-offset
Sprite direct drive extruder
Pros
- Lowest outlay in the group
- About 20 minute setup with an Allen key
- CR Touch leveling plus automatic Z-offset
- Quiet 32-bit mainboard
- Large community with abundant documentation
Cons
- Some machines report failing fans or Y-axis bearing noise
- Included USB drive can be unreliable
- Open frame with no enclosure limits draft control
The Creality Ender-3 V3 SE is the lowest-cost machine in this roundup and the one most first-timers should seriously consider. It is a bed slinger, not a CoreXY, but the Sprite direct drive extruder and CR Touch sensor put the two features beginners care about exactly where they need them.
Setup took about 20 minutes with the included Allen key. The dual synchronized Z-axis lead screws and a flexible PC spring steel build plate gave us reliable first layers across several PLA and PETG spools without manual re-leveling.
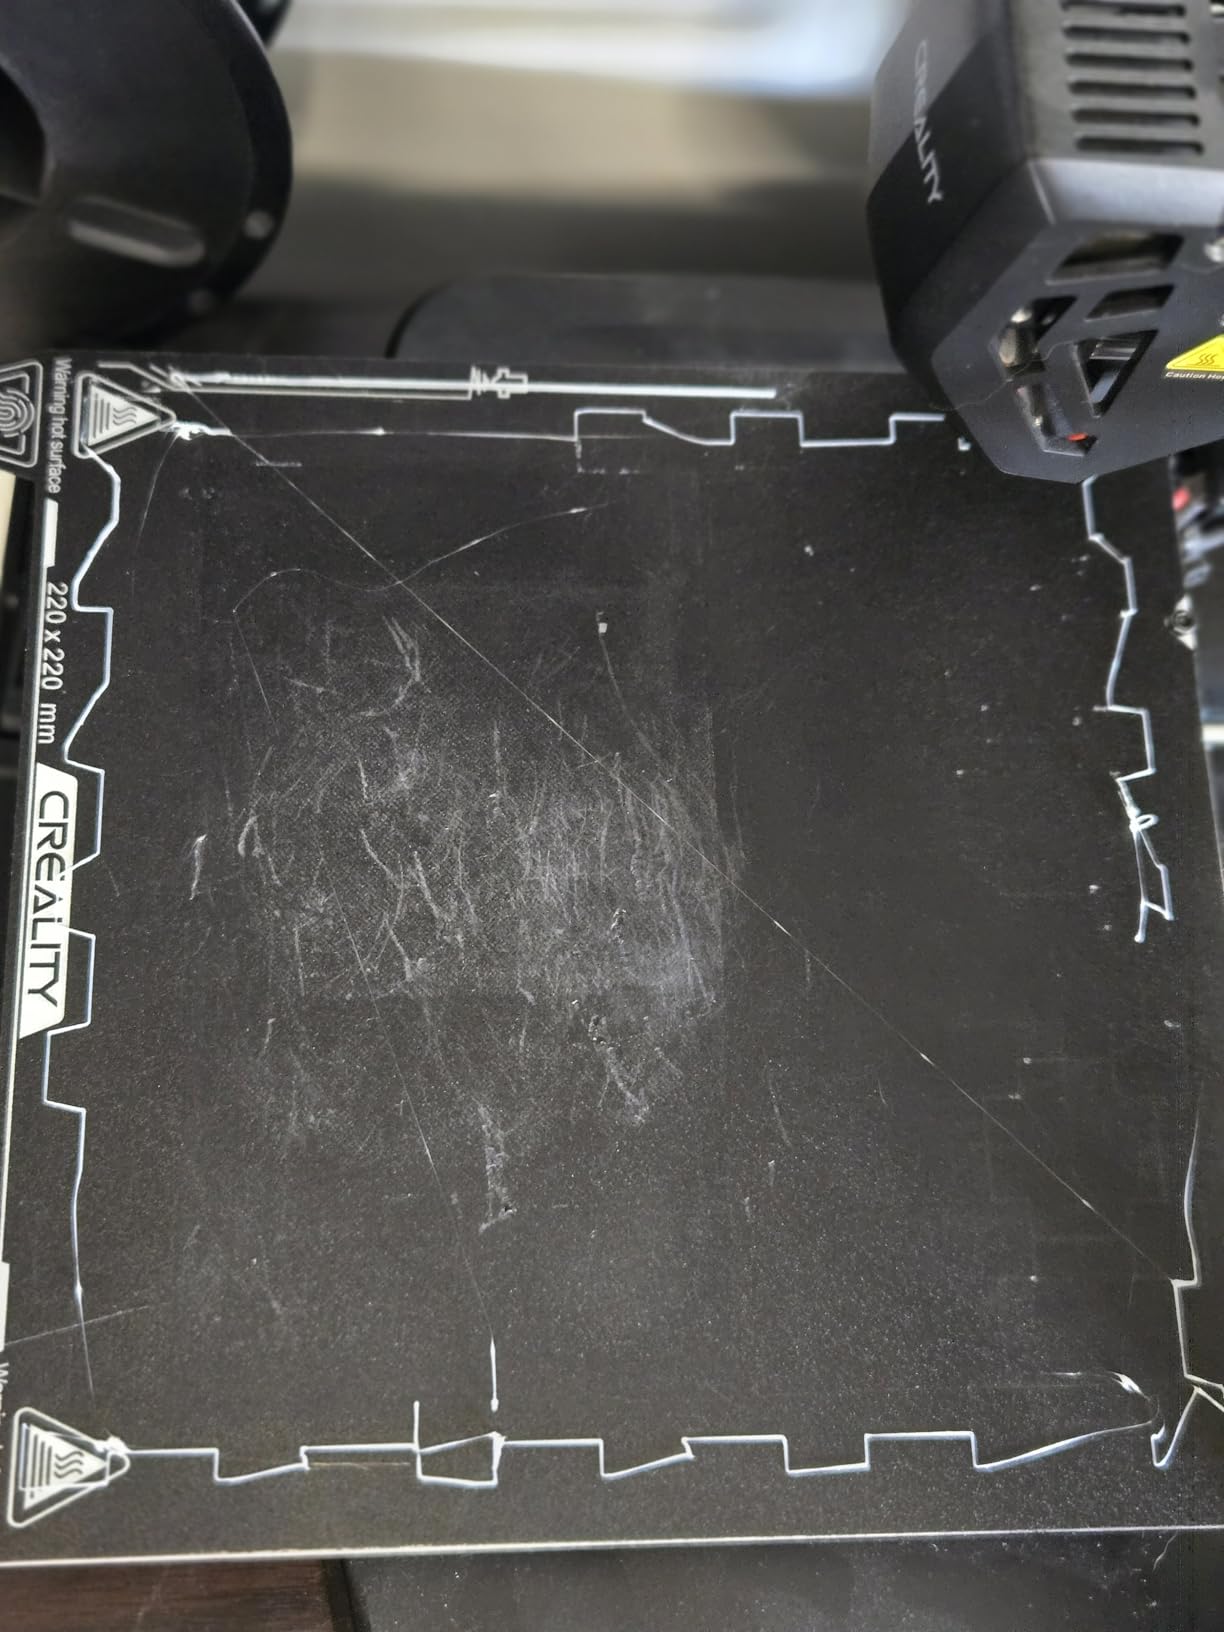
Print speed is rated at 250mm/s with 2500 mm/s² acceleration. In practice we saw good results between 150 and 200mm/s on short, simple geometry. Pushing the ceiling produces visible ringing on a bed slinger, so treat the number as a limit rather than a target.
The rating spread on this machine is worth understanding. It has the highest review count of anything here at roughly 790 ratings, and 65% of owners give it five stars, but 12% give it one star. Those negative reviews cluster on early-life hardware rather than print quality.
Why this is the smart budget buy?
Auto leveling and automatic Z-offset used to cost extra. On this machine both are standard, and that is the whole difference between a first printer you keep and a first printer you abandon. The quiet 32-bit mainboard also keeps noise low for a machine that shares a room.
Parts availability is the quiet superpower. Spool-holder, extruder, nozzle, and hotend parts are everywhere, and every fix is a screwdriver job. If you want a bigger picture of how the Ender family fits into the hobby, our beginner roundup covers the older models we deliberately left out here.
Where it causes problems?
Cooling fan failures and Y-axis bearing noise inside the first few weeks are the most reported complaints. The bundled USB drive is also unreliable on some units, so budget for a replacement drive and a spare set of cooling fans early.
One real gotcha caught us out: the shipped power setting can default to 220V, so check that switch and set it to 125V before first use in the US. There is also no enclosure, which means ABS and ASA are off the table.
3. Flashforge Adventurer 5M – Best CoreXY Speed Pick
FLASHFORGE Adventurer 5M 3D Printer, 600mm/s High-Speed, 1 Click Fully Auto Leveling, Upgraded Direct extruder Quick Detachable 280°C Nozzle, Dual-Sided PEI Coating Plate, Print Size 220x220x220mm
CoreXY up to 600mm/s
20000 mm/s2 acceleration
32mm3/s 280C nozzle
220mm cube volume
Pros
- Printing within about 10 minutes of unboxing
- CoreXY motion is fast and stable at speed
- Input shaping cuts ghosting and ringing
- PEI plate grips PLA and PETG and releases models easily
- Support that sends replacement parts quickly
Cons
- Some early machines needed sensor replacement
- Firmware freezes and WiFi drops are reported
- Proprietary network interface restricts slicer choice
The Flashforge Adventurer 5M is one of the two fastest machines in this roundup, rated at 600mm/s with 20000 mm/s² acceleration. More important than the headline number is the CoreXY motion system, which keeps the print head centered over the bed so quality holds up at speed instead of degrading.
We had it printing within roughly 10 minutes of unboxing. The one-click full auto leveling handled bed and offset calibration in a single pass, and the 32mm³/s nozzle reached 200°C in 35 seconds, so back-to-back prints do not stall.
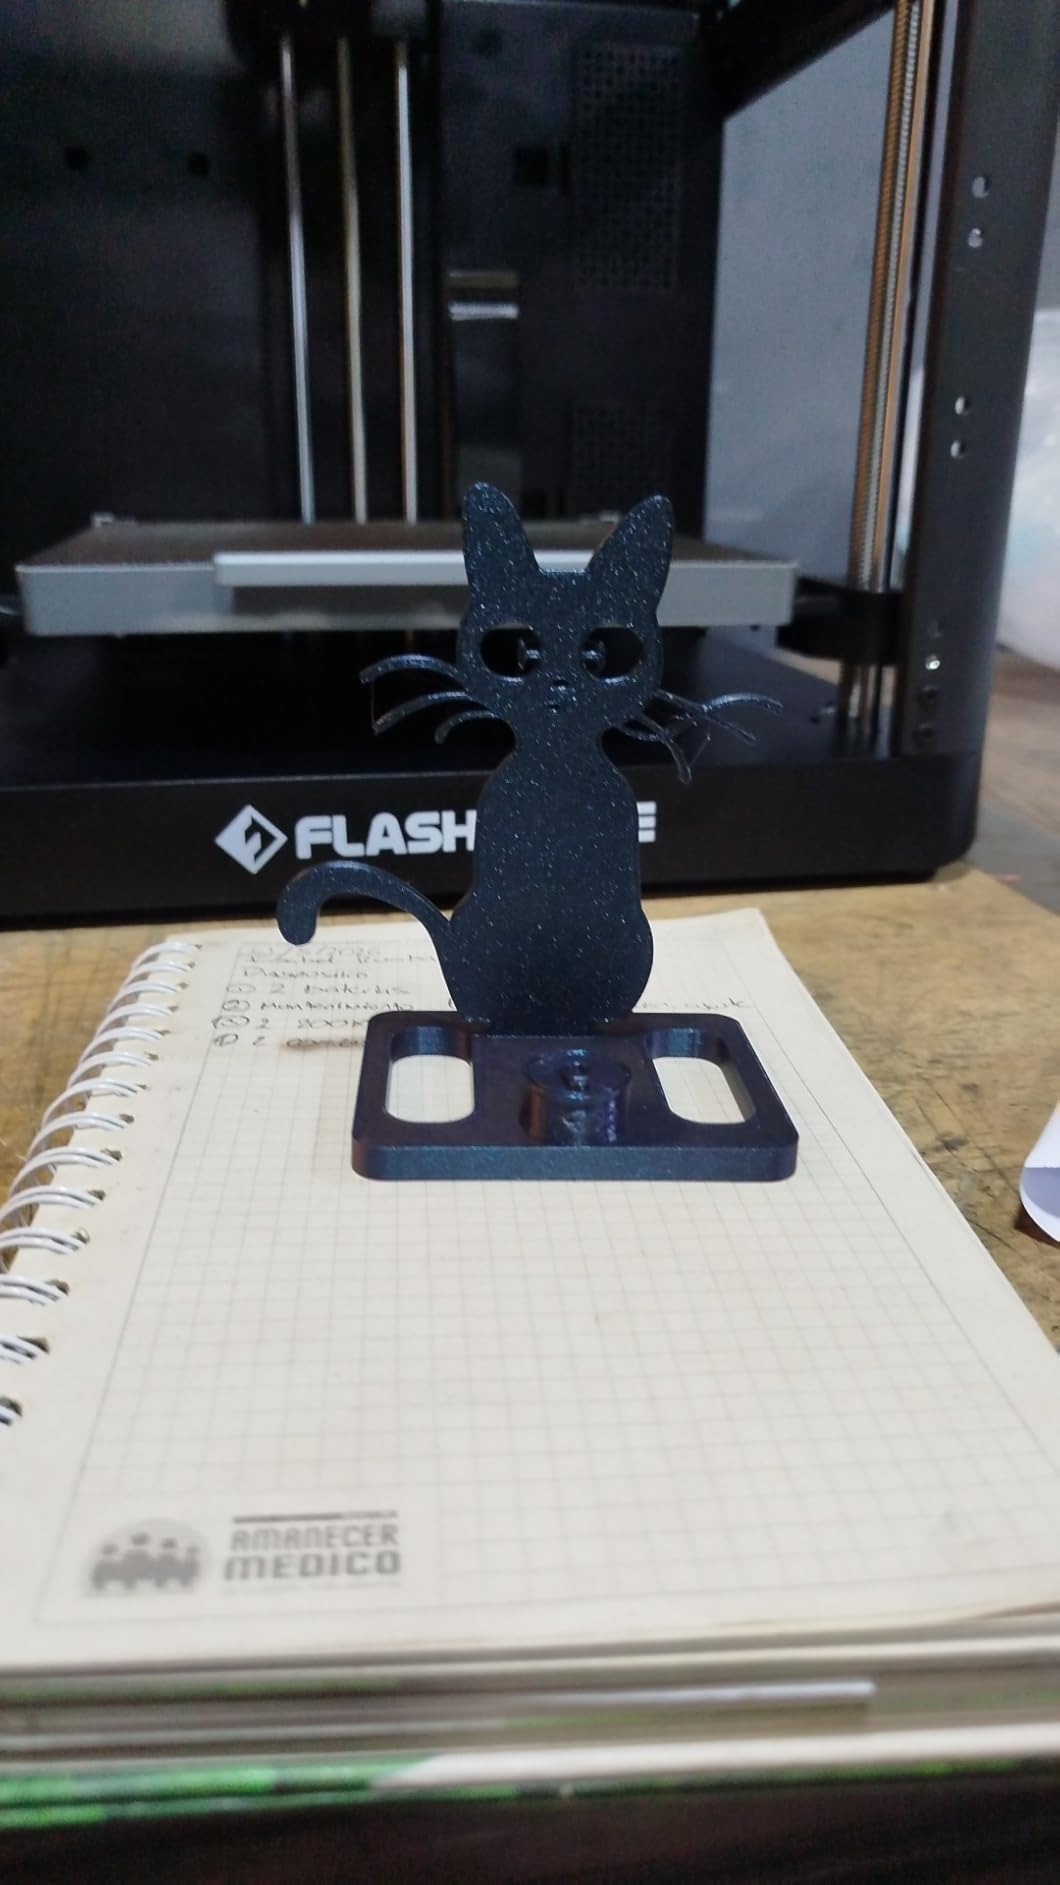
Print quality was very good once we used the recommended Orca slicer profiles. The dual-sided flexible PEI steel plate grips PLA and PETG firmly and releases finished parts without a fight, which matters far more to a beginner than surface finish does.
Input shaping and vibration compensation kept ringing almost absent even on tall, thin walls. That is the difference between a machine that is fast on paper and a machine that produces good parts quickly.
Where the speed actually helps a beginner?
Quicker prints mean shorter feedback loops. When you are learning slicer settings, a two-hour print that fails teaches you something, while a fifteen-minute failed test print costs almost nothing. That alone justifies the CoreXY premium over a basic bed slinger.
Filament run-out detection and power loss recovery are included, and both prevent a ruined spool after a long overnight job. The machine is also quiet and compact enough for a desk, at 14.29 x 15.83 x 17.64 inches.
Where it disappoints?
The firmware layer is the weak point. Owners report occasional freezes and WiFi or app drops, and the proprietary network interface restricts slicer choice unless you install Klipper yourself. That is a real cost for anyone who likes open tooling.
There is no enclosure despite the model name, and no multi-color support. The filament sensor only detects an empty tube, not feed tangles, so a jam can still waste a partial spool.
4. Creality SPARKX i7 – Best for Larger Build Volume
Creality SPARKX i7 3D Printer with AI Camera Monitoring, Auto Leveling, Quiet High-Speed Desktop Printing, Easy Setup, Direct Drive Extruder, WiFi Connectivity, 260×260×255mm Build Volume
260 x 260 x 255mm build volume
Built-in camera with timelapse
5-second tool-free hotend swap
29.7 lb
Pros
- Largest build volume in the group
- Arrives assembled and prints within minutes
- Camera monitoring cuts wasted filament on failed prints
- WiFi setup is simple and the app works well
- CFS Lite adds affordable multi-color later
Cons
- Noticeably noisy with linear bearing noise at speed
- Some machines arrive with warped beds and loose framing
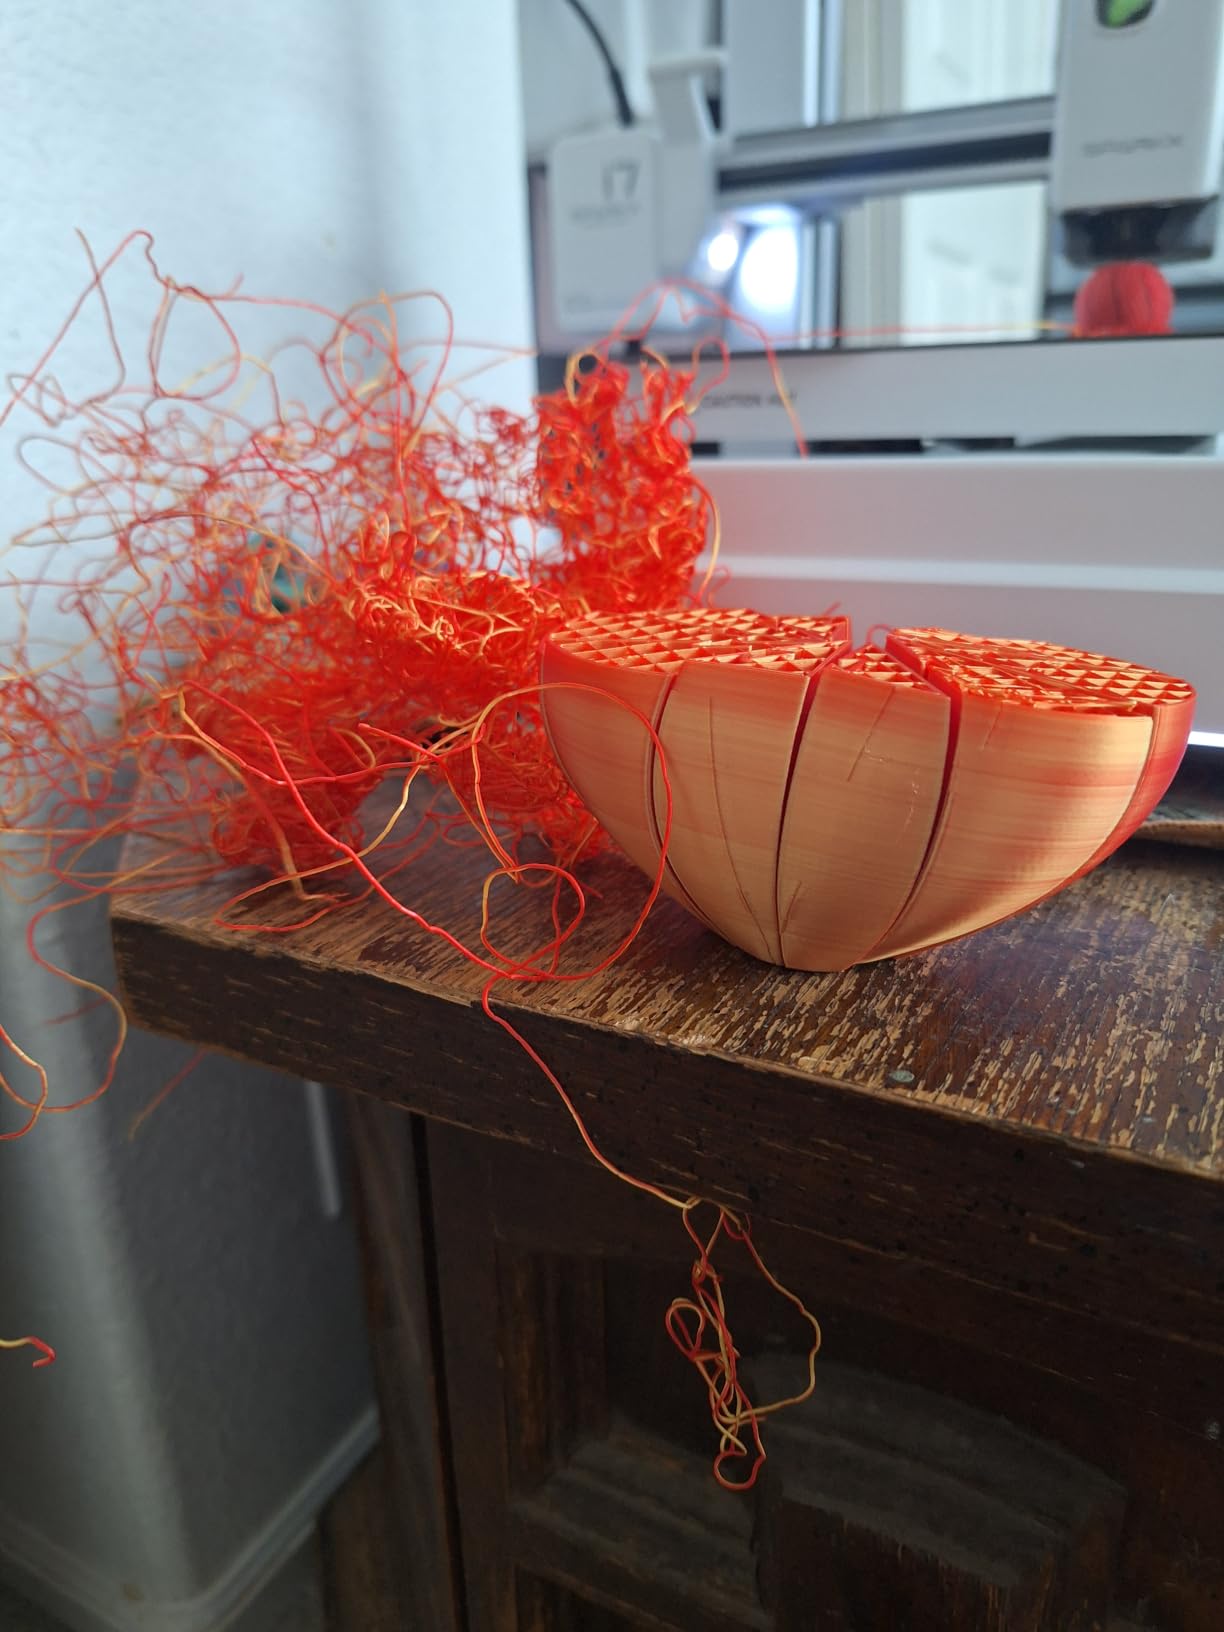
- Extruder path can snag infill and cause layer shifts
The Creality SPARKX i7 has the largest build volume of the eight machines here, at 260 x 260 x 255mm, and it is the only one that ships with a built-in smart camera. That combination makes it the pick if you want to print bigger parts or watch a long job without sitting next to it.
It arrives fully assembled, with bracket removal as the only setup step. Automatic bed leveling and streamlined calibration ran quickly, and the 5-second tool-free hotend swap means a nozzle change does not require tools.
The camera is more useful than it sounds. Remote viewing, timelapse, and print status detection let you catch a spaghetti failure in minutes instead of discovering it after four hours of wasted filament. For beginners running overnight prints, that is a genuine quality-of-life gain.
Print quality held up around 300mm/s on our test models. WiFi setup was straightforward, and stock Creality app settings worked with mainstream third-party filaments without profile hunting.
Why build volume changes the buy?
A 260mm cube fits things a 220mm cube cannot: larger enclosures, bigger desk organizers, and mid-size cosplay pieces. If you have already seen yourself splitting models to fit, this is the machine that stops that habit from forming.
The 5-second tool-free hotend swap is a maintenance win, and the CFS Lite option adds multi-color printing later without replacing the printer. Just check the total against your ceiling before committing.
Where it disappoints?
Noise is the honest drawback. Linear bearing noise at speed is noticeable, and reviewers describe the machine as loud compared with the CoreXY machines in this group. It suits a garage or workshop better than a bedroom.
Quality control is inconsistent on some machines, with warped beds and loose framing reported out of the box. The rating sits at 4.0 with a 15% one-star share, and owners also report the extruder path snagging infill on long prints.
5. Flashforge AD5M – Best for Low Maintenance
FLASHFORGE AD5M 3D Printer Fully Auto Calibration Print with 1-Click Max 600mm/s Speed, All-Metal CoreXY Structure Precise Printing, Easy-Maintenance Quick-Swap Nozzle, Print Size 220x220x220mm
All-metal CoreXY motion
One-click leveling and offset calibration
Tool-free nozzle swap
220mm cube volume
Pros
- Assembles in roughly 15 to 20 minutes
- One-click auto leveling is accurate and removes manual calibration
- Quiet for a printer in this class
- Tool-free nozzle swap simplifies maintenance
- Power outage recovery resumes from the current layer
Cons
- Some machines struggle with third-party filament adhesion and dispensing
- WiFi connectivity can be spotty while Ethernet is steadier
- Slicing needs a Windows or Mac computer so iPad-only users cannot slice
The Flashforge AD5M is the machine we would recommend to someone who does not want to become a maintenance technician. The all-metal CoreXY structure, one-click auto leveling, and a patent tool-free nozzle release cover the three things that most often turn a first printer into a project.
Assembly took about 15 to 20 minutes and it printed from the first attempt. The one-click system handles both bed leveling and nozzle-to-bed offset in a single operation, so there is no manual sequence to learn.
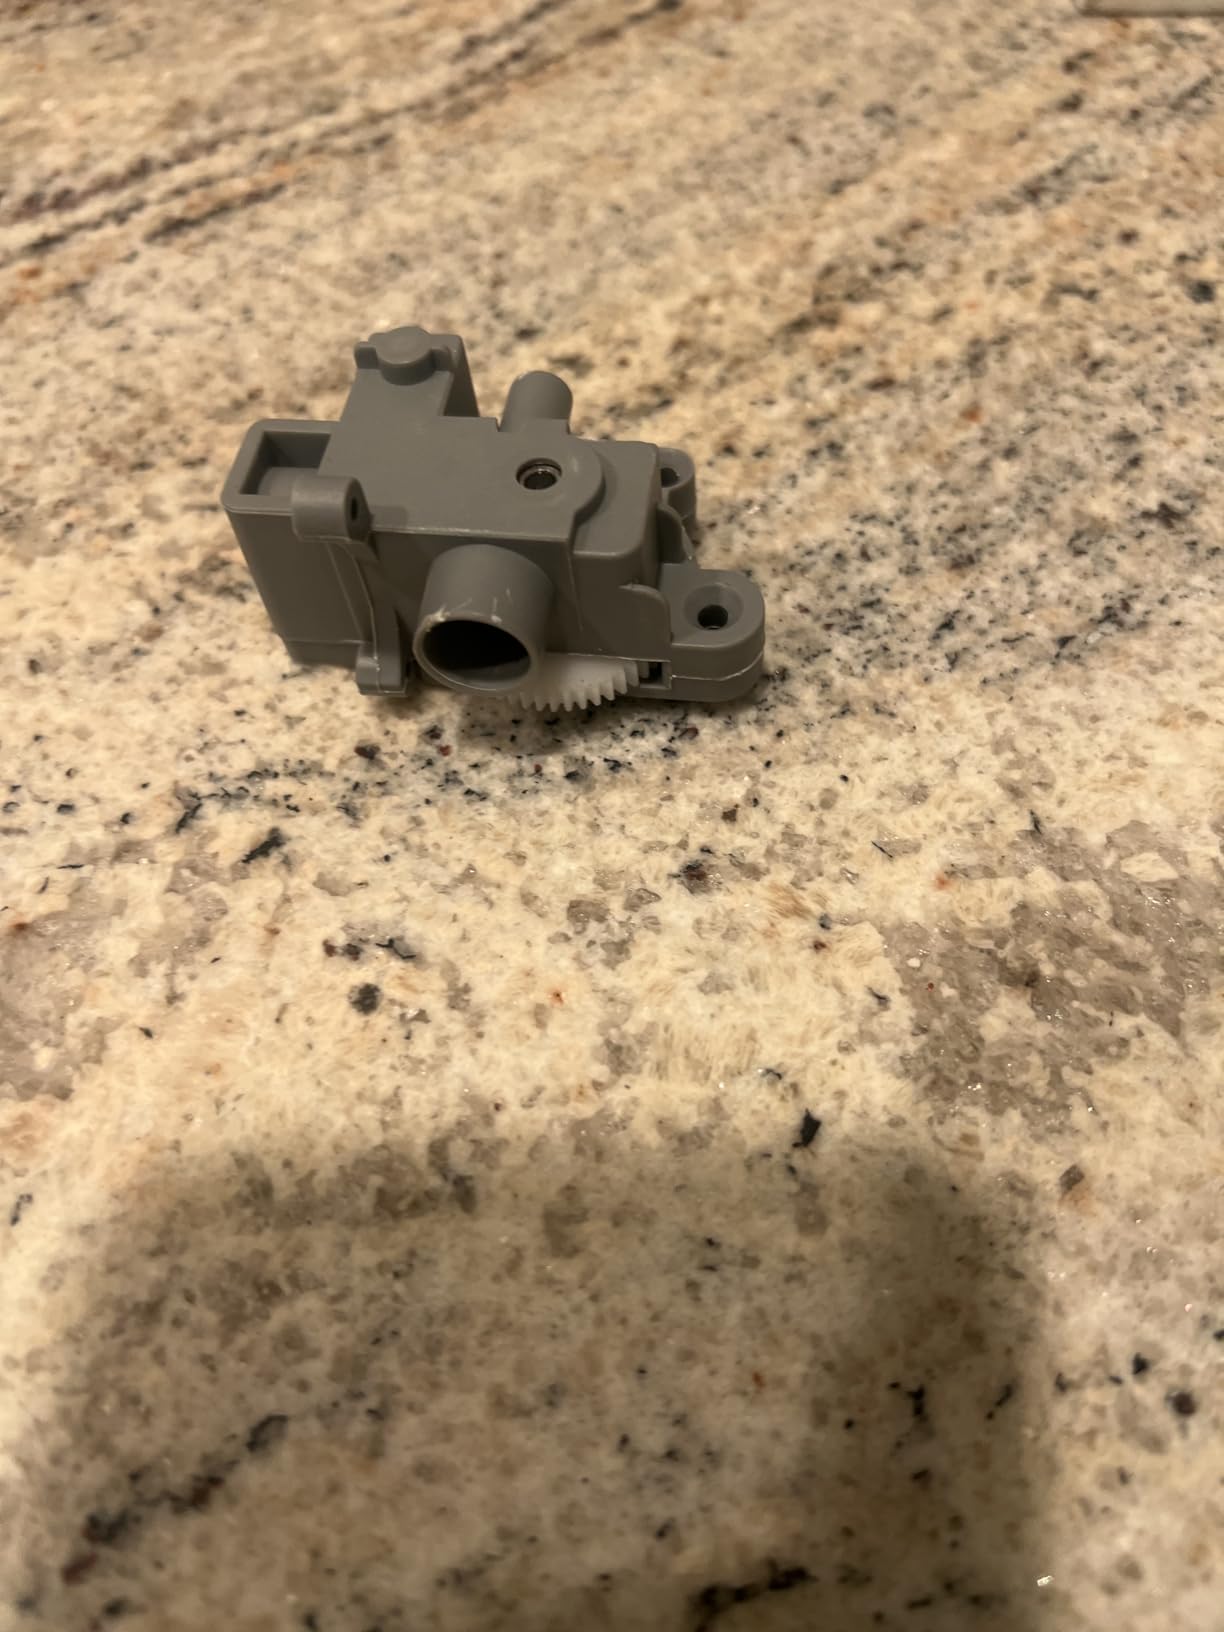
The nozzle is genuinely the easiest hotend swap in this roundup, changing in about 3 seconds with no tools. Nozzles come in 0.25, 0.4, 0.6, and 0.8mm, so switching between detail work and fast infill takes seconds rather than an afternoon.
Layer adhesion was good once settings were dialed in, and the double-sided flexible PEI steel plate has a reverse side optimized for PETG. That saves buying a second plate when you move beyond PLA.
Low maintenance in practice
Power outage recovery saves the ongoing layer and resumes, so a tripped breaker does not mean restarting a six-hour print. Combined with quick-swap nozzles and accurate one-click calibration, the machine asks very little of you between prints.
The bundled slicer has a gentle learning curve with user-friendly profiles, and the app supports one-click batch file transmission plus multi-printer monitoring if you later add a second machine.
Where it disappoints?
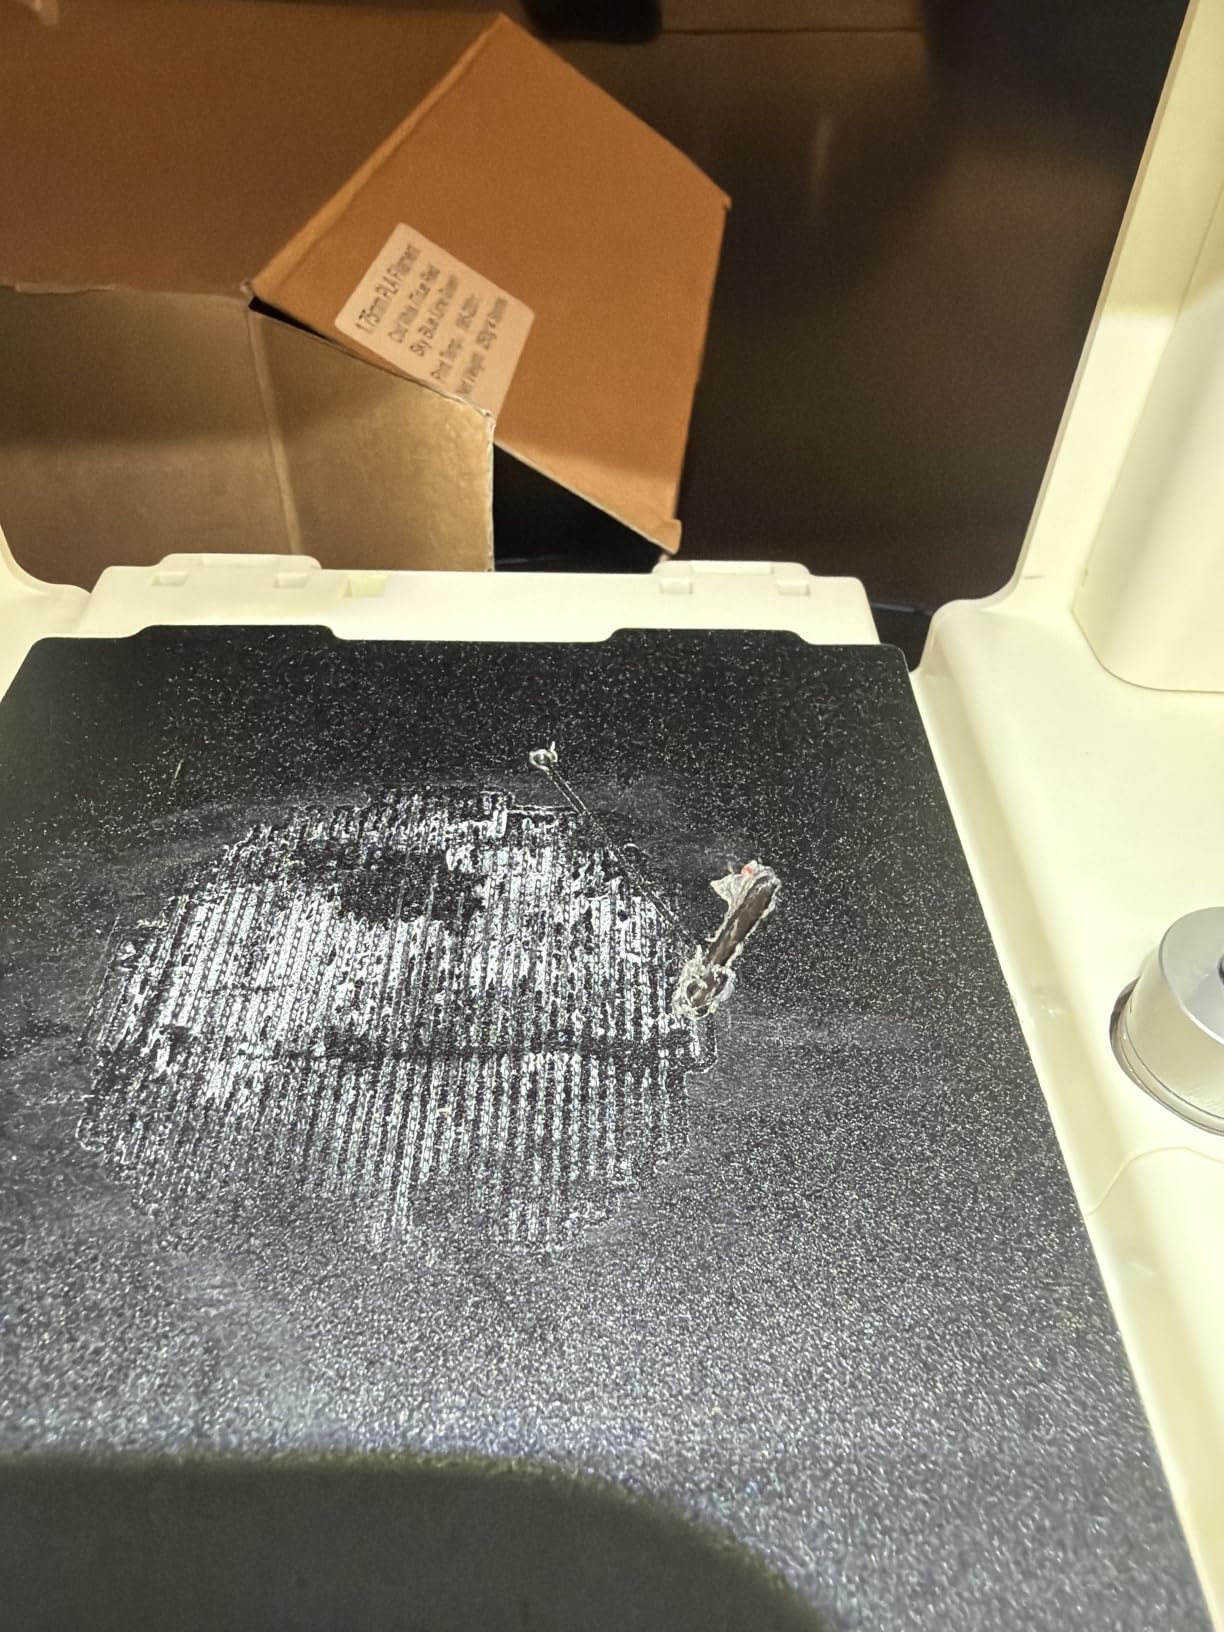
A recurring complaint is difficulty dispensing some third-party filaments, which can look like a machine fault when it is really a filament fit issue. Stick with reputable brands first and adjust retraction before blaming the hardware.
WiFi reliability is uneven and Ethernet is the steadier path. Slicing requires a Windows or Mac computer, so iPad-only households should look elsewhere. Bed heat-up is also slow and the fans can be loud.
6. Entina Tina2C – Best for Kids and STEM
Entina Tina2C 3D Printer for Beginners, Fully Assembled Starter Mini 3D Printer, Start in 8 Mins, App & WiFi Control, Auto Leveling, 3500+ Model Library, 25+ Creative DIY Modules for STEM, Home
100mm (3.9in) cube build volume
First print in about 8 minutes
Poloprint Cloud app with AI search
Pros
- Kids and first-timers print within hours of unboxing
- App-driven workflow with a large updated model library
- Compact
- light
- and low noise for a small desk or classroom
- Self-cleaning nozzle and quick-swap printhead
- Works with Windows macOS Linux Chromebook Cura and Simplify3D
Cons
- 100mm build volume limits model size
- Prints can come out slightly wobbly
- Loading filament into the small tube takes practice
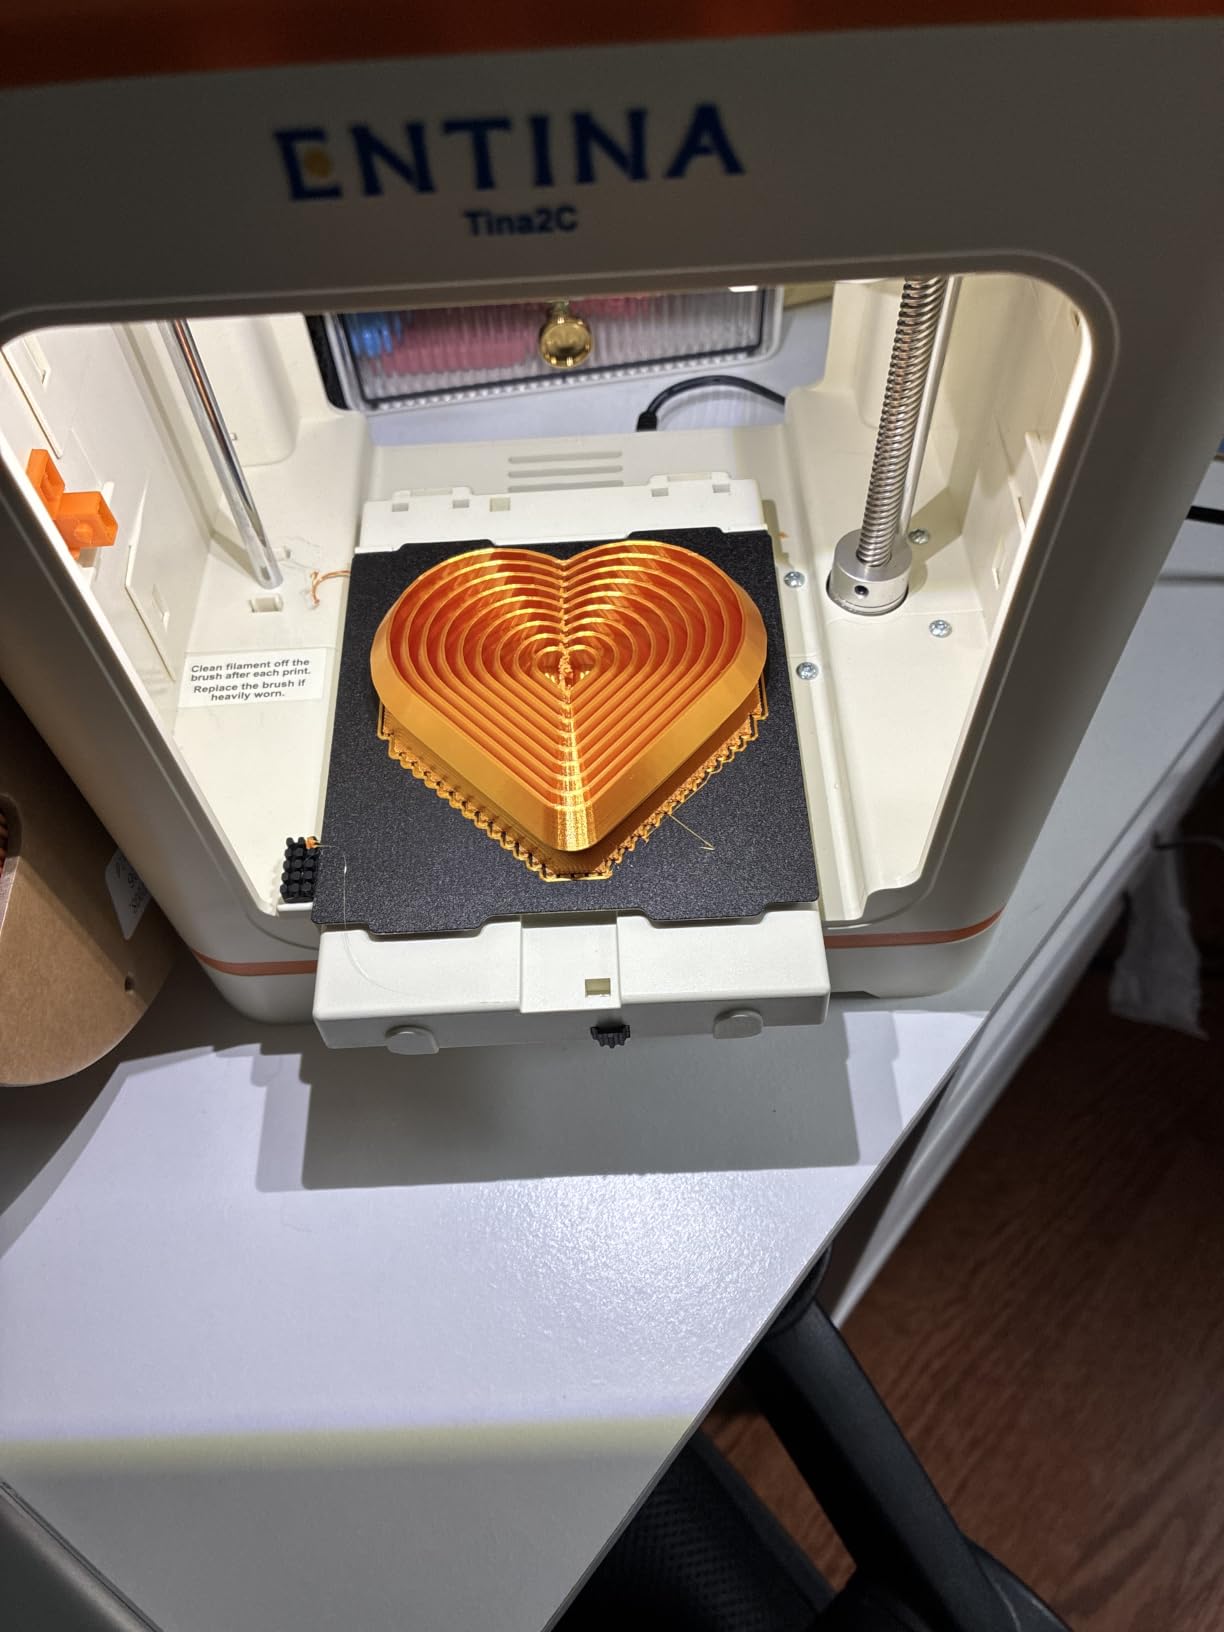
The Entina Tina2C is built for a specific buyer: a parent buying a child’s first printer, or a classroom. It weighs 5.28 pounds, takes up the space of a small coffee maker, and prints within about 8 minutes of unboxing through guided setup in the Poloprint Cloud app.
That app is the feature. AI-powered search and photo-to-print let a kid pick a shape, turn a photo of something into a model, and start a print without touching a slicer. There are also 25-plus creative STEM modules included.
Intelligent auto-leveling and power-loss recovery are present, along with a flexible magnetic build plate for easy model removal. A self-cleaning nozzle design and quick-swap printhead mean fewer reasons for a child to ask an adult for help mid-project.
WiFi printing works on 2.4GHz networks, and a TF card gives you offline printing when the network is the problem. That is a practical detail most listings never mention.
Why parents keep this one?
The safety and supervision math works in your favor. It is light enough to move, quiet enough for a bedroom or study, and it produces finished objects rather than half-assembled kits. Integrated LED lighting means a child can watch the print without opening anything.
It also grows into a learning tool. Since it works with Cura and Simplify3D alongside the app, a curious teenager can start learning slicing software without new hardware.
Where it disappoints?
The 100mm cube build volume is the hard limit. Anything larger has to be split and joined, which is a fine lesson in planning but a frustrating one as a first experience. Print quality is also modest, and owners describe results as slightly wobbly on tall parts.
A smaller but persistent group report filament breakage and nozzle clogs that need troubleshooting beyond first-time-owner skill. Loading filament into the narrow tube also takes practice, and the side hook will not take 1kg spools.
7. TINA2S – Best All-in-One Gift Starter Kit
TINA2S Fully Assembled Mini 3D Printer for Kids and Beginners, Starter Kit
Printer, 10m PLA and SD card included
8.3 x 8.3 x 11.4 in, 6.4 lb
Auto leveling, dual Z rails
Pros
- Arrives fully assembled and prints reliably out of the box
- Bundled filament
- SD card
- and models remove first-purchase guesswork
- Auto leveling and dual Z rails give consistent first layers
- Compact and light enough for a dorm or classroom
- Works with Windows Mac and Linux plus the common slicers
Cons
- Small build volume restricts model size
- Proximity sensor malfunctions with a non-metal build plate
- Small or detailed parts can need multiple attempts
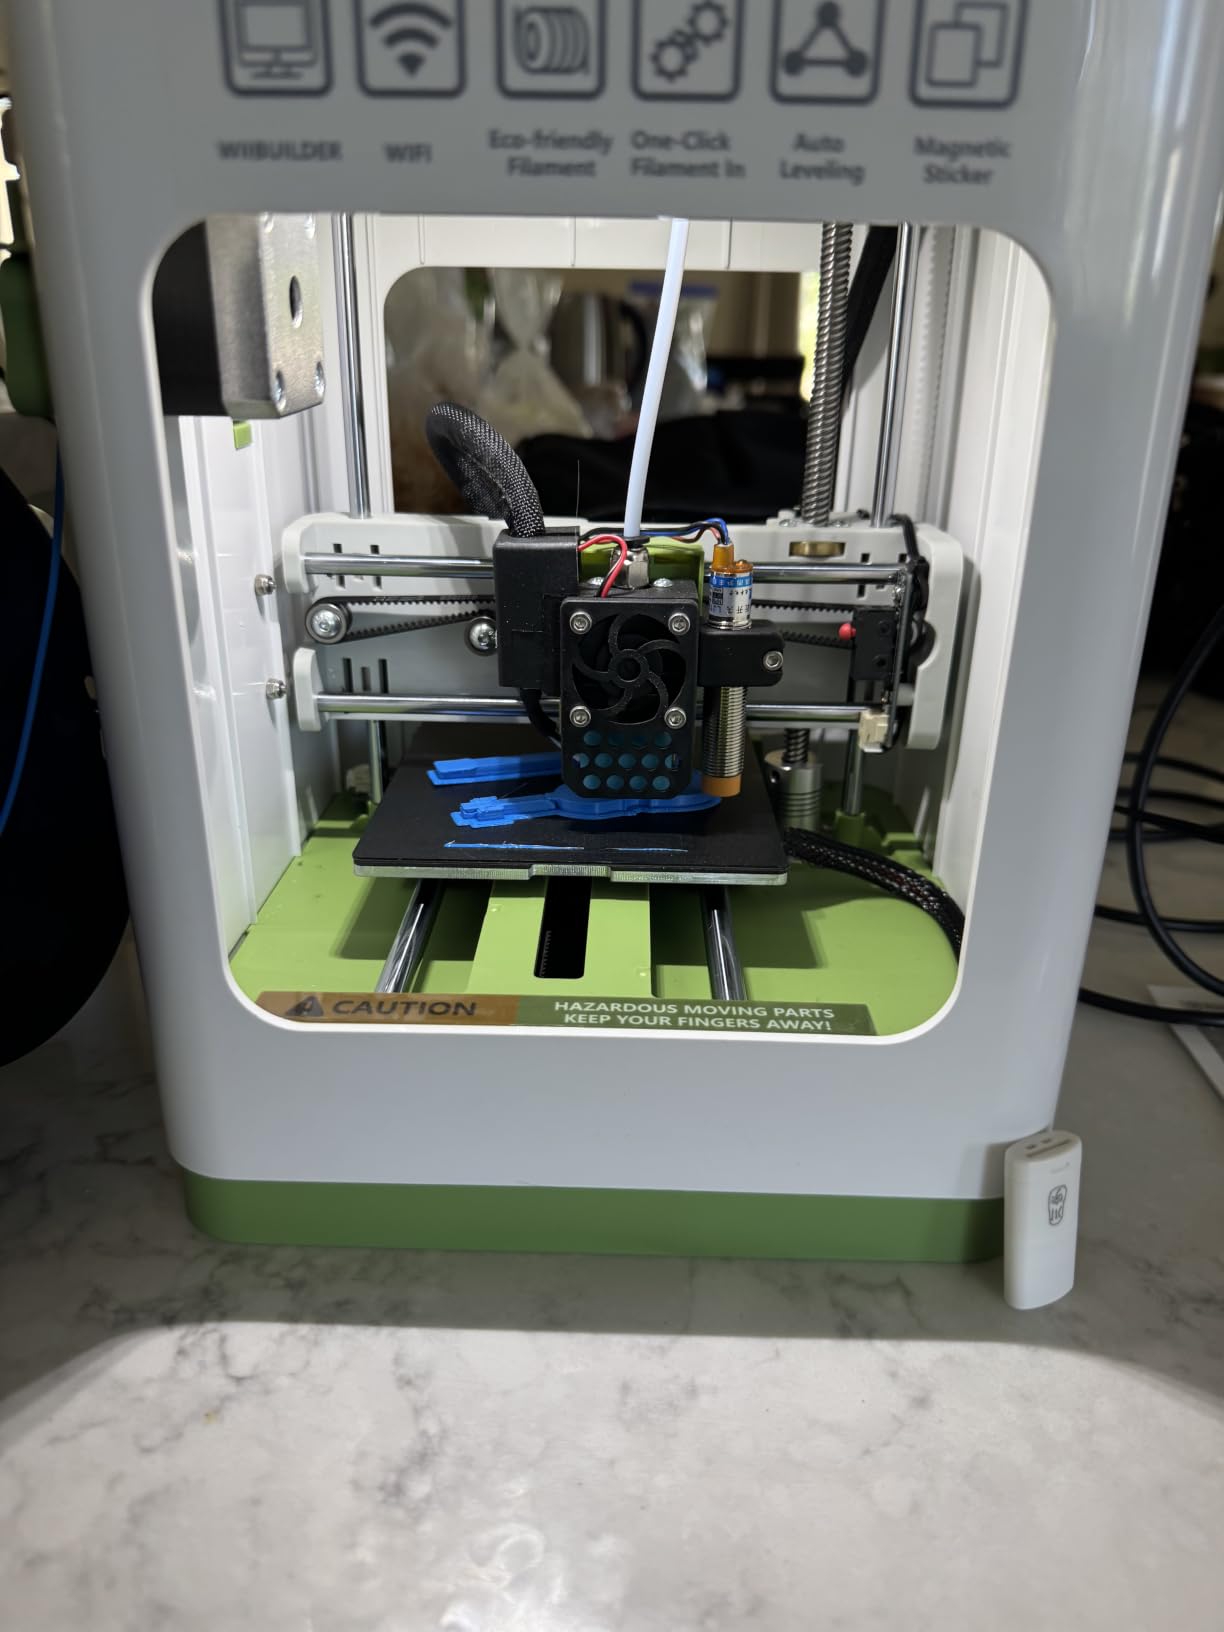
The TINA2S is the simplest gift you can buy in this band because it removes every first-purchase decision. The box contains the printer, 10 meters of PLA filament, and a pre-loaded microSD card with models and slicing software, so nothing needs to be bought separately to print on day one.
It arrives fully assembled at 8.3 x 8.3 x 11.4 inches and weighs 6.4 pounds. Auto leveling runs on dual Z-axis rails, a 2.4 inch LCD handles basic controls, and a flexible magnetic build plate pops finished parts off easily.
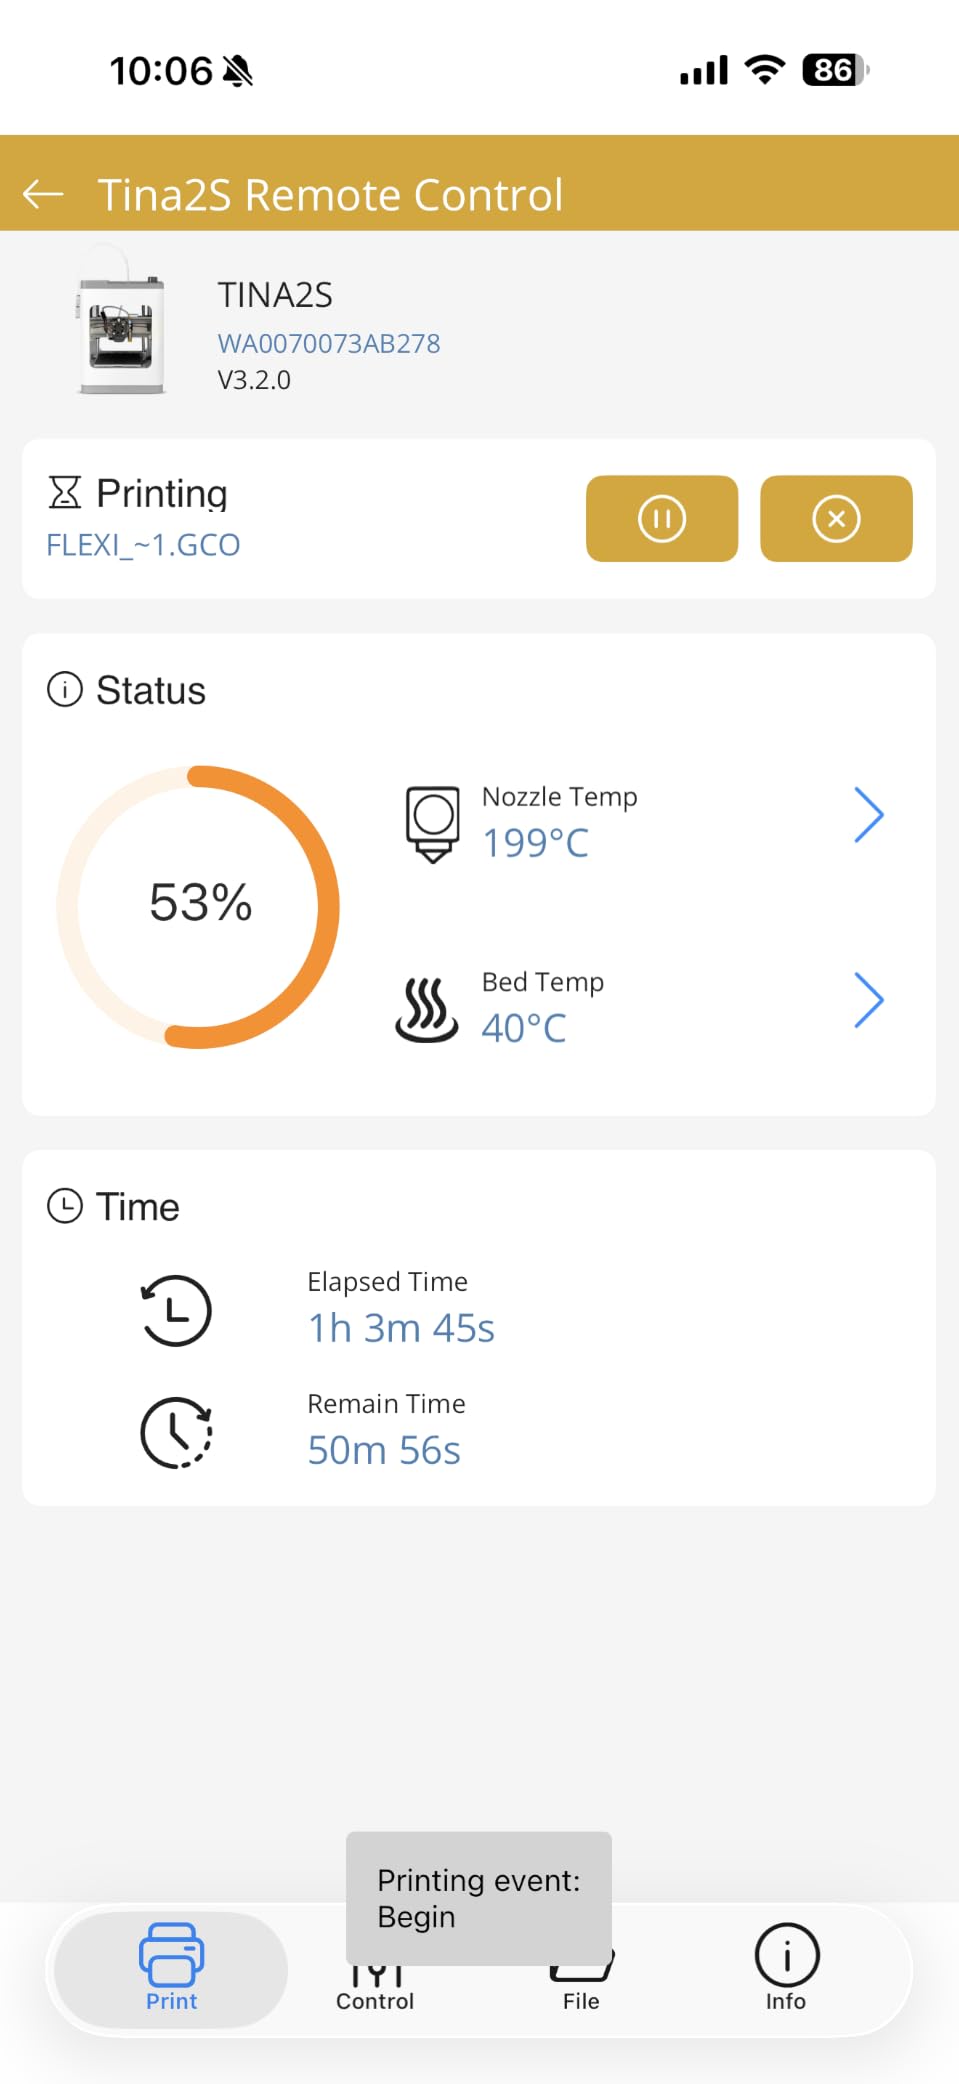
Consistent first layers across several spools is where the auto leveling shows. One-touch filament load and retract take the fussiest part of setting up a new machine off the table, and active pause and resume functions let you add filament mid-print without starting over.
Compatibility is broad for a small machine: 1.75mm PLA, PLA Pro, and TPU, plus WiFi and open source slicing support across Mac, Windows, and Linux.
What the bundle saves you?
Beginners routinely underestimate the first accessory run. Pre-loaded models and a starter spool mean the first print happens in minutes rather than after an afternoon of downloads and calibration tests. That short distance from opening to finished object is the whole point.
It is also a safe second purchase. Parents buying a second printer for a child or a student in a dorm get a machine that moves between rooms without a dolly.
Where it disappoints?
The build volume is small, so model choice is limited from day one. Detailed or tiny parts can need multiple attempts before they come out clean, which is worth knowing if the intended user is impatient.
There is one setup rule that catches people: the proximity sensor only works with a metal or magnetic build plate, so swapping in a third-party plate disables it. WiFi setup and the firmware software are also less polished than on newer machines.
8. Creality Ender-3 V3 KE – Best for Wider Filament Support
Creality Ender-3 V3 KE 3D Printer, 500 mm/s High-Speed Printing with Auto-Leveling, Sprite Direct Extruder Supports 300℃ Printing, Ultra-Smooth and Stable, 220×220×250 mm Print Volume
500mm/s with 8000 mm/s2 acceleration
300C copper nozzle, bi-metal heatbreak
CR Touch auto leveling
Pros
- 10 to 15 minute assembly then automatic calibration
- 500mm/s rated speed with good accuracy
- Sprite direct drive with a 300C copper nozzle
- CR Touch leveling is accurate with a better bonded build plate
- Can print large parts such as cosplay helmets in one piece
Cons
- Highest one-star share here at 23% with early failures and gantry reports
- Some machines arrive with a misaligned gantry
- Warranty service expects you to disassemble and repair the printer yourself
The Ender-3 V3 KE is the fastest Ender variant and the only machine in this roundup with a hotend rated to 300°C, which makes it the practical choice if you want to work with engineering filament later. PLA, PETG, ABS, TPU 95A, and ASA are all listed as supported.
Setup took 10 to 15 minutes, then calibration ran automatically. CR Touch multi-point leveling proved noticeably more accurate than a basic probe, and the bonded build plate has better adhesion than the V3 SE. Ball-bearing X-axis motion keeps travel smooth.
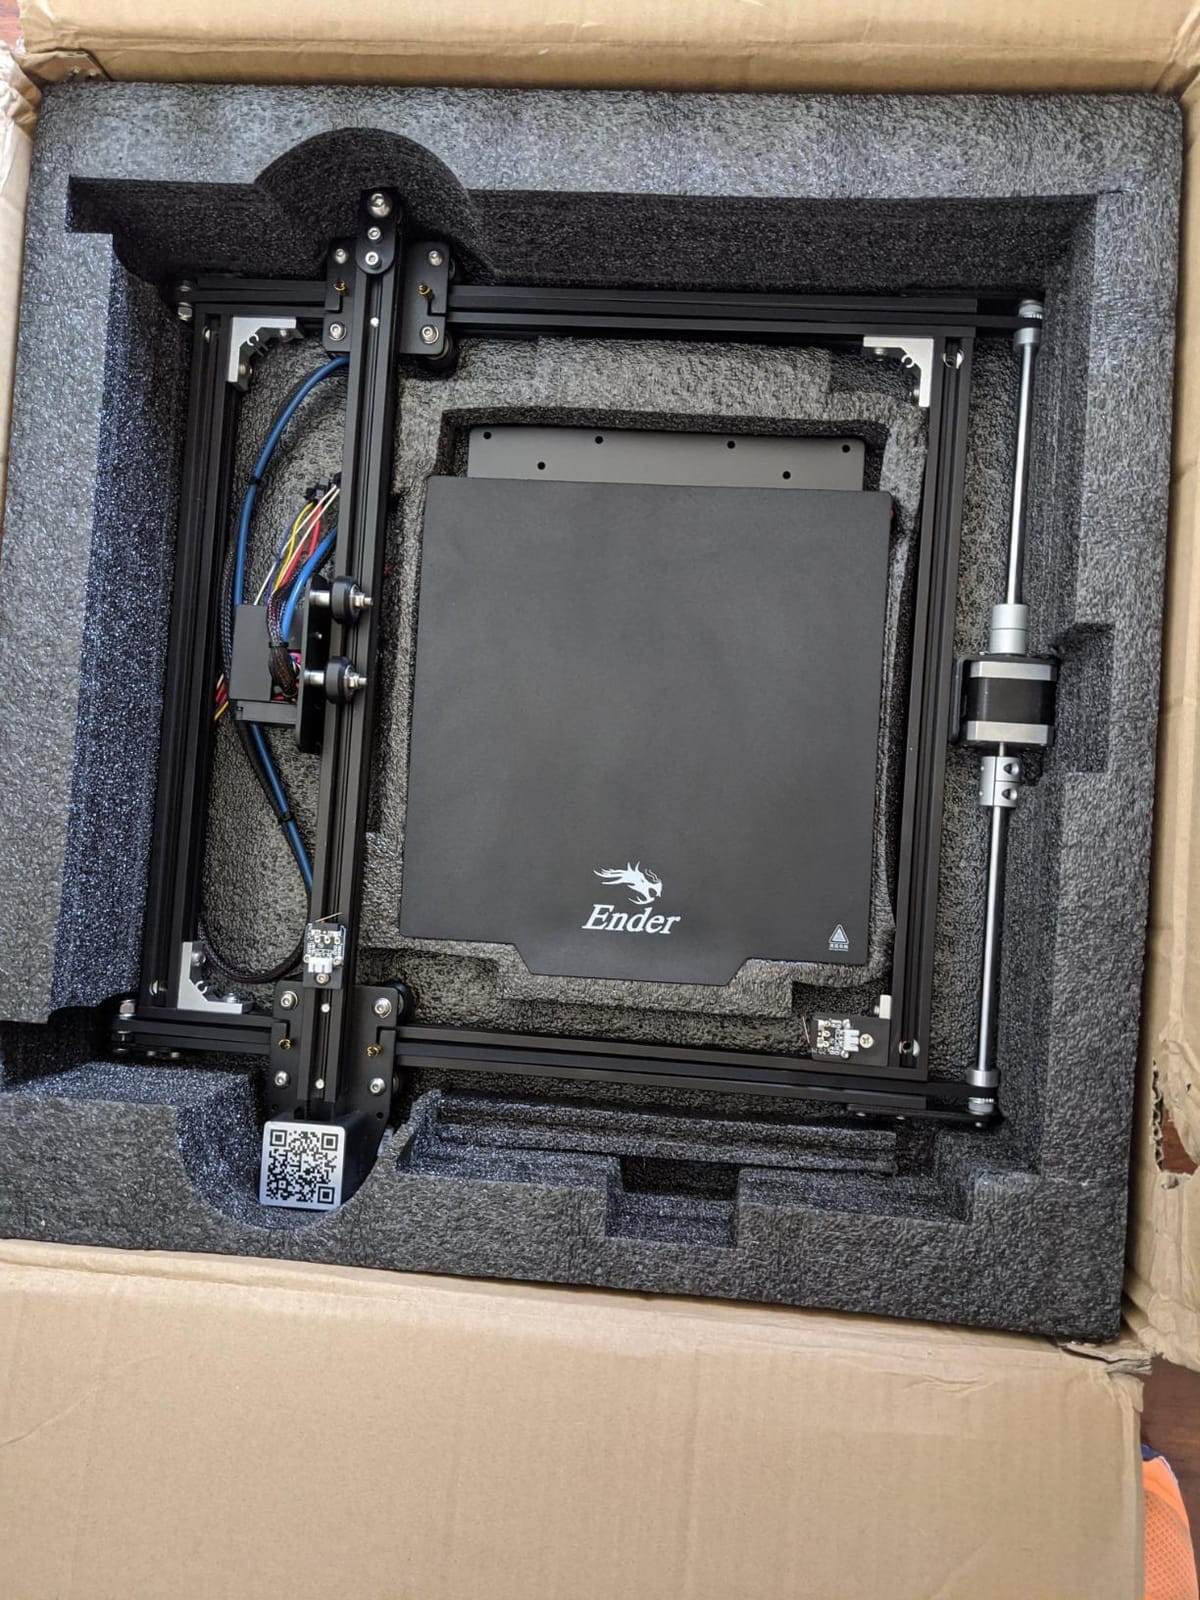
Rated speed is 500mm/s with 8000 mm/s² acceleration, and vibration mitigation keeps ringing down. As with any machine, real geometry will not hit those ceilings, so treat them as headroom rather than a working number. Stated printing accuracy is 0.1mm.
The 300C copper nozzle with a bi-metal heatbreak is the reason to pick this over the V3 SE. It widens material choice, which is the only way to get ABS or ASA quality from a machine at this level, even though the open frame makes those materials harder to print well.
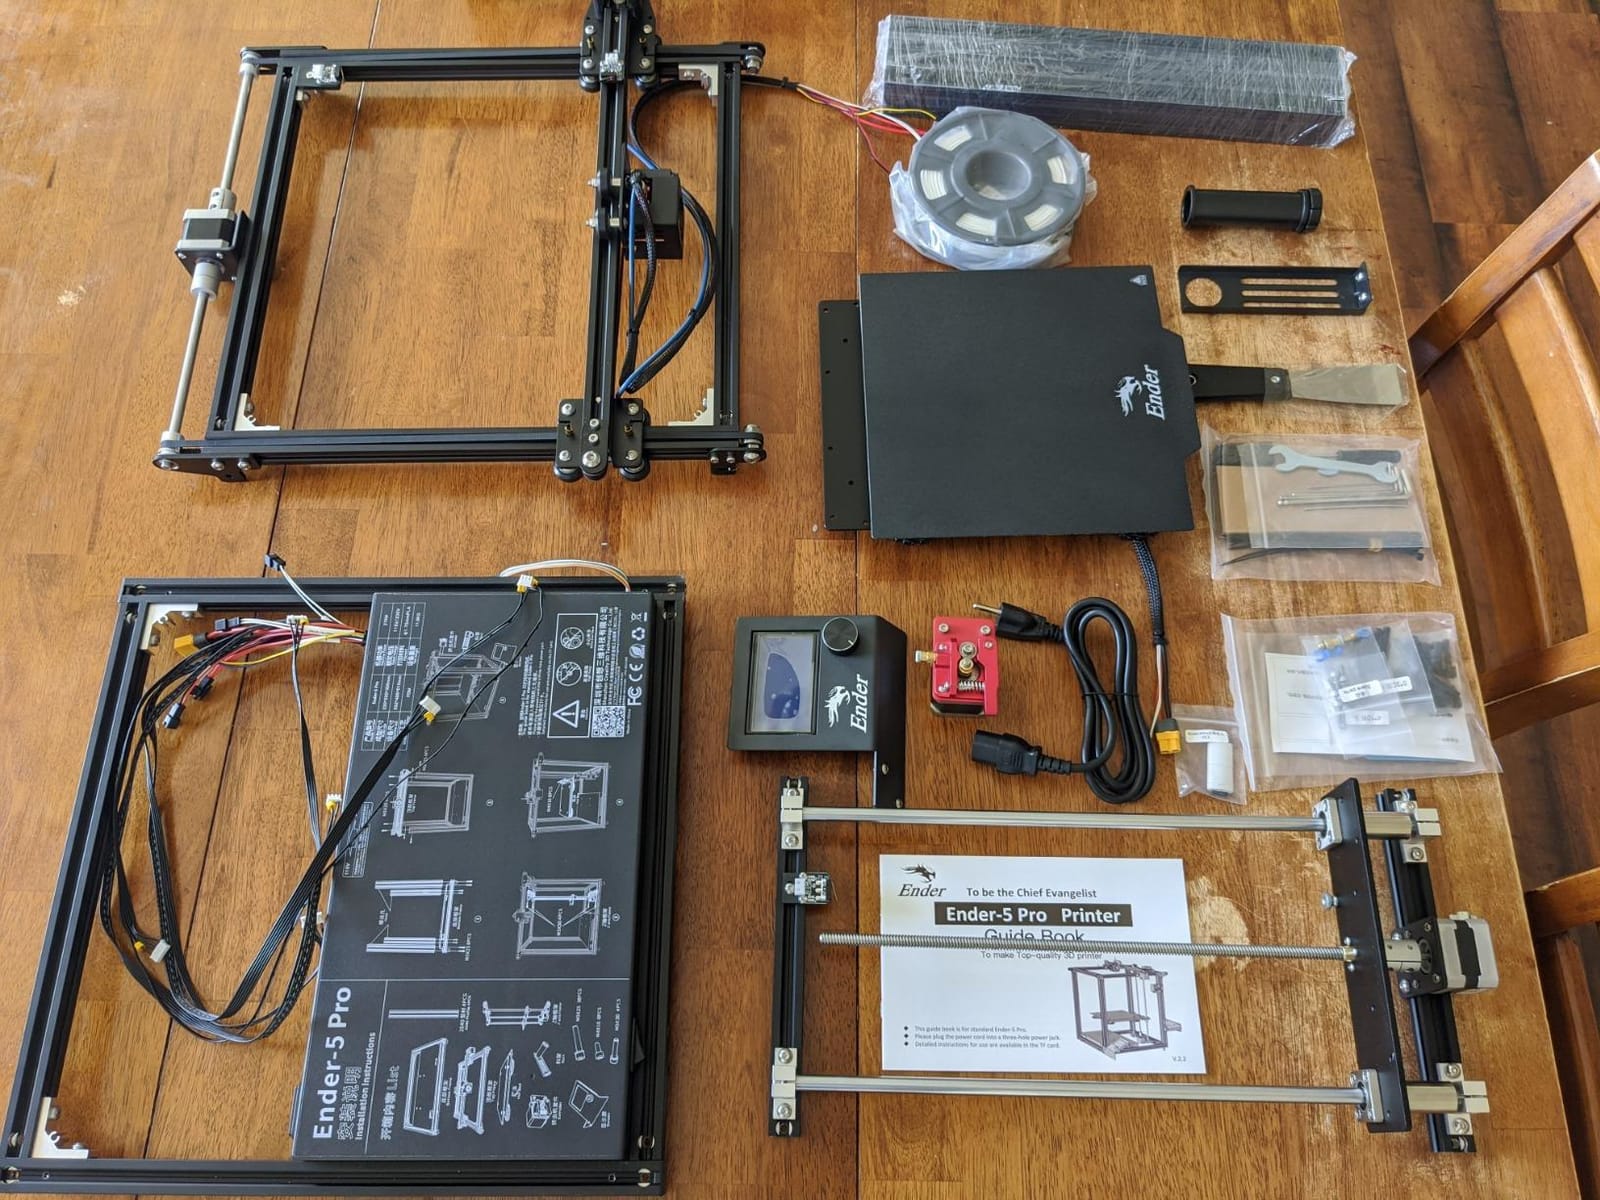
When the KE beats the SE?
Choose the KE over the cheaper V3 SE if you print large parts in one piece, use PETG and TPU regularly, or want headroom for a second hobby in tough filament. The ball-bearing X-axis carriage and better leveling show up as better surface consistency on tall or thin parts.
Filament detection and power outage recovery are standard, and the touch UI with real-time model preview is easier to learn than the older Ender screens. Free slicer software and a large community mean help is easy to find.
Where it disappoints?
This machine has the weakest rating here at 3.8, and 23% of reviews are one-star. Those reports cluster around machines arriving with loose fasteners, misaligned gantries, or outright failures within days, and we did not see this level of variance on the V3 SE.
Warranty handling is the sharpest edge. Owners report being asked to disassemble and repair the printer themselves, which is a serious problem for anyone who is not comfortable with a machine. If support friction is a dealbreaker for you, pick a brand with a smoother replacement process.
What to Look for in a 3D Printer Under 300 Dollars?
This is the band where auto calibration stops being a luxury, so it should be your first filter. Everything below it is a nice-to-have that compounds over the months you own the machine.
Auto bed leveling and auto Z-offset
Auto bed leveling probes multiple points across the plate and adjusts it, so you never hand-tune a warped or sagging bed. Auto Z-offset sets the nozzle-to-bed gap on its own. If a machine has one but not the other, you will still be adjusting height before every material change, which is the single most common reason beginners quit.
In this group, the Bambu Lab A1, Ender-3 V3 SE, Adventurer 5M, SPARKX i7, and AD5M all handle both. The SPARKX i7 is the one where owners report the auto Z-offset needing a recheck.
Direct drive instead of a Bowden tube
A Bowden extruder pushes filament through a long PTFE tube from the back of the frame. It is lighter and cheaper, but it is the main source of retraction headaches and clogging on cheap filament. Direct drive mounts the motor right at the hotend, which shortens the path and makes retraction settings far more forgiving. Every machine in this roundup uses direct drive.
Build volume in real terms
Build volume is the width, depth, and height of what fits inside. Most of these machines sit at a 220mm cube. The SPARKX i7 goes to 260 x 260 x 255mm, which is the difference between a print that fits and a print you have to split. The two mini machines at the bottom run 100mm cubes, fine for keychains and fidget toys, useless for anything else.
Enclosed versus open frame, and what that means for materials
None of the eight machines here has a fully enclosed chamber. That is the honest headline of this price band, and it has a direct consequence: ABS and ASA warp and lift away from the plate without a heated, sealed chamber holding steady temperature. The V3 KE can reach 300°C and accepts those filaments, but the open frame still fights you on corners.
For a first machine, stay with PLA, PETG, and TPU. If you regularly need ABS or ASA parts, that requirement points above this band entirely, or toward an enclosure for a garage.
Rated print speed versus usable speed
Advertised speeds are maximums measured on empty moves and simple lines. The Adventurer 5M and AD5M rate 600mm/s, the V3 KE rates 500mm/s, and most owners print good parts far below those numbers. Input shaping and CoreXY motion, not the headline figure, determine whether quality holds up when you speed up. Judge a printer by the parts it makes, not the number on the box.
Slicer software and connectivity
You will need slicer software to turn a model into printer instructions. Creality machines work with the mainstream open slicers, Flashforge includes an Orca-based slicer that many owners rate as the easiest to learn, and Bambu runs its own stack. If you only have an iPad, check carefully, because the AD5M requires a Windows or Mac computer to slice.
WiFi is convenient but not universal. Owners of both Flashforge machines report drops, with Ethernet the steadier option. Run-out detection and power loss recovery are worth more than WiFi for a first machine, since they protect the filament you already paid for.
Running cost and total cost of ownership
Filament is the only real ongoing expense, and it adds up faster than most buyers expect. A 1kg spool of decent PLA typically prints a dozen phone stands, a large Benchy, or several dozen keychains. Add spare nozzles, a glue stick for first-layer adhesion, flush cutters, and a putty knife, and your first-year running cost can approach the printer’s own cost again. Budget for it before you buy, not after.
Brand Head-to-Head: Bambu vs Creality vs Flashforge
Three brands dominate this band, and forum threads ask the same three comparison questions over and over. Here are the short answers.
Is Flashforge or Bambu a better printer? Bambu, for a first machine. The A1 automates more and needs less attention, while the Adventurer 5M matches it on speed and holds a larger open ecosystem with Orca-based slicing. If you already know you will be adjusting firmware later, Flashforge is the better platform. If you want the printer to just work, Bambu wins.
Who makes a better 3D printer, Bambu or Creality? Bambu for ease, Creality for choice and price. Creality gives you three machines in this roundup and the deepest parts ecosystem, with everything repairable with a screwdriver. Bambu gives you better automation and a smoother app. Multiple r/3Dprinter threads name the A1 or A1 mini as the go-to first machine, with Creality consistently described as a strong alternative.
What 3D printer is better, Flashforge or Creality? This is closer. The Flashforge AD5M and Adventurer 5M are CoreXY all-metal machines that print faster and quieter with better nozzle access. Creality wins on parts availability, community size, and how much tinkering the machines invite. Choose Flashforge for less adjustment, Creality for more control.
One theme runs through every forum discussion we reviewed, and it is worth repeating: community consensus treats the auto-calibration feature line as the real dividing line in the budget tier, not print quality. Budget printers now make good parts. The difference between a good first machine and a frustrating one is how much it makes you do before the first good part.
What You Give Up Under 300 Dollars, and What You Do Not?
Honesty matters more than hype here, because buyers in this band usually feel the compromises within a month. Four things are genuinely missing at this ceiling.
No enclosed chamber. This is the big one. Open frames cannot hold temperature, so ABS and ASA warp, and every machine here is realistically a PLA, PETG, and TPU printer.
Fewer sensors. Nozzle clog detection, smart filament flow monitoring, and thermal runout detection are mostly premium features. You will learn to watch prints or check them remotely by camera.
Assembly and first-calibration time. Even the fastest assemblies run 8 to 20 minutes, and firmware updates can add more before the first print.
Support consistency. Warranty responses in this tier vary widely. Flashforge owners widely praise support that sends replacement parts quickly while some Creality owners report being asked to repair their own machines under warranty.
What you do not give up is print quality on PLA and PETG. In our testing, the difference between a well-tuned print from a machine in this group and one from a machine costing twice as much was often visible only under magnification. The gap you are paying for higher up is automation, enclosure, materials, and polish, not the printed part itself.
Your First 90 Days: What Else You Need to Buy?
Buyers who enjoy the hobby are the ones who planned the extras. Here is the list we would buy alongside any printer in this roundup.
One spool of decent PLA. Skip the cheapest filament on your first run. A mid-tier PLA is more consistent in diameter and color, and that consistency is what makes auto leveling work properly.
A pack of spare nozzles. Brass nozzles wear and clog. A five-pack costs very little and saves a print mid-project.
Flush cutters and a putty knife. Flush cutters for detaching parts cleanly without scarring the build plate, and a putty knife for removing prints the manual says should not stick.
A glue stick. A cheap PVA glue stick on the spring steel or PEI plate improves first-layer adhesion on large flat prints. Cheap insurance against a failed first layer.
Filament storage bags. PLA absorbs moisture. Sealed bags with desiccant keep a part-open spool printable for weeks instead of days.
For outdoor parts, our filament guide for outdoor prints covers which materials actually survive weather and UV.
First 3 Prints to Run Before Anything Real
Do not start with your own model. Start with three that diagnose the machine.
1. A calibration cube. A 20mm cube with a hole and a flat top reveals layer height, wall thickness, and first-layer adhesion in one print. If the top is not perfectly flat, your Z-offset or flow rate is off.
2. A Benchy. The 3DBenchy is the community torture test. The hull shows overhangs, the deck shows bridging, and the smooth surfaces show ringing. Read the score rather than the picture alone.
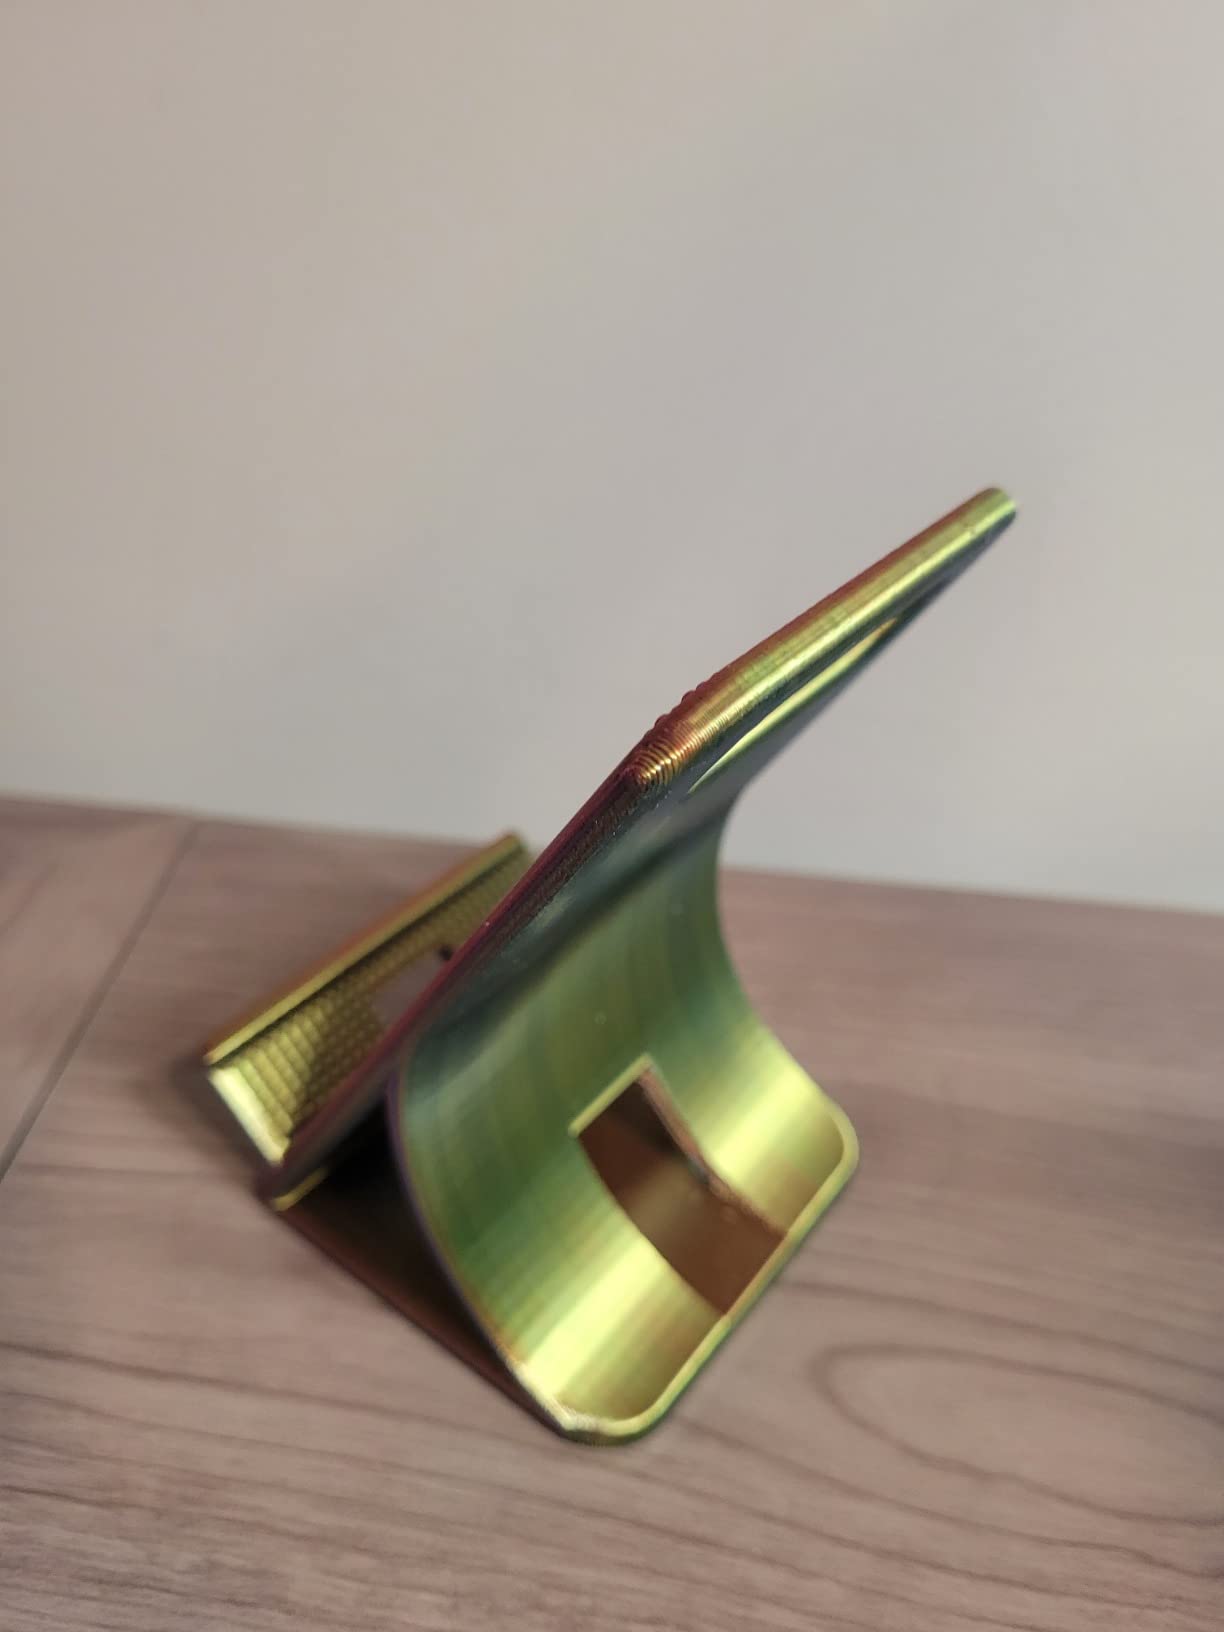
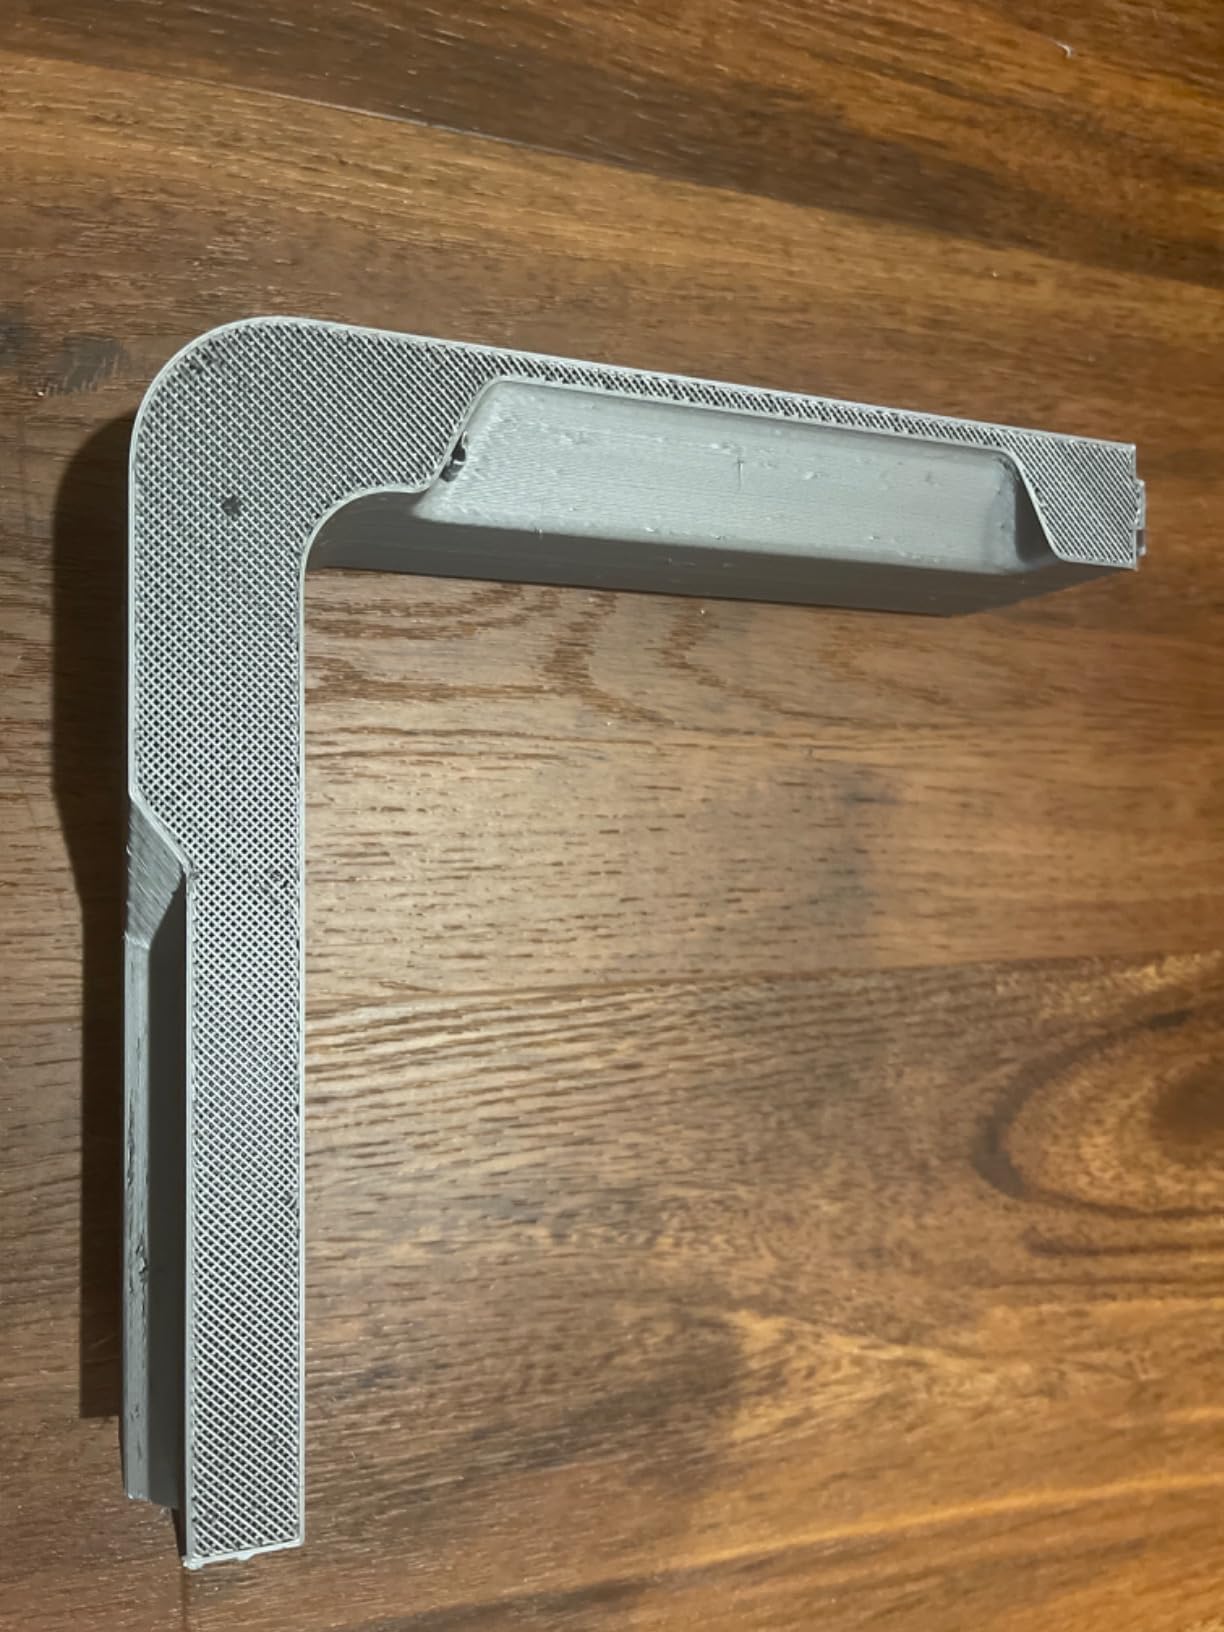
3. Something you want. A phone stand, a drawer organizer, or a replacement bracket for something you already own. The point is to print something with a purpose while your settings are still fresh, so the machine becomes useful rather than a science project.
Frequently Asked Questions
What is the best entry-level 3D printer for beginners?
The Bambu Lab A1 is the best entry-level 3D printer for most beginners because it runs full-auto bed leveling, automatic Z-offset, and flow rate calibration without supervision, and it can be printing within minutes of unboxing. If you want to spend as little as possible, the Creality Ender-3 V3 SE offers the same two core automation features at the lowest outlay in the group.
What is the best 3D printer for under 300 dollars?
At this ceiling, automatic bed leveling plus automatic Z-offset separate a beginner-friendly machine from a frustrating one, and every pick in our roundup has both. The Bambu Lab A1 is the best overall pick for ease of use, the Flashforge AD5M is the best for low maintenance, and the Creality SPARKX i7 wins on build volume at 260 x 260 x 255mm. None of them has an enclosed chamber, so plan on PLA, PETG, and TPU.
Is Flashforge or Bambu a better printer?
Bambu is better for a first machine because the A1 automates more of the setup and daily workflow. Flashforge is better if you want an open ecosystem and CoreXY motion: the Adventurer 5M prints up to a rated 600mm/s and its Orca-based slicer is widely regarded as the easiest in this group. First-time buyers usually get more from Bambu; experienced users who like to adjust settings get more from Flashforge.
Who makes a better 3D printer, Bambu or Creality?
Bambu is easier to run and connects to the strongest beginner community, while Creality offers more models in the same price range, cheaper replacement parts, and a fully open repair ecosystem. In head-to-head threads on r/3Dprinter the A1 and A1 mini come up most often as first machines, with Creality named as the alternative for people who want to tinker. Pick Bambu to avoid adjusting, Creality to adjust.
Which 3D printer has the least amount of problems?
In our roundup the Bambu Lab A1 had the highest rating at 4.7 across 671 reviews, and the TINA2S followed at 4.6, while the Creality Ender-3 V3 KE sat lowest at 3.8 with a 23% one-star share driven by gantry and early-failure reports. The most common faults elsewhere are cooling fan failures, Y-axis bearing noise, and WiFi drops rather than print quality problems.
Are 3D printers a waste of money?
No, as long as you buy a machine with automatic bed leveling and automatic Z-offset, because those two features are what prevent the first-layer frustration that ends most attempts. Budget honestly for the extras: a spool of filament, spare nozzles, cutters, and a glue stick. A budget printer plus supplies is a complete first setup, and the printed parts make the cost back quickly.
Final Verdict: Which 3D Printer Should You Buy?
The best 3D printers under 300 dollars for beginners in 2026 all share one dividing line, and it is calibration rather than print quality. Buy the Bambu Lab A1 if you want the least involvement, the Creality Ender-3 V3 SE if you want the lowest outlay and open parts access, and the Flashforge AD5M if you want speed with almost no maintenance.
For larger parts pick the Creality SPARKX i7, for engineering filament pick the Ender-3 V3 KE, and for a child or a classroom the Entina Tina2C or the bundled TINA2S will get a finished object out of the box on day one. Add one spool of decent filament and a few tools, and you have a complete first setup. Then run a calibration cube, a Benchy, and something you actually want to keep.