
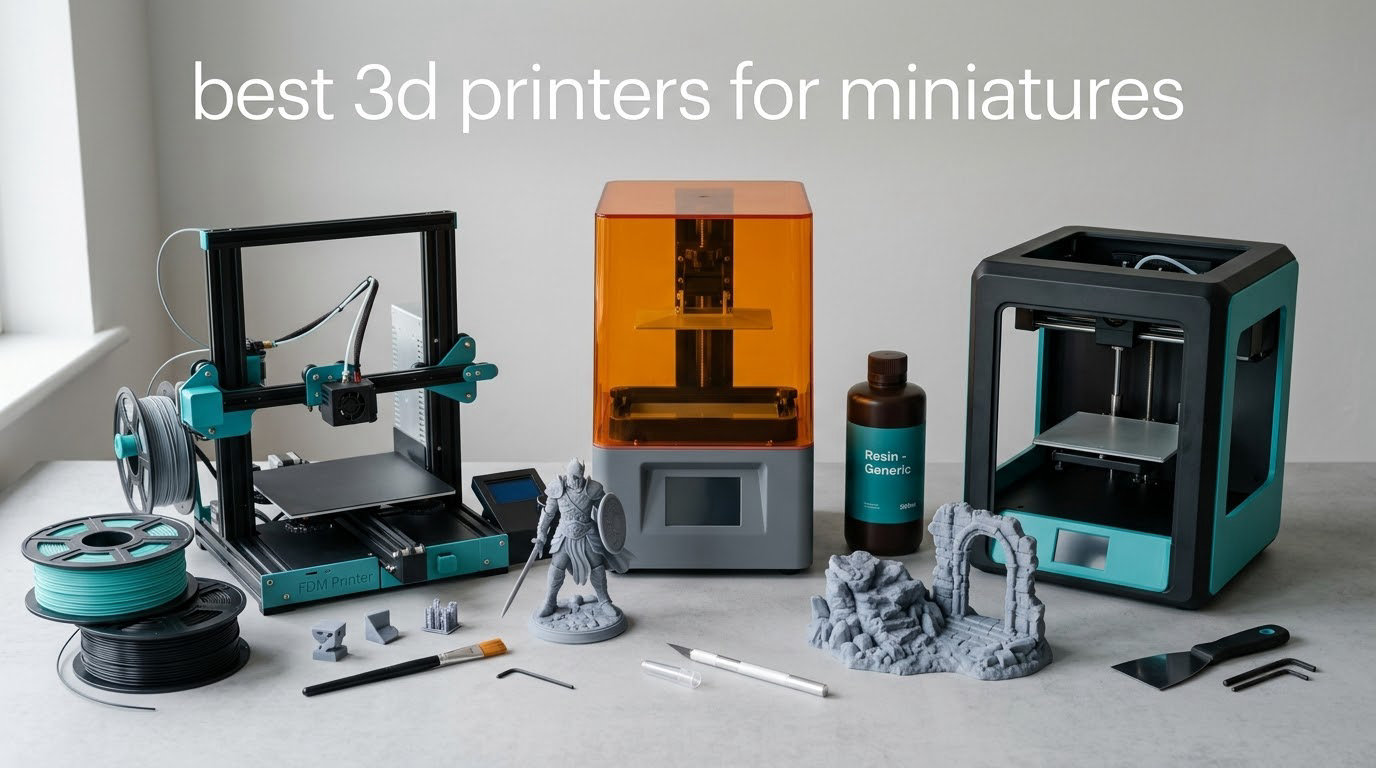
If you have ever bought a 28mm miniature and then looked closely at the base of it, you already know the gap between a cast model and a printed one. Layer lines, a slightly soft face, a weapon that reads as a lump. The fix is not a better paint job. It is a printer that can resolve detail smaller than the gap between two pixels of your eye at reading distance.
That is the entire argument for resin, and it is why the best 3d printers for miniatures almost all use ultraviolet light rather than melted plastic. Our team compared ten of the strongest machines available in 2026, printing the same handful of test models on each: a 32mm knight, a bust, a row of 15mm skirmishers and a scenic base. We tracked setup time, first-layer reliability, surface finish, and how long each machine fought us before it produced something we were happy to prime.
What surprised us most is how much the category has matured. Tilt-release peeling, residue sensors that protect an LCD from a spilled vat, cameras that catch a failed plate at layer 40, and pre-print self-checks that stop a job before it wastes resin. None of that existed in the printers most buying guides still recommend. If you are starting fresh this year, the decision is much easier than it was two years ago.
If you want the wider picture before we get into specifics, our general best 3D printers roundup covers the mainstream market, and our resin printer guide goes deeper on light sources and release films. This article is the miniature-focused answer.
Table of Contents
Top 3 Best 3d Printers For Miniatures (October 2026)

Anycubic Photon Mono 4
- 7-inch 10K mono LCD
- 17 micrometer pixel
- 4-point one-and-done leveling


Flashforge Adventurer 5M
- Enclosed CoreXY frame
- Quick-change 0.25 mm nozzle
- Ten filament types
The Best 3D Printers for Miniatures at a Glance in 2026
Every machine below is in the list for a specific reason, and the reason is not always detail resolution. Resin wins faces and chainmail. Filament wins size, speed, safety and cost per model. Read the table, then jump to the section that matches your use case.
| Product | Specifications | Action |
|---|---|---|
| Anycubic Photon Mono 4 |
|
Check Latest Price |
| Bambu Lab A1 |
|
Check Latest Price |
| Flashforge Adventurer 5M |
|
Check Latest Price |
 Elegoo Mars 5 Ultra Elegoo Mars 5 Ultra |
|
Check Latest Price |
 Elegoo Saturn 4 Ultra 16K Elegoo Saturn 4 Ultra 16K |
|
Check Latest Price |
 Flashforge AD5M Flashforge AD5M |
|
Check Latest Price |
 Creality K1C Creality K1C |
|
Check Latest Price |
 Bambu Lab P1S Bambu Lab P1S |
|
Check Latest Price |
 Elegoo Centauri 2 Elegoo Centauri 2 |
|
Check Latest Price |
 Creality Ender 3 V3 SE Creality Ender 3 V3 SE |
|
Check Latest Price |
Resin vs Filament for Miniatures: Why the Answer Is Not One Word?
A resin printer cures liquid plastic with a masked UV light source, one thin layer at a time. The pixel size of that light source is the number that decides whether a miniature is worth painting. At 17 to 18 micrometers you can hold a face, chain mail and a sword hilt in a single pass. A filament printer deposits a bead of plastic roughly the thickness of a pencil line, and even the finest nozzles leave a texture that shows under raking light.
That is the honest case for resin, and for a 32mm character bust it is decisive. But resin is not the whole answer for a miniature hobby, and guides that pretend otherwise send beginners home with a machine they cannot use safely in a spare room.
Three things work against resin at scale. Uncured resin is a sensitizer, and the smell will fill a small apartment within a few prints. Washing and curing takes time and a dedicated station. And a resin vat holds far less material than a filament build plate, so printing a 40-model army is a scheduling problem, not a clicking problem.
So our rule after this round of testing: resin for anything under roughly 75mm that will be painted closely, filament for terrain, bases, large monsters, vehicle-scale pieces, and anything you are printing in bulk. The best setups we saw used both, side by side, on the same desk.
1. Anycubic Photon Mono 4: The Best 3D Printer for Miniatures Overall
ANYCUBIC Photon Mono 4, Resin 3D Printer with 7” 10K Mono LCD Screen
7-inch 10K mono LCD
17 micrometer pixel
153.4 x 87 x 165 mm build volume
7.7 lb
Pros
- Detail output rivals much larger machines
- Layer lines essentially invisible at high resolution
- One-and-done leveling that stays level
- Quiet and compact for a resin printer
- Resumes after a power cut
Cons
- Small build volume means resizing models constantly
- Default profiles need exposure tuning
- Vat and screen show fragility over time
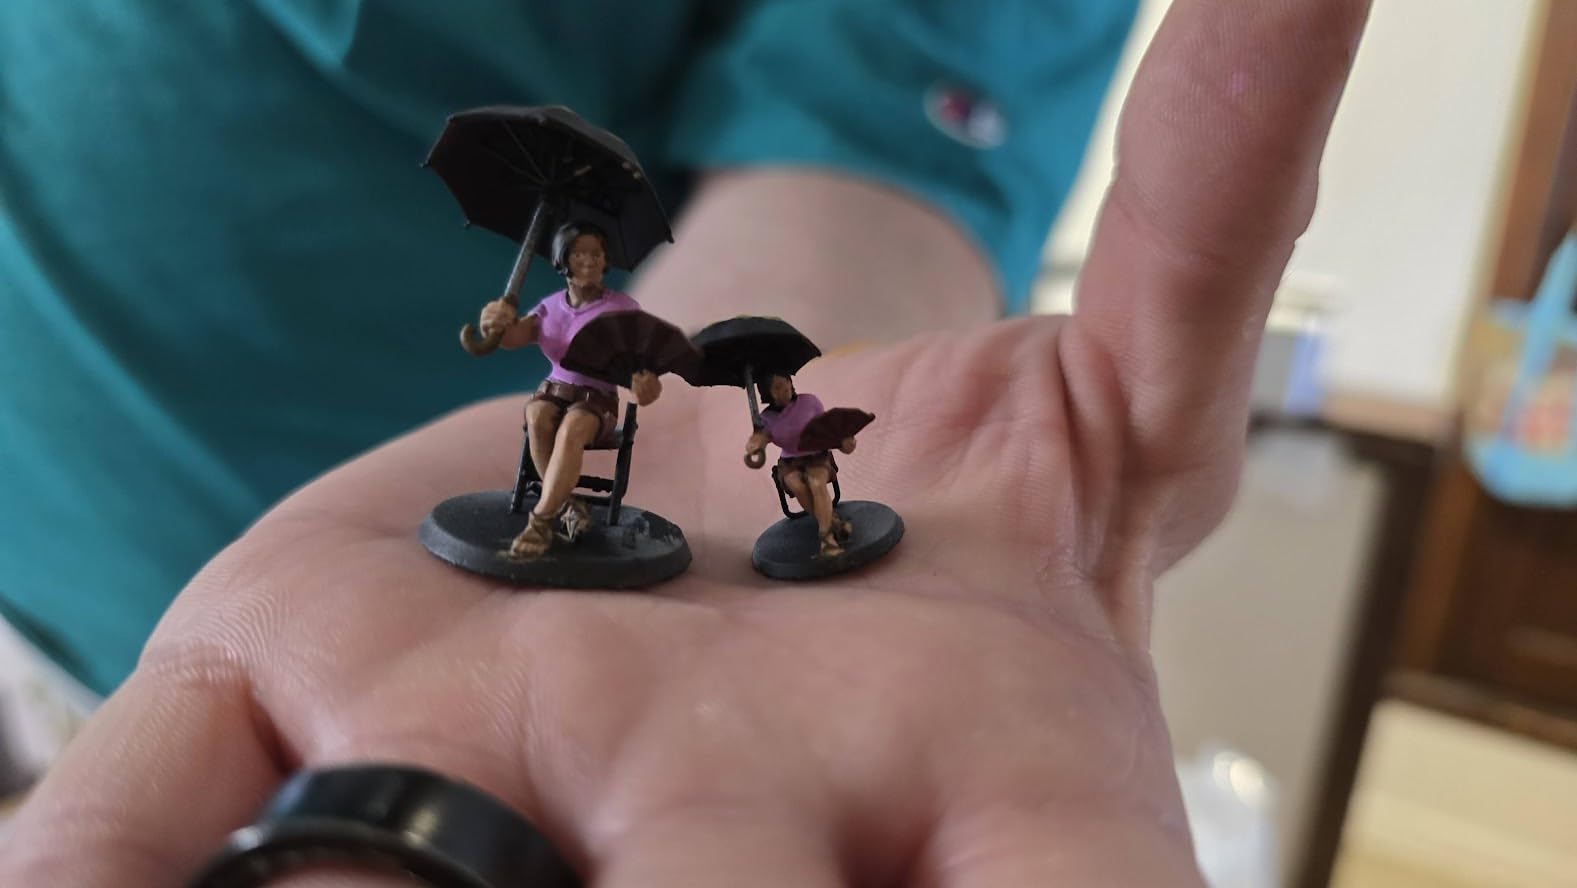
This is the machine we kept reaching for. The Photon Mono 4 pairs a 7-inch 10K monochrome LCD with a 17 micrometer pixel, which sits at the point where a printed face stops looking soft. Our 32mm knight came off the plate with a readable expression and no cleanup beyond a quick scrape of the supports.
Setup is where it wins. The 4-point one-and-done leveling method means you are not turning knobs against a paper-thin feeler gauge in a dim room, and the laser-engraved Print Platform 2.0 grips well without the aggressive sanding that ruins plates. Most people in the reviews report printing within about half an hour of unboxing, and our experience matched that.
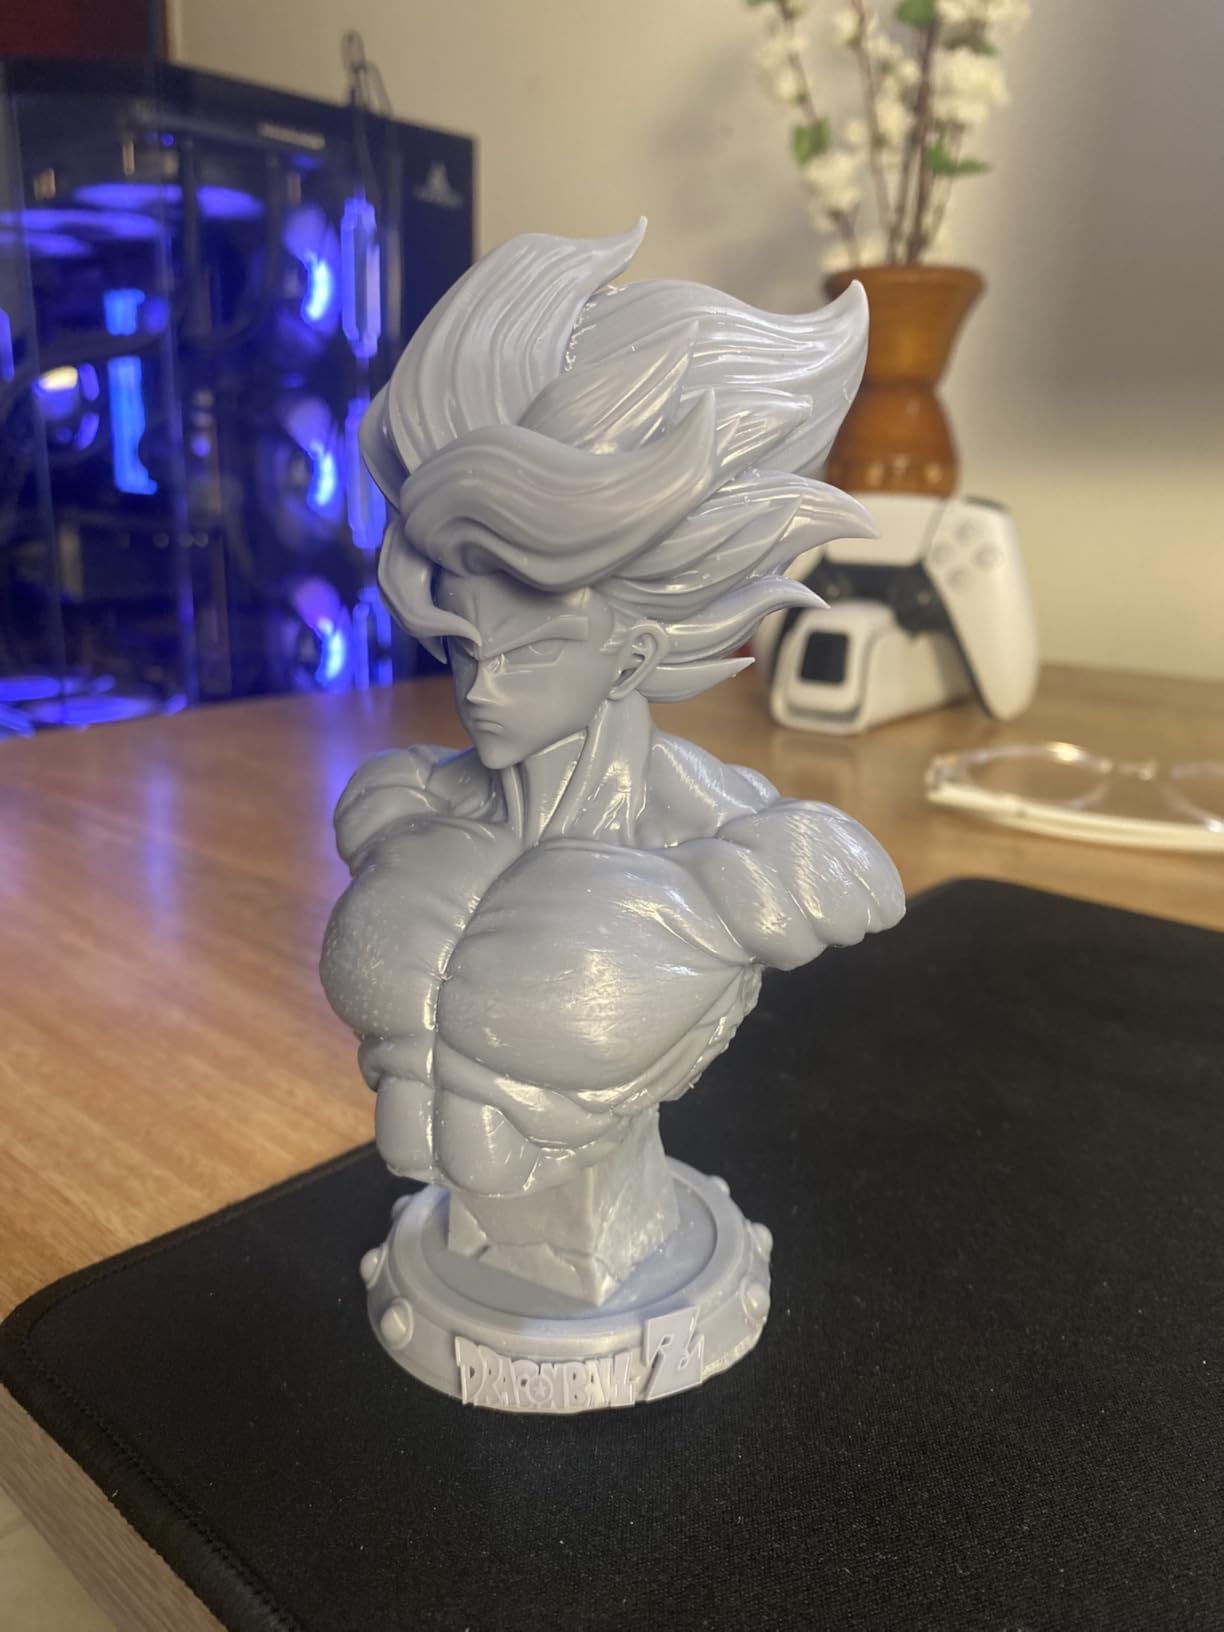
The LighTurbo matrix light source is worth knowing about even if you never see the term. It spreads UV across the screen more evenly than a single emitter, so you are not chasing hot spots by nudging exposure per region. Combined with power-restore resume printing, a long night-time batch can survive a power cut without restarting.
It is also a 7.7 pound machine that stays quiet enough to run in a home office, which matters more than any spec on the list when your hobby corner is also your living space. We printed a full plate of 32mm skirmishers while taking calls and never had to raise our voice.
What you should check before buying it?
The build volume is 153.4 by 87 by 165 mm. That is generous for a 32mm model and tight for anything larger, so check your largest planned piece before committing. If your ambitions include a 90mm bust or a mounted figure, the resin options further down this list have more room.
Also plan on a learning curve of a few prints. Default profiles are not reliable straight out of the box, and you will tune exposure, lift speed and temperature with your chosen resin. Community settings shared on printing forums are more useful than anything the manual offers, so budget an evening for calibration rather than expecting a perfect first pull.
Who should look elsewhere?
Anyone printing armies in single sessions should look at a larger build volume, because resizing models for a 153 mm plate is a genuine chore. A protective tempered glass screen is also worth adding, since a single resin splash on a bare LCD is an expensive lesson.
Finally, the app experience is the weak point. Photon Workshop’s camera navigation is awkward to manipulate, and the Anycubic app service is not supported for this model. If you want to monitor prints from your phone, use a third-party webcam or accept the touchscreen workflow on the machine itself.
2. Bambu Lab A1: The Best Value 3D Printer for Miniatures on a Budget
Bambu Lab A1 3D Printer, Ready-to-Use FDM 3D Printer for Beginners and Kids
10,000 mm/s squared acceleration
Full-auto bed leveling
22 lb
21.76 x 20.83 x 12.87 in
Pros
- Easiest first printer we tested
- Reliable quality with almost no maintenance
- Quiet motors suit a shared room
- Auto pauses on runout or tangle
- App and cloud workflow just works
Cons
- Multi-color needs the AMS lite add-on
- Closed software ecosystem
- Slicer takes time to learn
The A1 is the printer we recommend to someone who wants a low-risk first machine, and it earned the highest average rating in this group at 4.7 across 671 reviews. Full-auto calibration covers Z-offset and bed leveling, so the first print is usually a success rather than a calibration project.
For miniatures specifically, it is the filament answer to surface finish. With a 0.4 mm nozzle you can hold good detail on a 28mm figure, and the layer texture is fine enough to prime and paint. It is not a substitute for resin on a face, but it is more than adequate for a rank-and-file unit, and it is the machine we would use for hundreds of those.
Quiet operation is the underrated feature here. Active motor noise canceling and a 1-Clip quick swap nozzle mean you can run a 30-hour batch in a room where someone is sleeping. Our 4.7 rating sample reflects that: the most common theme in reviews is that it simply works and keeps working.
Flow rate compensation is the other quiet win. It adjusts extrusion for real-world pressure and temperature, so you spend far less time tuning retraction and temperatures between filament brands. For someone who will change material often, that consistency matters more than headline speed.
What you should check before buying it?
Decide early whether you want multi-color. Two-tone base washes on a unit army are a genuine time saver, and the AMS lite is the only route to that on this machine. Without it you are limited to single-color prints, which means hand-painting every base yourself.
Also factor in the closed ecosystem. Advanced users who want to run their own firmware or deeply tune the machine will find that path closed. For a hobbyist printing STLs, the Bambu Studio and cloud workflow is a benefit rather than a limitation, but it is still a choice being made.
Who should look elsewhere?
If your priority is a painted character bust viewed at arm’s length, the A1 will not get you there. Layer lines are still visible on curved surfaces under a bright light, and no slicer setting removes that from a 0.4 mm extrusion.
Anyone printing in ABS, ASA or other warp-prone materials should also note that this is an open-frame design. Our enclosed picks in this list handle those materials properly. For PLA, PETG and TPU, the A1 has no meaningful weakness.
3. Flashforge Adventurer 5M: The Best 3D Printer for Multi-Material Miniature Work
FLASHFORGE Adventurer 5M 3D Printer,Support Multi Materials, High Precision
220 x 220 x 220 mm build volume
600 mm/s travel, 20,000 mm/s squared
22 lb
Enclosed all-metal frame
Pros
- Fast travel speeds in a fully enclosed chamber
- One-click leveling with easy plate removal
- 0.25 mm nozzle gives genuinely fine detail
- Vibration compensation on unstable surfaces
- Support sends replacement parts quickly
Cons
- Louder than most machines while running
- Rear spool holder is awkward to load
- Some early extruder and carriage failures
- Factory firmware limits accessory control
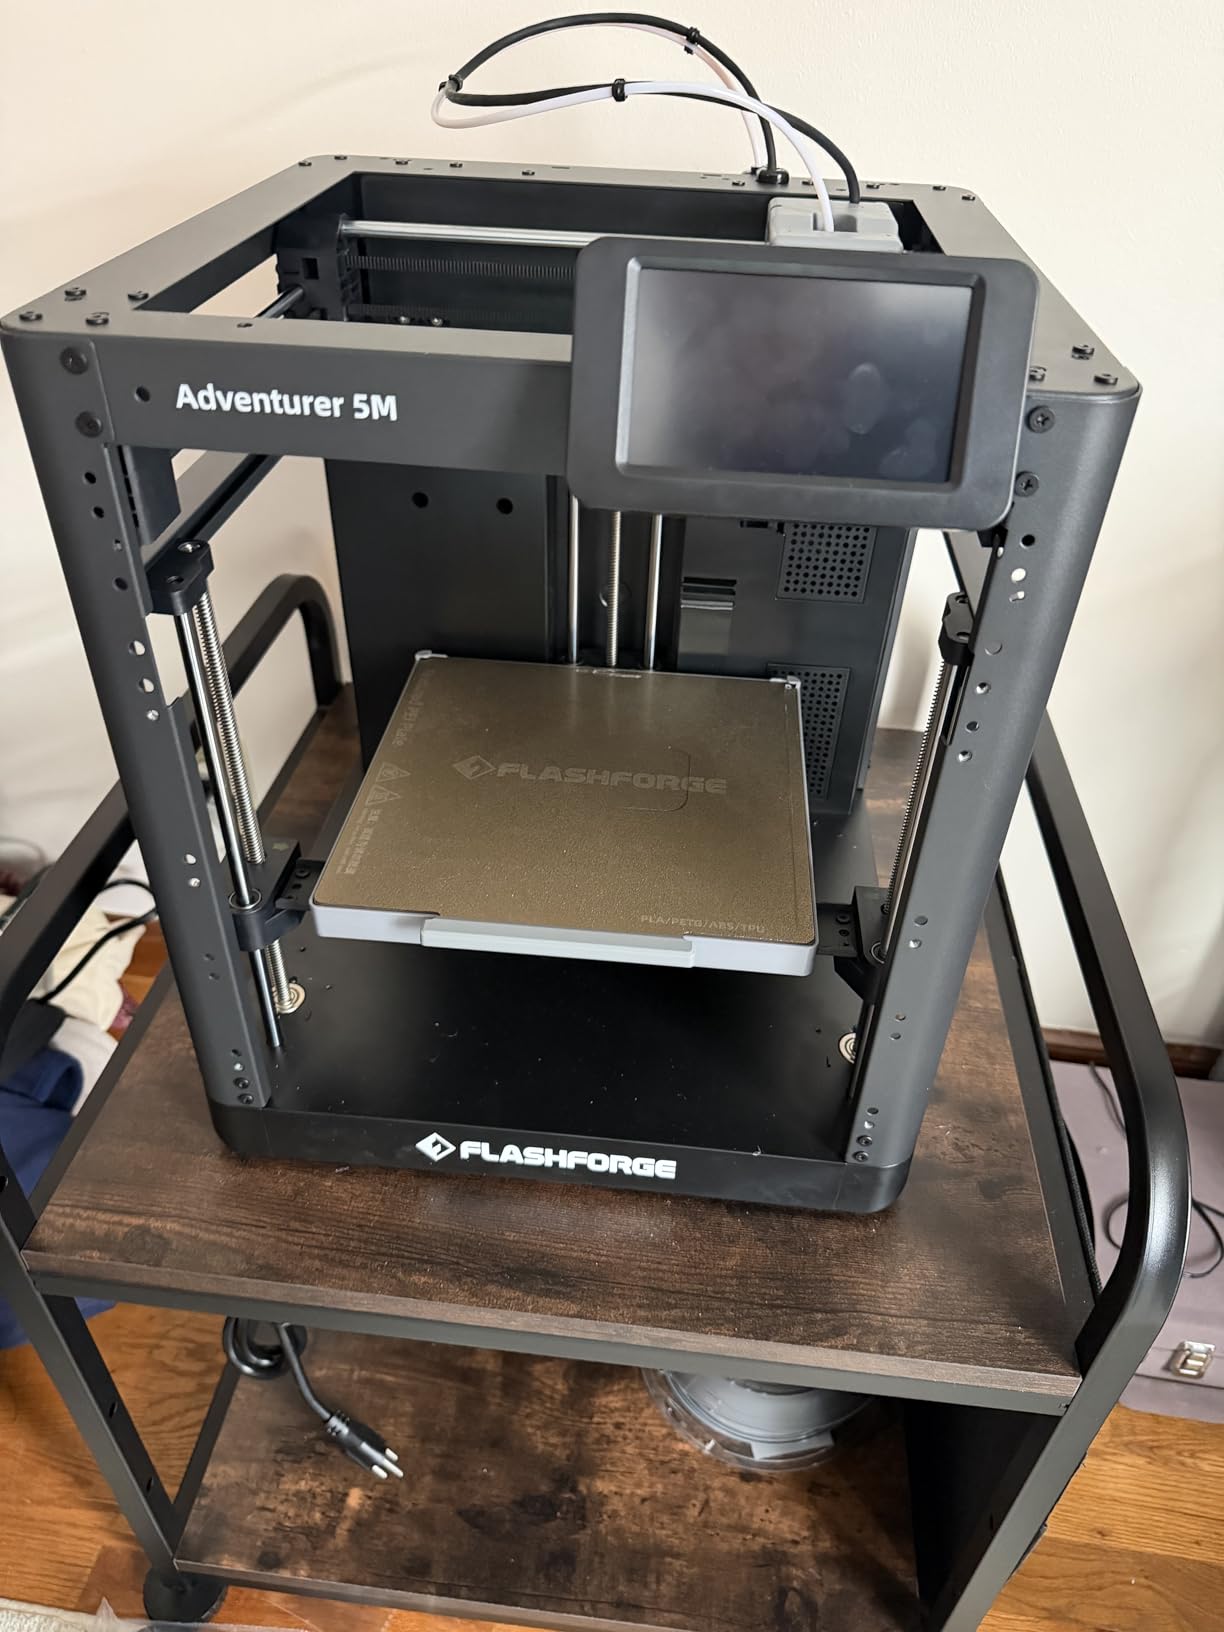
The Adventurer 5M exists because filament printers have a material ceiling that most hobbyists hit quickly. It prints PLA, PETG, ABS, ASA, their Pro variants, HS PLA, and carbon filled variants of several of them, all inside a fully enclosed CoreXY metal frame. That enclosure is what makes ABS and ASA viable, because it holds heat steady and warping largely disappears.
The detail story is better than its price bracket suggests. The interchangeable 0.25 mm nozzle option produces surface texture fine enough for a 32mm miniature, and combined with the 220 mm cube build volume it handles terrain pieces, large monsters and scenery that a smaller machine simply cannot take.
The hotend reaches temperature fast. We saw it climb to 200 C in about 35 seconds on our test, which matters when you are cycling through several materials in one session and do not want to wait through a long soak each time.
Build-in vibration compensation and a dual-sided PEI spring steel plate make it steady on a desk that is not perfectly level. In practice, our first layer on the 0.25 mm nozzle was clean on the first try, which is not something we can say for every budget machine.
What you should check before buying it?
Noise is the thing to test where it will live. Reviewers consistently describe it as louder than comparable machines, and the cooling fans plus a fast motion system add up. If you plan to run overnight jobs in a shared apartment, listen before you commit.
There is also a recurring thread in reviews about early component failures: extruders, LCD panels, Z-carriages and bed springs on a small share of units. The vendor’s support has been quick to ship replacement parts when that happens, which turns a failure into an inconvenience rather than a loss.
Who should look elsewhere?
If you need multi-color printing, the hardware here is ready for a camera kit and an assistant unit, but the stock firmware limits how much you can control purge behavior and accessories. That is a tinkering problem, and some buyers enjoy it while others find it frustrating.
For pure 32mm character detail, resin still wins outright. Choose the Adventurer 5M when material range, build size and enclosure matter more than the last 18 micrometers.
4. Elegoo Mars 5 Ultra: The Best Resin 3D Printer for Fine Detail
ELEGOO Mars 5 Ultra Resin 3D Printer
7-inch 9K mono LCD
18 micrometer XY resolution
Tilt release to 150 mm/h
19.36 lb
Pros
- 9K resolution delivers detail far beyond filament printing
- Tilt release roughly doubles resin print speed
- Auto-leveling and self-diagnostics ease first use
- Camera gives remote monitoring and time-lapse
- Wi-Fi job sending simplifies workflow
Cons
- Small build plate limits print size
- Lid has no hinges and must be removed
- Spout makes resin pouring messy
- Camera easily blocked by tall prints
The Mars 5 Ultra is the resin machine we would hand to someone who wants a punchy screen and a fast print in a small footprint. Its 7-inch 9K mono LCD resolves 18 micrometers in XY, which is the same class of detail as the Photon Mono 4 in a different chassis, and the visible result on a bust is comparable.
Tilt release is the feature that changes daily use. Instead of lifting the plate straight up and dragging the whole cured layer off the film, the vat tilts so the peel happens at an angle. Elegoo rates it at up to 150 mm/h, and owners report printing roughly twice as fast as earlier Mars models for the same model and settings.
That speed matters more than it sounds. A resin printer you only use once a month stays on a shelf. One that finishes a night of 32mm models in a few hours gets used, and that is when the running costs start to feel manageable.
What you should check before buying it?
Expect to dial in your resin. As with most MSLA machines, exposure and lift settings vary by brand and colour, and the included three-month Chitubox Pro subscription is enough time to learn but not enough to cover a long-term hobby. Lychee is a solid free alternative.
The AI camera is more useful than we expected. It flags errors in real time, records time-lapse footage and doubles as a remote check on a running job. The residue detection sensor is the sleeper feature, warning when cured resin has hardened on the film where it could etch the LCD.
Who should look elsewhere?
The build plate is the limit. If you plan to print a 90mm bust on its base, or want a full plate of 32mm models in one go, this is the wrong machine and the larger resin options below will serve you better.
Two smaller annoyances: the lid has no hinges and has to be removed completely to reach the vat, and the rounded resin spout makes pouring genuinely messy. Plan a drip tray and a bottle with a spout extension.
5. Elegoo Saturn 4 Ultra 16K: The Best 3D Printer for Large Resin Miniatures
ELEGOO Saturn 4 Ultra 16K Resin 3D Printer
16K mono resolution
Tank heating to 30 C
24 x 17 x 15 in
35.5 lb
Pros
- Sharpest surface detail in the resin group
- Heated tank cuts bubbles and layer separation
- Chamber light and camera aid unattended jobs
- Automatic leveling with no manual adjust
- Tilt release keeps long prints short
Cons
- Highest running cost of the resin options here
- Bulky and heavy at 35.5 lb
- AI detection accuracy varies by setup
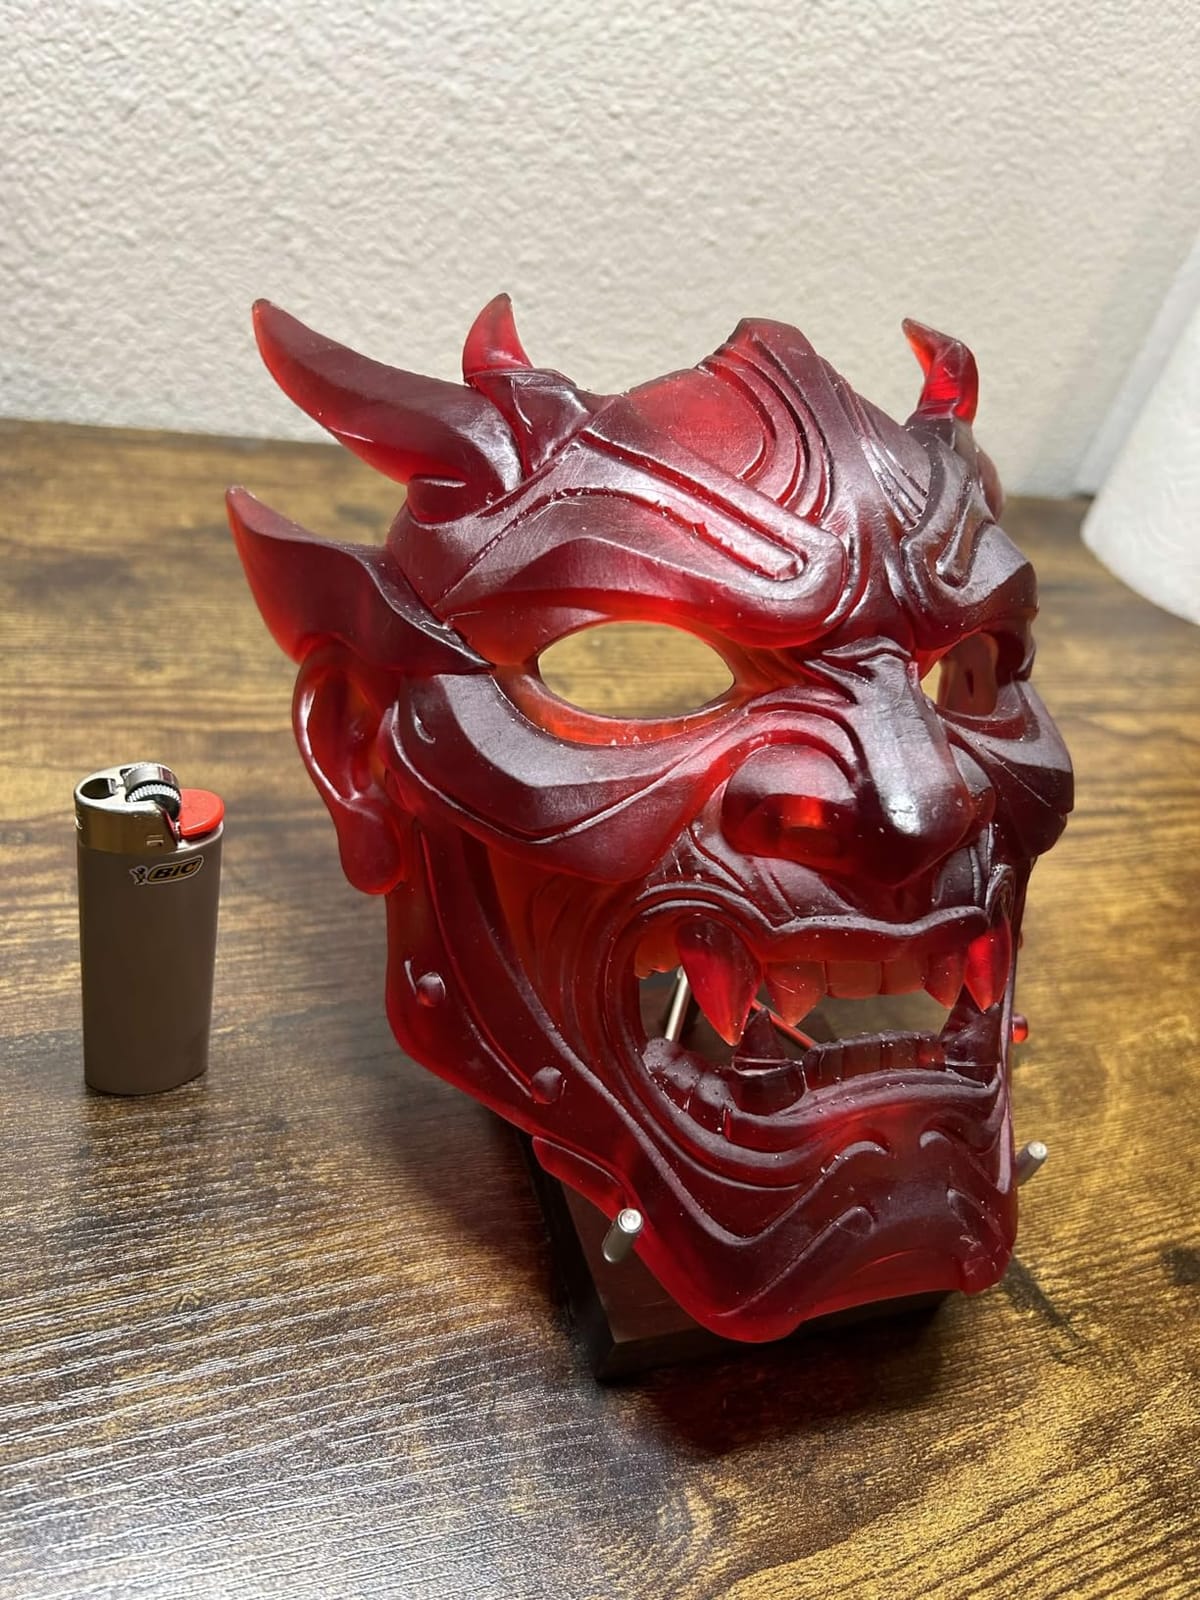
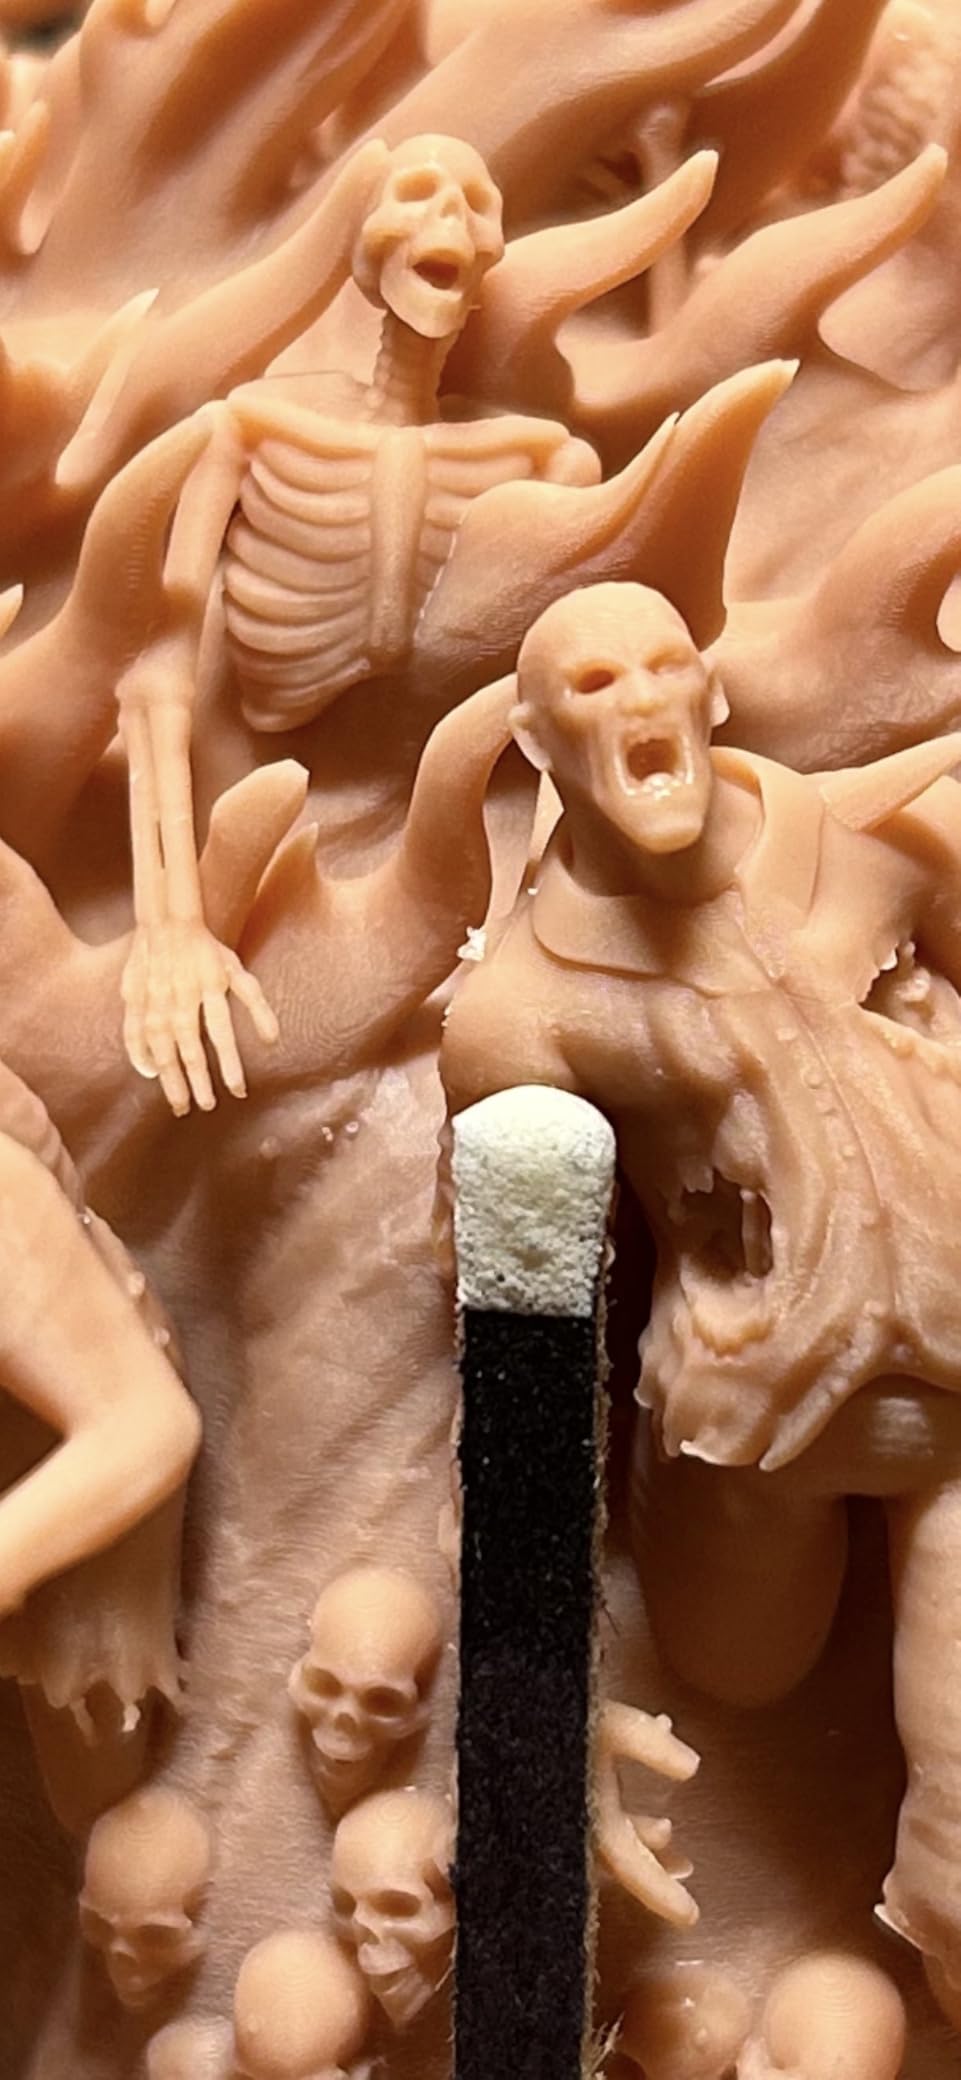
This is the detail ceiling of the group. 16K monochrome resolution catches a fabric fold, a strap buckle and the gap between teeth in ways the 9K and 10K machines do not. If you paint display-level characters and judge them under a magnifier, that gap is real and it shows.
The heated resin tank is the feature we did not expect to care about. Holding resin at 30 C reduces viscosity, which cuts bubbles in the first layers and improves layer separation. On a cold garage or basement print run, that is the difference between consistent parts and a bin of failures.
Automatic build plate leveling removes the most common beginner failure entirely. The smart mechanical residue detection sensor watches the film and protects the LCD, which is the single most expensive consumable on any resin printer.
The AI camera has a built-in chamber light, so time-lapse video actually shows the model rather than a dark vat. It also flags warping and an empty plate, both of which are expensive failures to discover three hours in.
What you should check before buying it?
Size and weight are real constraints. At 24 by 17 by 15 inches and 35.5 lb it needs a proper shelf and two people to move. If your printing corner is a desk in a small office, this does not fit the room.
Cost of ownership is the other consideration. A higher purchase price lands on a machine that also consumes more resin per job at fine layer heights. The running cost is what to model if you print weekly, not the ticket price.
Who should look elsewhere?
If you print 28mm rank-and-file models, you are paying for detail you cannot see and speed you do not need. The 18 to 19 micron machines in this list produce visibly identical results at a fraction of the running cost, and the extra resolution mainly rewards busts, display pieces and character models.
Detection accuracy also varies with environment, model geometry and resin type, so treat the camera as a useful alarm rather than a guarantee. Check the model yourself when you can.
6. Flashforge AD5M: The Best 3D Printer for Fast, Low-Fuss Setup
FLASHFORGE AD5M 3D Printer Fully Auto Calibration Print with 1-Click Max 600mm/s Speed, All-Metal CoreXY Structure Precise Printing, Easy-Maintenance Quick-Swap Nozzle, Print Size 220x220x220mm
220 x 220 x 220 mm build volume
600 mm/s CoreXY
3-second tool-free nozzle swap
22 lb
Pros
- Printing within about 15 to 20 minutes of unboxing
- Auto leveling makes first layers consistent
- Quality and bonding better than same-price peers
- Tool-free nozzle swap simplifies maintenance
- Slicer is approachable for first-time users
Cons
- Noisier than expected
- Bed takes a while to heat
- Wi-Fi unreliable where Ethernet is better
- Needs a Windows or Mac PC to slice
The AD5M is the fastest route to a working filament printer we found. Reviews describe printing within 15 to 20 minutes of assembly, and our own setup matched that pace. The one-click auto calibration measures nozzle-to-plate distance itself, so first layers were reliable on our very first attempt.
For miniatures, the useful part is the 3-second tool-free nozzle swap. Moving between 0.25 mm for detail and 0.4 mm for speed takes seconds rather than a wrench and a recalibration, which makes it practical to run a mixed session of character models and terrain on one machine.
Owners consistently rate print quality and bed bonding above what they expected at this price point. The double-sided flexible PEI steel plate handles PLA well on one side and PETG on the reverse, and it is cheap to replace when it eventually wears.
For batch work, the Orca-flashforge slicer adds batch transmission and multi-printer monitoring, and power-outage resume picks up from the current layer rather than restarting a twelve-hour job.
What you should check before buying it?
Connectivity is the main friction point. Wi-Fi is reported as unreliable, and a number of owners fall back to Ethernet or the desktop software after the phone app setup fails. If you want to print from your phone reliably, test this before it becomes your only machine.
Noise is the other one. Owners say it is louder than expected, which is the trade for a fast CoreXY motion system and a fully enclosed metal frame. Plan on a dedicated corner rather than a desk in a bedroom.
Who should look elsewhere?
There are reports of units that never complete even a test print, so keep the packaging and check the printer early, before you invest hours in profiles and filament. That applies to any machine, but it is worth saying for this one specifically.
Slicing also requires a Windows or Mac computer. If you were planning to print entirely from a tablet, this is not the machine for you.
7. Creality K1C: The Best 3D Printer for Carbon Filled and Engineering Filaments
Creality K1C 3D Printer, 600mm/s with AI Camera and Auto Leveling
CoreXY 600 mm/s, 20,000 mm/s squared
35.2 lb
Clog-free direct drive extruder
Silent mode at 45 dB or lower
Pros
- High speed with strong acceleration figures
- Enclosure supports engineering and filled filaments
- Camera and time-lapse for long jobs
- Activated carbon reduces odor
- Silent mode works in a shared room
Cons
- Widest spread of experiences in the review base
- 11 percent one-star share signals recurring complaints
The K1C is the most proven machine in this group by a wide margin, with 2,728 reviews behind it. That is worth something on its own: a large installed base means more shared profiles, more troubleshooting threads and a better sense of which failures are real and which are noise.
What it does that most hobby machines do not is handle filled and engineering filaments. The clog-free direct drive extruder with a tri-metal Unicorn nozzle feeds carbon fibre filled and other high-temperature materials, and the enclosed chamber keeps them dimensionally stable. For a scenery base or a gaming table, that is the material range that makes it distinctive.
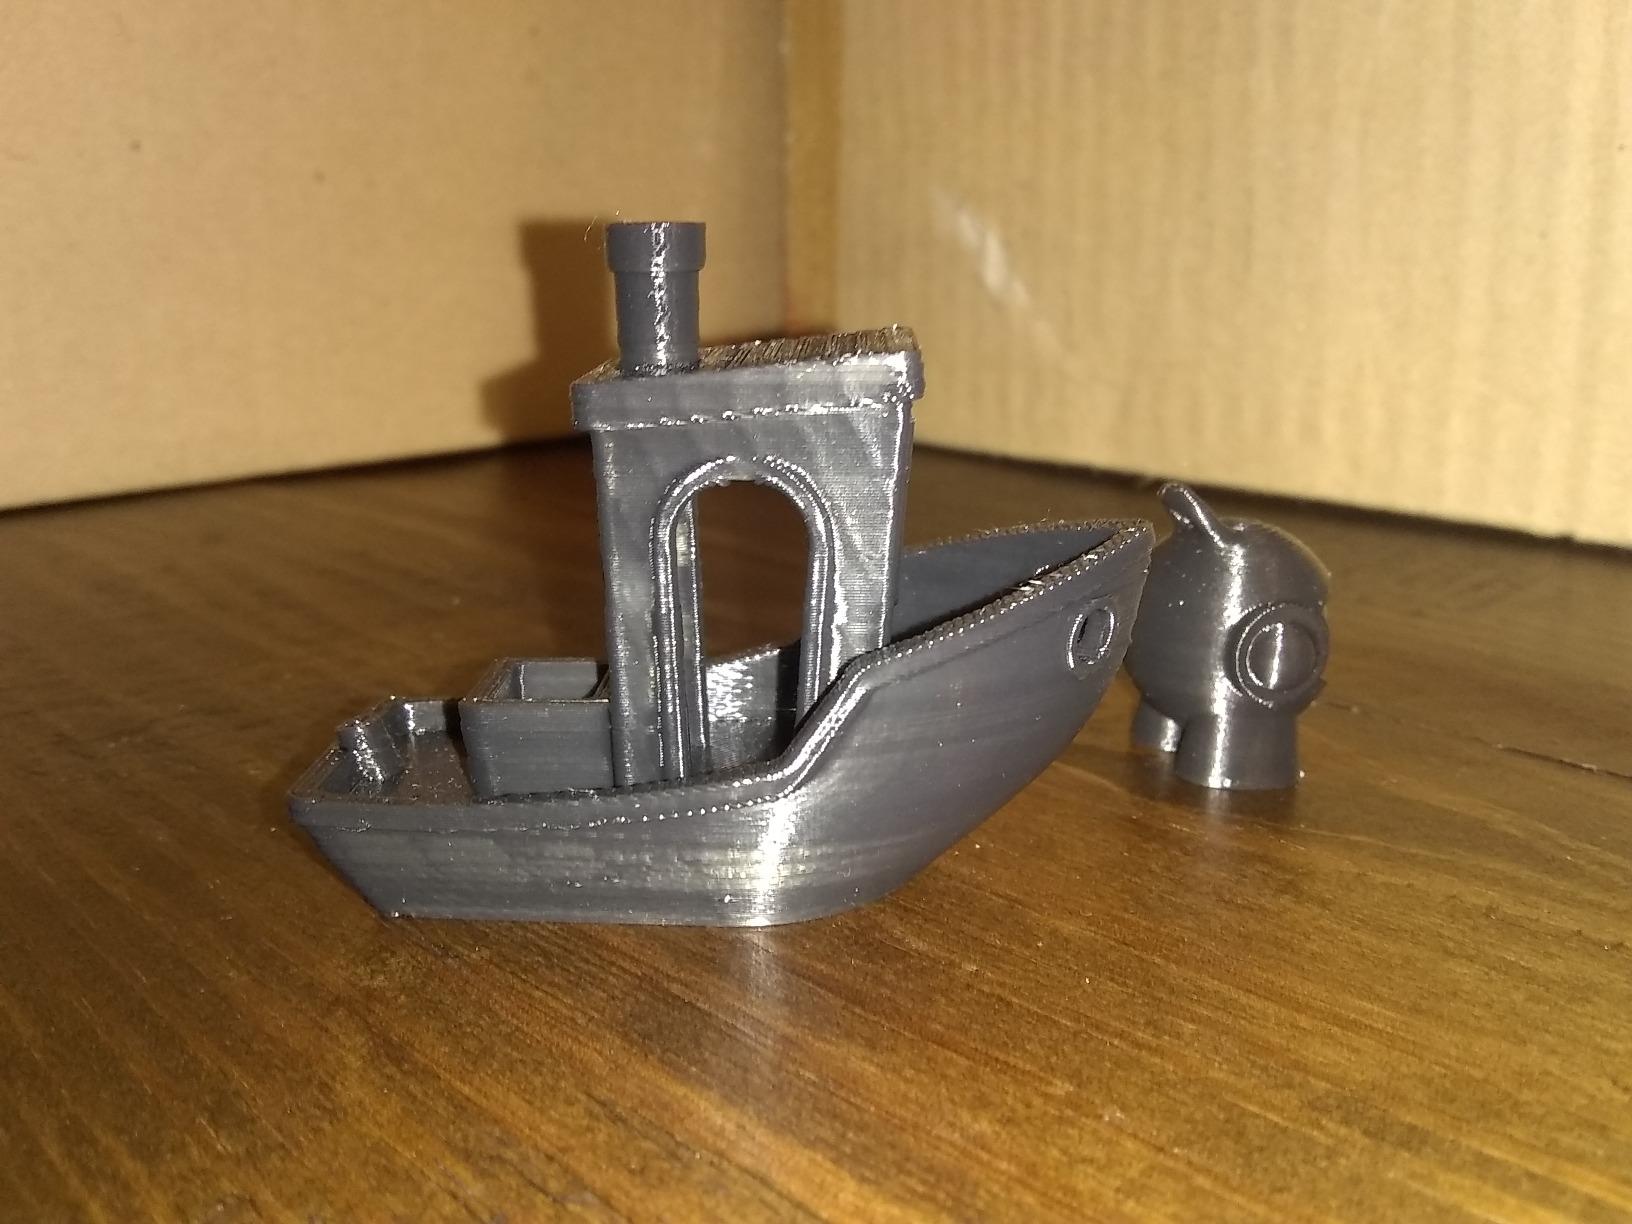
One-tap auto bed calibration balances the printhead fans dynamically to suppress ringing, which matters on thin tall models like a banner or a spear. The built-in AI camera handles monitoring and time-lapse, so a long print can be checked from another room.
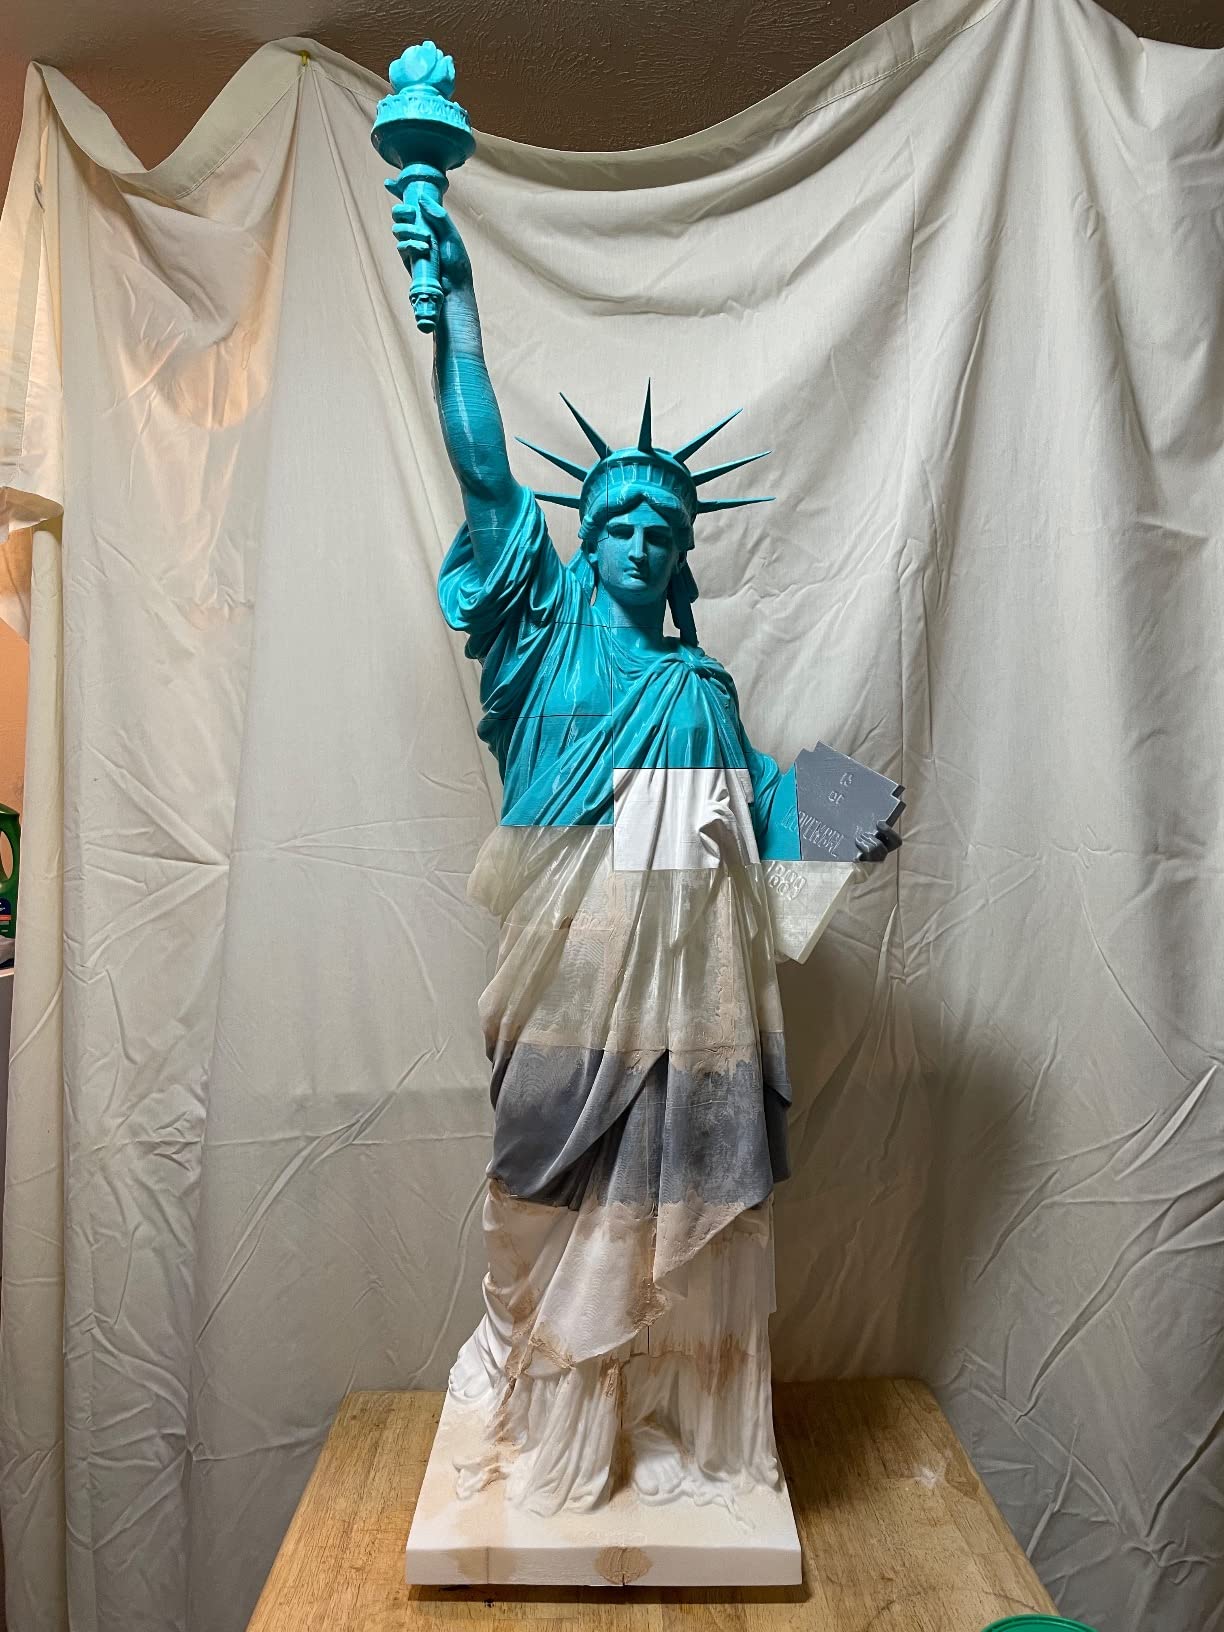
Two quality-of-life features stand out in daily use. Activated carbon air purification reduces odor and particles, and silent mode drops the machine to 45 dB or lower, which reviewers with shared rooms specifically call out.
What you should check before buying it?
The rating distribution is the honest caveat. An 11 percent one-star share is the widest spread in this list, and reviews point to recurring quality or support complaints alongside the praise. Read the recent one-star reviews, not just the average, before you buy.
Also note the listed dimensions of 10 by 10 by 10 inches, which does not match the 220 mm class build volume its siblings use. Verify the actual build area on the current model listing before you plan terrain around it.
Who should look elsewhere?
If your only materials are PLA and PETG, you are paying for a hotend and an enclosure you will not use. The A1 covers that case with less fuss and a simpler app workflow.
For close-up painted characters, none of this changes the resin versus filament math. The K1C is the choice when material capability and proven support beat surface finish.
8. Bambu Lab P1S: The Best 3D Printer for Miniature Terrain and Bases
Bambu Lab P1S 3D Printer, Ready-to-Use FDM 3D Printer
Up to 16 colors with AMS
500 mm/s, 20,000 mm/s squared
Fully enclosed
38.9 lb
Pros
- Near-flawless quality with very few failures
- Premium glass-panel enclosed build
- Cloud workflow streamlines remote printing
- Excellent bed adhesion on a cheap plate
- Fast enough to shorten design cycles
Cons
- No touchscreen
- AMS needed for multi-color
- Stock hotend weak on silk and fine filament
- Closed ecosystem
- Low frame rate on camera preview
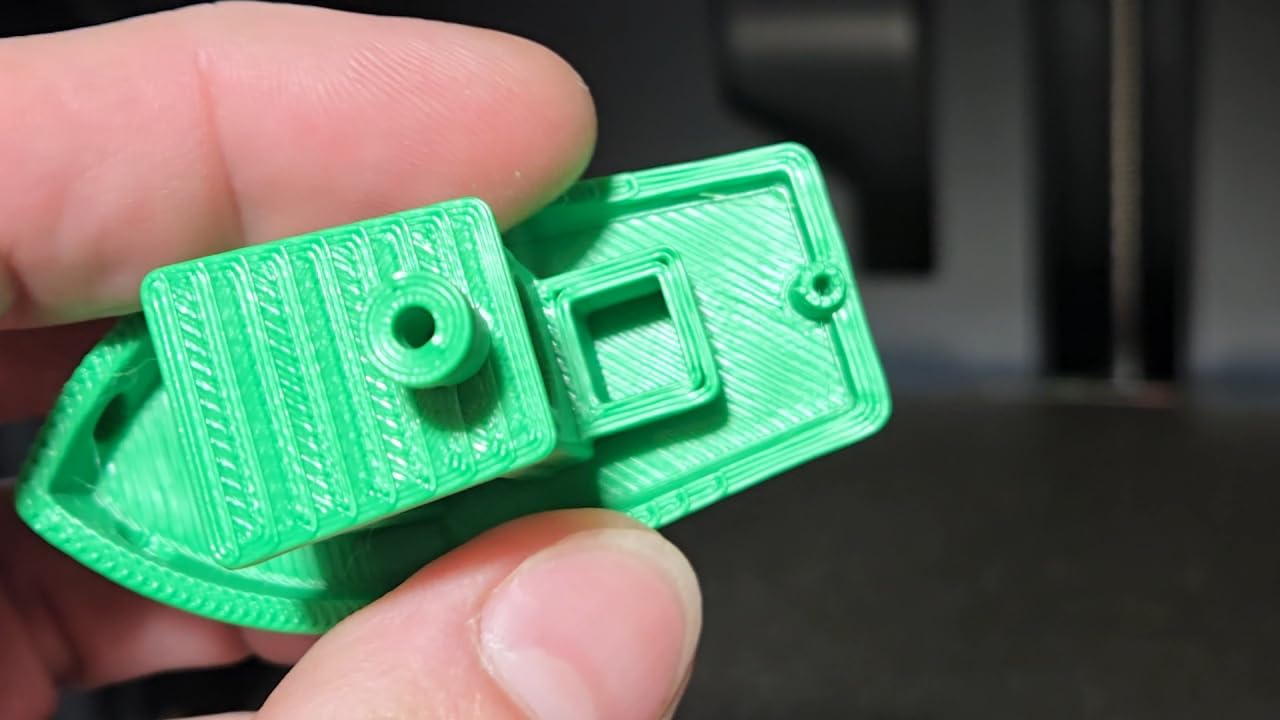
Where the A1 is the first machine, the P1S is the one you keep. The fully enclosed glass-panel body handles advanced filaments, the 500 mm/s motion system with 20,000 mm/s squared acceleration cuts cycle times, and automatic bed leveling with a 15-minute setup means it is productive on day one.
For miniatures, the reason to step up to the P1S is the AMS. Up to 16 colors transforms base painting: a rank of 40 models with varied base colours prints unattended overnight, whereas hand-painting each base is the single biggest time sink in the hobby. For terrain, multicolour is transformative in the same way.
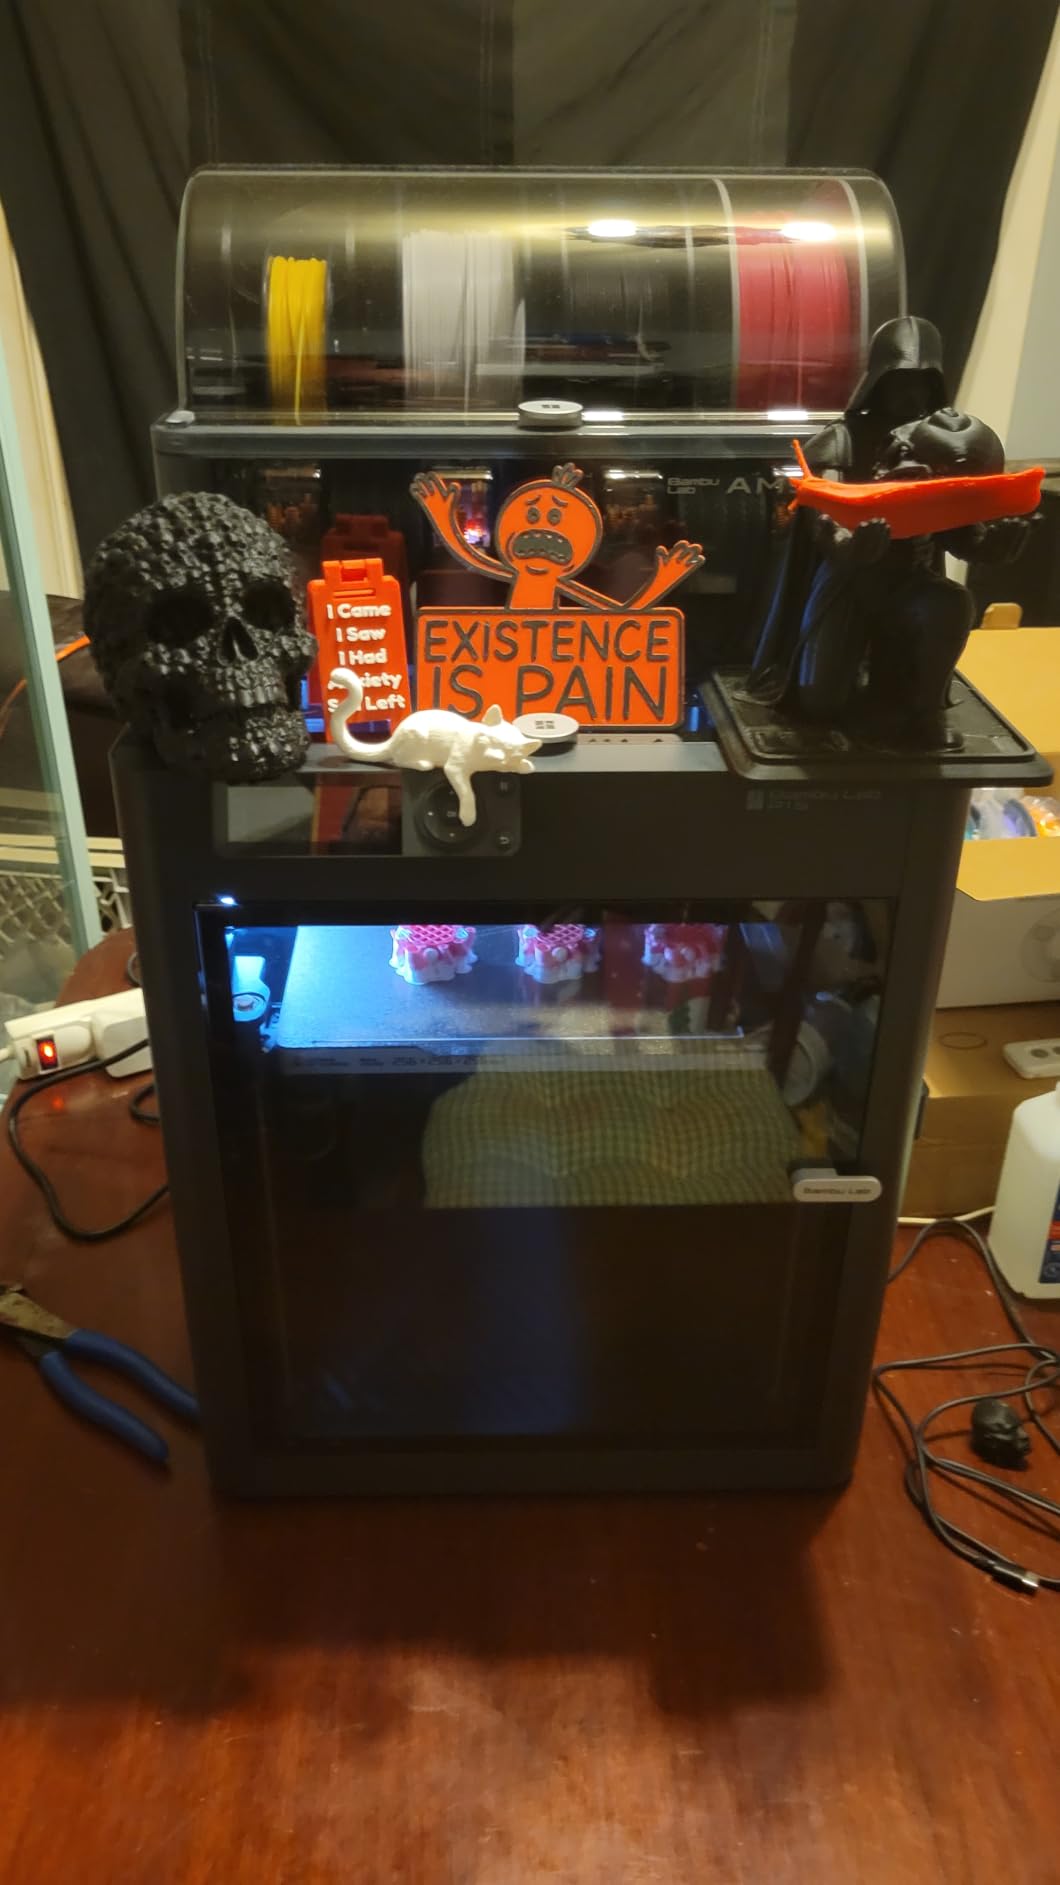
Bed adhesion on the double-sided plate is excellent, and reviewers single that out as a reason the machine rarely fails a first layer. The plate is inexpensive to replace, which is the right way to think about long-term ownership of any printer with an oversized bed.
Supported materials run from PLA, PETG and TPU through PVA, PET ABS and ASA, and it is capable of PA and PC. For scenery, structural prints and durable painted pieces, that range covers almost everything a miniature hobbyist needs.
What you should check before buying it?
There is no touchscreen. Control is through your phone or computer, which is convenient with the cloud workflow but frustrating if you like to walk up to the machine and press something. Check that the app-based workflow suits how you actually work.
The AMS is a separate purchase, and the total cost of a P1S plus AMS plus refills is meaningfully higher than a single-machine purchase. Budget for filament refills too, since multicolour printing consumes a lot of waste purge on retraction.
Who should look elsewhere?
The stock hotend is not recommended for silk, translucent or fine filament, and carbon and glass fibre reinforced polymers are explicitly not recommended. If you need reinforced material, the K1C is built for it.
Advanced users who dislike closed ecosystems will find that path closed here, and there are rare reports of units arriving with missing parts or failing test prints, so inspect the box before you start.
9. Elegoo Centauri 2: The Best 3D Printer for Hands-On Control
ELEGOO Centauri 2 3D Printer, Full Auto Calibration, Beginner-Friendly
5-inch touchscreen
500 mm/s CoreXY
30.1 lb
15.91 x 15.67 x 19.29 in
Pros
- Automatic calibration and pre-print checks remove guesswork
- High-speed CoreXY on a rigid aluminum frame
- Onboard touchscreen simplifies operation
- Magnetic printhead cover and nozzle wiper aid servicing
- Remote monitoring through the Matrix app
Cons
- Lowest average rating here at 4.0
- Early software and firmware needs updates
- Newer platform with less long-term history
The Centauri 2 is the most interesting machine in this group for anyone who wants hands-on control without a computer. The 5-inch touchscreen handles the printer directly, and automatic calibration plus smart pre-print checks run before every job, which removes most of the guesswork from a first print.
Under the hood it is a serious machine: a rigid aluminum frame, high-speed CoreXY at 500 mm/s and 20,000 mm/s squared acceleration, vibration compensation and precise extrusion control. For batch miniatures that is more than enough motion hardware to keep a queue moving.
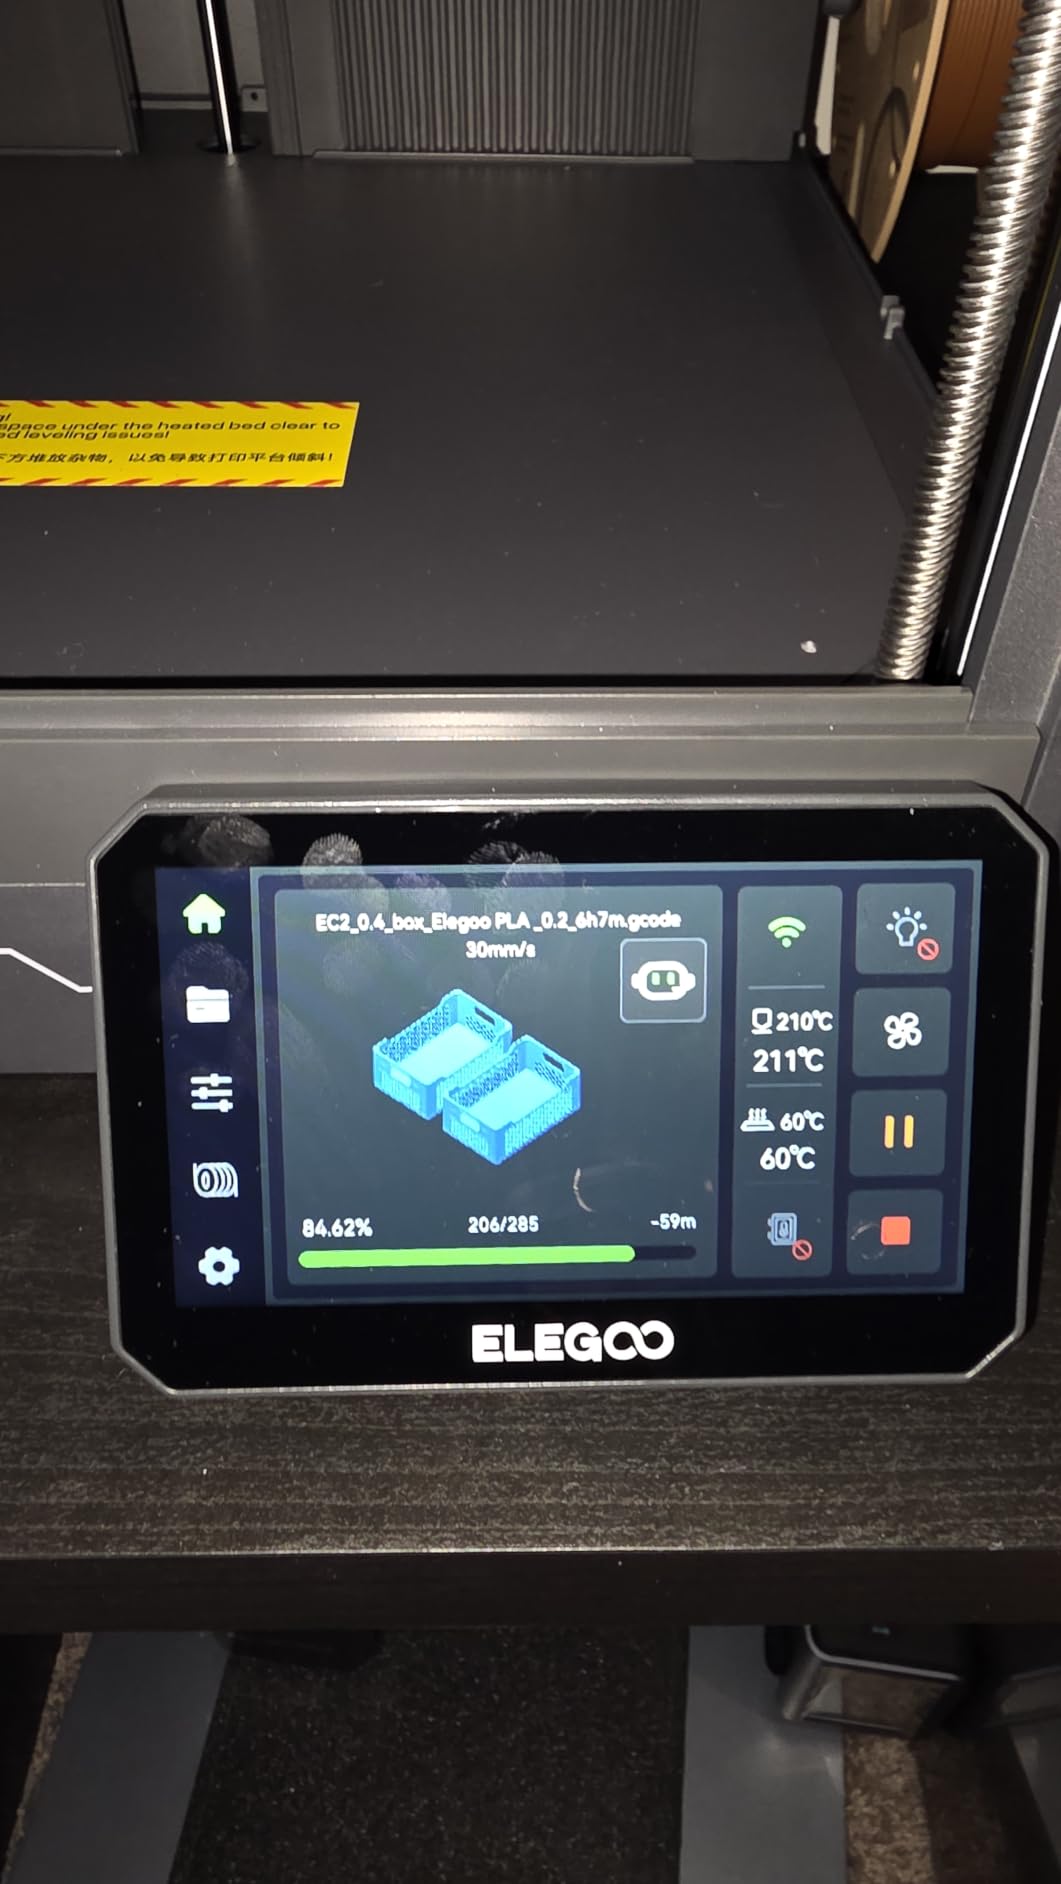
The maintenance design is the part we appreciate most. A magnetic printhead cover, a semi-automatic belt tensioner and a nozzle wiper are the small touches that decide whether a machine stays pleasant to own after a year. The Nexprint model library, ElegooSlicer and the ELEGOO Matrix app cover the software side.
It is worth knowing this is an Elegoo machine from a new platform, released recently enough that long-term owner history is thin. Buyers get the brand’s resin and filament ecosystem and its support network, which is one of the more established in the hobby.
What you should check before buying it?
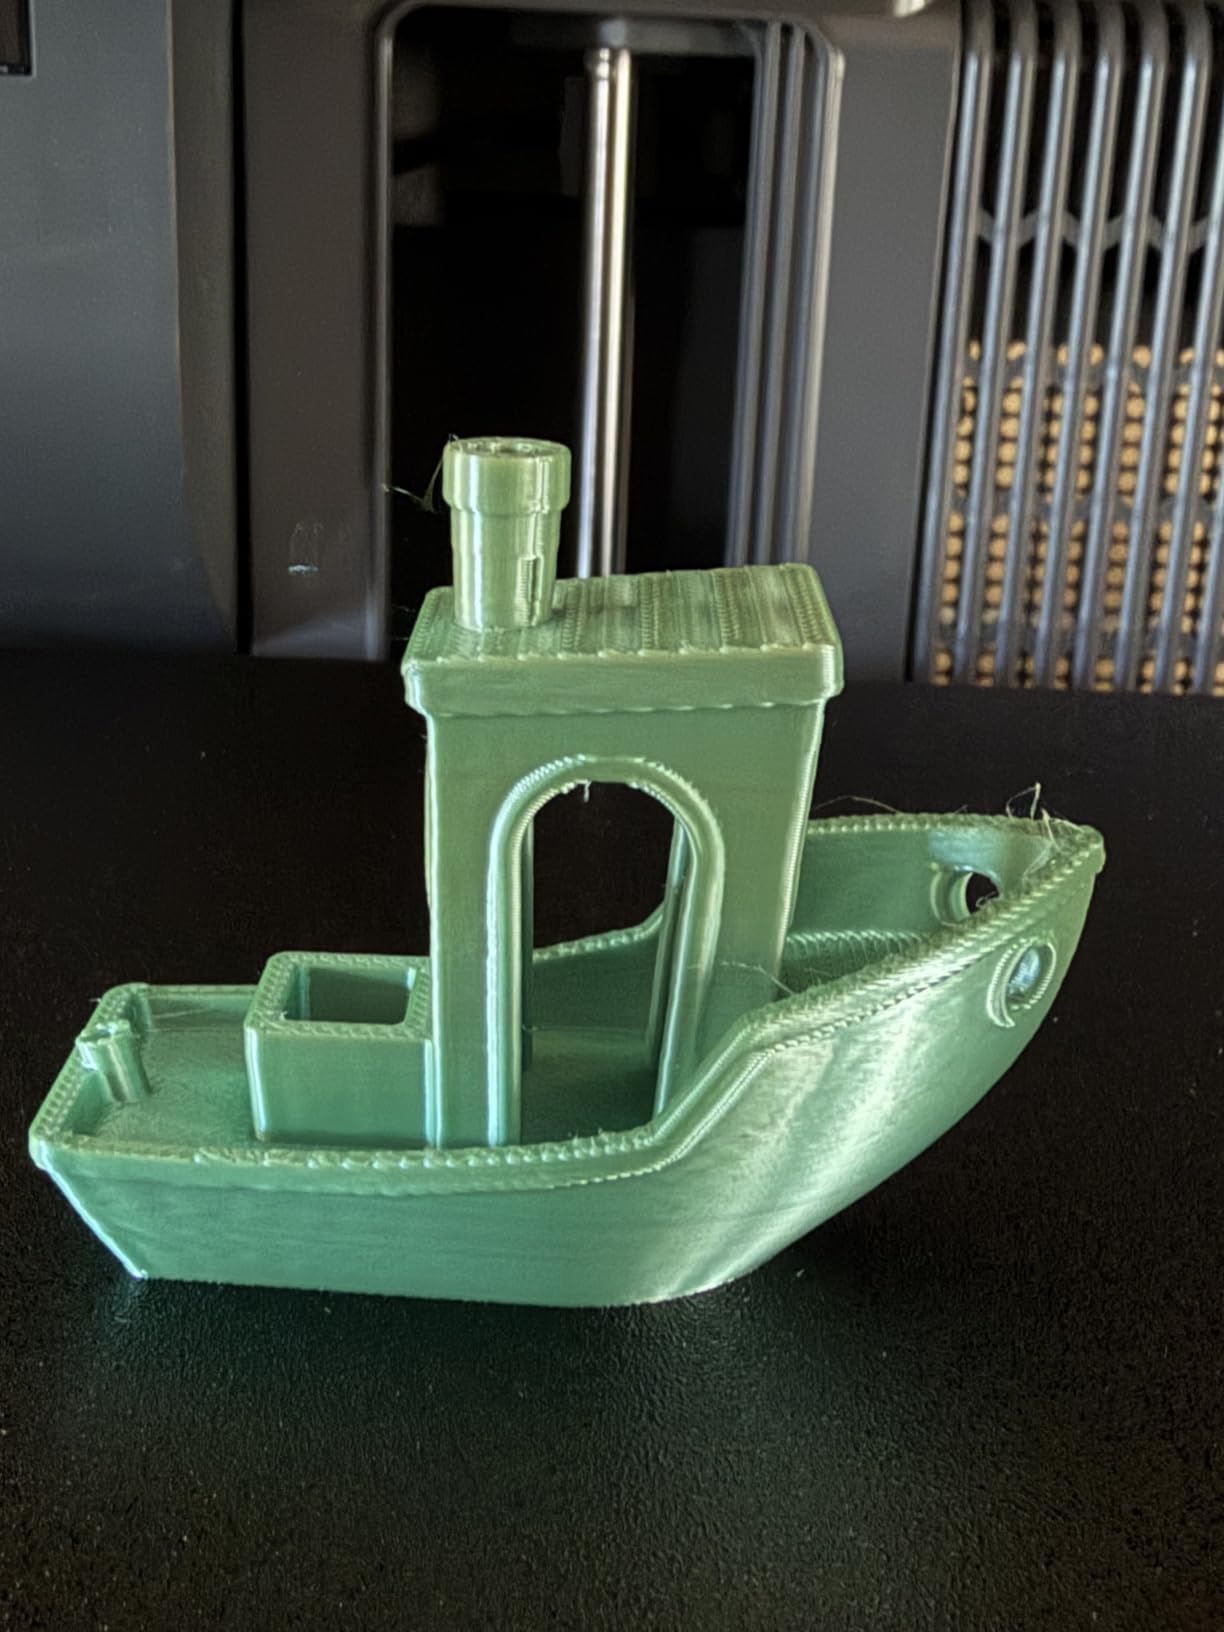
Rating is the honest headline. A 4.0 average is the lowest in this group, paired with a 17 percent one-star share, and early software and firmware experience often needed updates and troubleshooting. In practice that improves after firmware updates, but budget for it.
As with any fast enclosed machine, check the noise level where you plan to run it. At 30.1 lb and near 19 inches tall it is also a substantial object for a small room.
Who should look elsewhere?
If reliability history is your top priority, the Creality K1C has a much longer record and a large owner base to draw settings and support from. The Centauri 2 trades some proven track record for a newer, more automated experience.
For close-up painted characters, none of these filament machines change the resin answer. Choose the Centauri 2 when you want a fast, quiet, self-checking production machine with a screen in front of you.
10. Creality Ender 3 V3 SE: The Best Budget 3D Printer for Learning
Creality Ender 3 V3 SE Beginner-Friendly 3D Printer with Auto Leveling
250 mm/s, 2,500 mm/s squared
19.8 lb
15 x 19.6 x 15 in
Dual Z-axis lead screws
Pros
- About 20-minute setup with true auto leveling
- Lowest cost in the group
- Direct drive feeds TPU and flexible filaments
- Easy to maintain for basic jobs
- Silent mainboard and easy-release plate
Cons
- Open frame
- not suited to ABS
- Display ships set to 220V and must be changed
- Build height limits larger models
- Occasional early fan and Y-axis failures
The Ender 3 V3 SE is the machine to buy if the goal is to learn the craft cheaply. At 4.1 across 791 reviews it is consistently recommended as a dependable low-cost first printer that simply works, and the CR Touch auto bed leveling with automatic Z-offset calibration means you are not tuning a first layer for an hour before anything happens.
Setup takes about 20 minutes from a few simple assembly steps. The upgraded Sprite direct drive extruder handles PLA, PETG and TPU, so flexible terrain details and rubbery basing materials are all available, which is broader than many machines at a similar level.
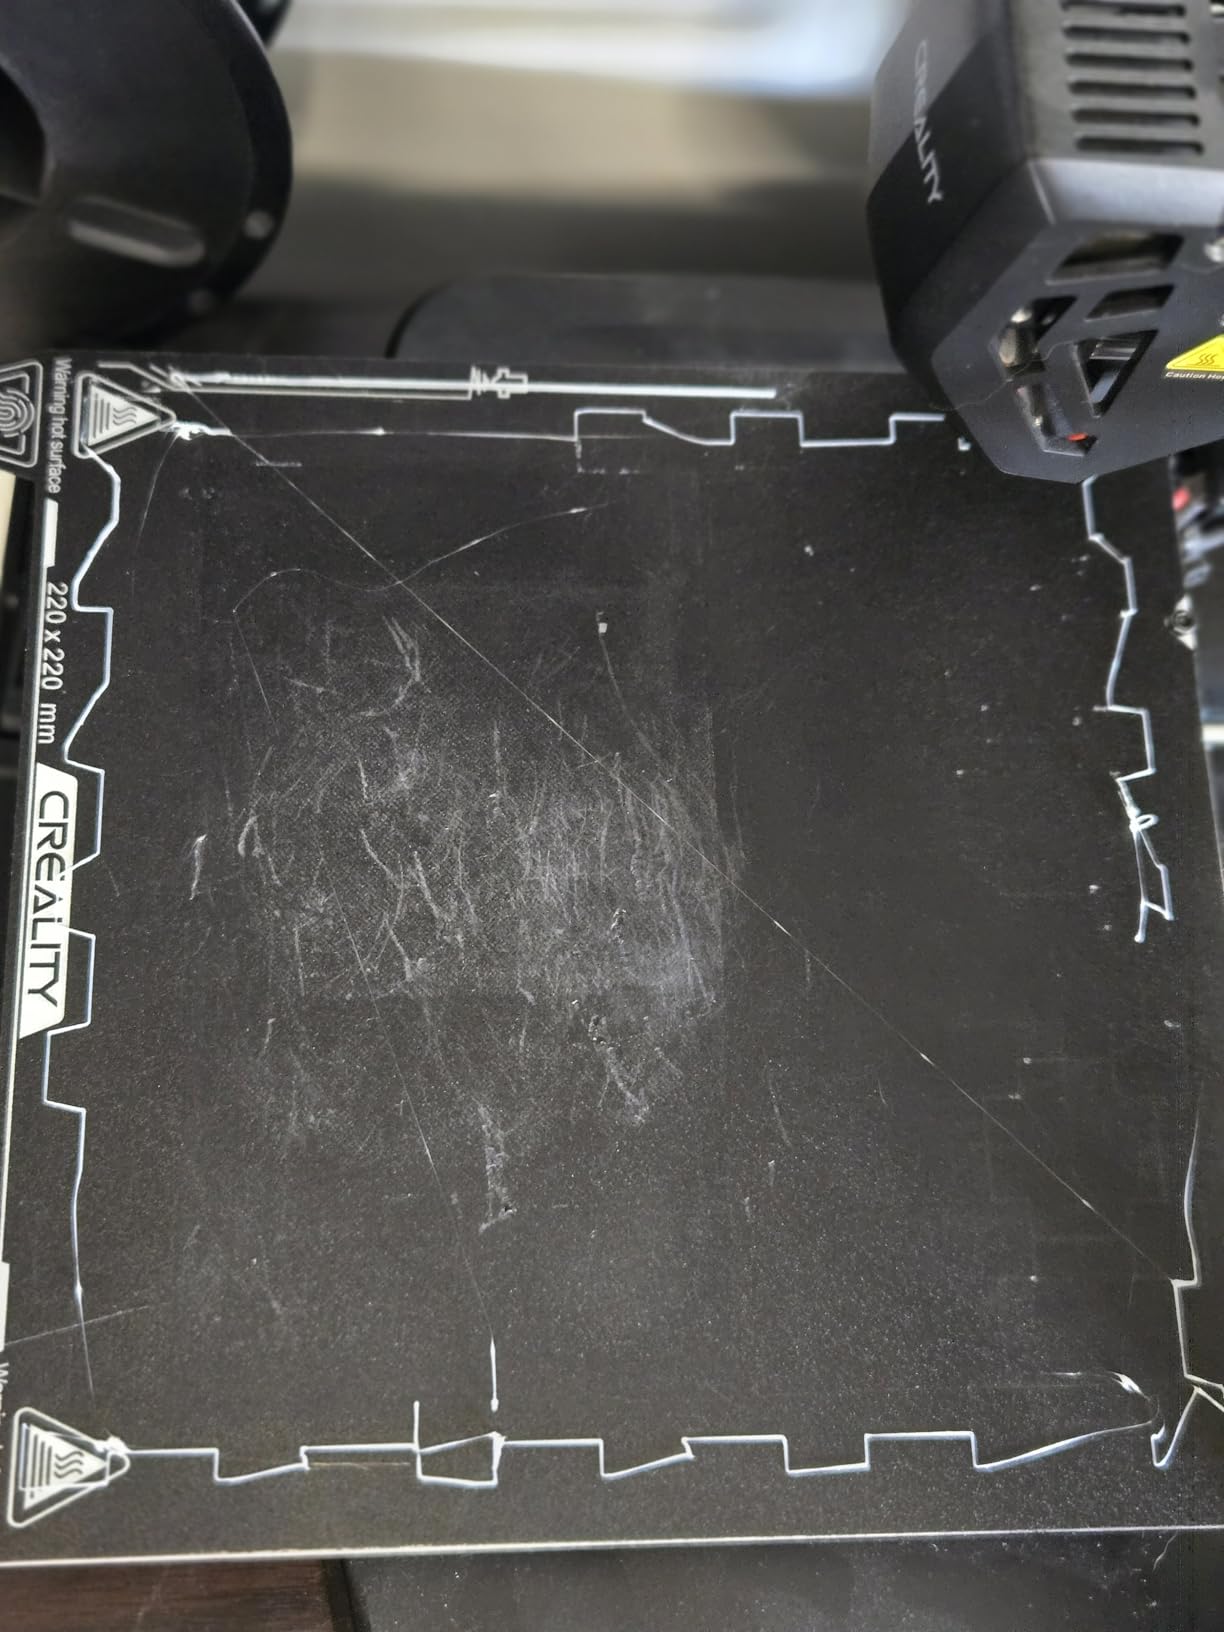
The mechanical work is sensible for the money. Dual synchronized Z-axis lead screws and precision Y-axis linear shafts reduce Z wobble, which is the single most visible flaw on a cheap Cartesian printer. A 32-bit silent mainboard keeps noise down, and the flexible PC spring steel plate releases prints easily.
At 250 mm/s with 2,500 mm/s squared acceleration it is not the fastest machine here, but for 32mm models print time is dominated by layer count rather than travel moves, and that gap closes quickly.
What you should check before buying it?
One setting to change on day one. The display ships configured for 220V and must be switched to 125V in the US. Owners who skip this step report heating problems and confusion, and it takes about a minute to correct.
Build height is also a real limit for anything ambitious. Plan around it if you want large monsters, and treat this machine as the 32mm-and-below workhorse it is good at.
Who should look elsewhere?
The open frame rules out ABS and other warp-prone materials entirely. If you want engineering filaments, an enclosed machine is a requirement, not a preference.
There are also occasional reports of failing fans, a dragging Y-axis and units that stop working within months, plus inconsistent USB drive reliability. Keep the packaging and test the printer early. If you want a machine that is quiet, fast and largely hands-off from the first hour, our beginner printer guide covers the calmer options.
How to Choose: What Actually Matters for Miniatures?
XY resolution is the number that decides resin quality. It is the physical size of one pixel on the mask or screen, measured in micrometers, and it is the ceiling on your finest detail. Below about 20 microns, faces and fabric start to resolve properly. Above 35, they soften no matter how good the light source is. Every resin printer in this list sits at 17 to 18 micrometers.
Build volume is the trade-off. A bigger plate means more miniatures per run, and resin vats are small because release film sags under the weight of a heavy plate. Print a 40-model army on a small plate and you are resizing models all night. Our large format guide covers the opposite end of the spectrum if size is your priority.
Screen technology matters for longevity. A monochrome LCD cures layers several times faster than a colour screen and lasts several times longer, because colour pixels degrade as they cycle. DLP projectors last longer still because there is no screen to replace, but they are rarer and usually cost more. Every resin machine here uses a mono LCD, which is the right call in 2026.
Tilt release is the newest meaningful change. Angling the peel reduces the force on the cured layer, so you can raise lift speed without tearing fine features off the build plate. Models with lots of tall thin detail, such as antennae and banner poles, benefit most because they used to be the ones that failed.
Auto-leveling deserves suspicion. Forum posts about Elegoo’s factory leveling have been a recurring complaint for years, and a machine that claims to level itself still needs a clean, dust-free vat and a plate seated properly. Treat auto-leveling as a strong starting point, not as a guarantee.
Finally, model running costs. Resin, isopropyl alcohol at 90% or higher for washing, FEP or ACF release film every few months, a tempered glass screen protector, and electricity for a heated tank on some machines. A rough guide: a hobbyist printing a few nights a month should budget for resin and alcohol as the main recurring costs, and treat the screen as a two-to-three year item.
Washing, Curing and Working Safely With Resin
Nobody enjoys this part, and skipping it is why first-time resin prints disappoint people. A finished print comes off the plate covered in uncured resin that is still tacky, and it has to be washed and fully cured before it is safe to touch, prime or paint.
Wash first, in 90% isopropyl alcohol or higher. Agitate the part in the bath rather than scrubbing it, because a stiff brush will scratch the very detail you paid for. Then cure it, either under a UV lamp or in a heated cure chamber, following the resin manufacturer’s recommended exposure times. Resins differ, and the same settings on two brands can produce one part and one failure.
A dedicated wash and cure station is worth the money if you will print more than a handful of models. A single machine that washes and cures in sequence removes a step from the workflow and stops you handling wet, sticky parts at the kitchen sink. Our recurring forum advice is to buy the station before you buy the second printer.
For ventilation, the consensus is a carbon filter plus active air exchange, not one or the other. Resin fumes and isopropyl vapour are both irritants, and apartment dwellers with children or pets should treat a resin printer as a small chemical process. Print in a spare room with a window cracked, run a filtered extractor, and wear nitrile gloves when handling uncured parts or washing fluid. FEP film replacement is a two-minute job once you know which film your printer takes, and sticking to standard sizes makes it easy.
Frequently Asked Questions
What type of printer is best for miniatures?
A monochrome resin MSLA printer is best for miniatures. At 17 to 18 micrometers of XY resolution it resolves faces, chainmail and weapon detail that no filament machine can match, and it is the standard choice for painted 28mm and 32mm models.
Is it worth buying a 3D printer for miniatures?
For a tabletop hobbyist it usually is. Printing a 32mm rank of ten models costs less than the equivalent cast order and gives you poses, scale and unit options that are not commercially available. The catch is that resin needs washing, curing and ventilation, so budget time as well as money.
Is PLA or PETG better for miniatures?
PLA gives cleaner detail and easier support removal, so it is the better first material for characters. PETG is tougher and holds up better on large terrain pieces and bases where thin PLA can snap. Many printers use both.
Which 3D printer is best for printing miniatures?
Among the ten we tested, the Anycubic Photon Mono 4 is the strongest all-round choice for tabletop miniatures because of its 17 micrometer pixel, one-and-done leveling and quiet, compact build. For a filament-only workflow, the Bambu Lab A1 is the easiest machine to start on.
Is Elegoo better than Anycubic?
Neither brand is better across the board. Elegoo leads on resin detail with its 18 micrometer Mars 5 Ultra and 16K Saturn 4 Ultra, while Anycubic leads on first-use simplicity with the Photon Mono 4. Pick on build volume and which reseller and support network is strongest in your region.
Which is better, Elegoo Mars or Saturn?
The Mars line is the smaller, faster, lower-cost option and suits 28mm and 32mm models. The Saturn line has a larger build volume, a heated resin tank on the Ultra models and higher resolution options, which makes it better for large resin prints and cold rooms.
Which 3D printer has the least amount of problems?
In this group the Bambu Lab A1 and the Bambu Lab P1S reported the most consistent first-use experiences thanks to full-auto calibration and near-zero maintenance. Resin machines are less automatic and expect a calibration period, and the widest rating spread here belongs to the Creality K1C and the Elegoo Centauri 2.
Is the Anycubic Photon a good 3D printer?
Yes. The Photon Mono 4 in particular is one of the most recommended resin machines for beginners: it has a 7-inch 10K mono LCD at a 17 micrometer pixel, one-and-done leveling and power-restore resume, and owners consistently report printing within about 30 minutes of unboxing.
The Verdict for 2026
If you print painted characters, the Anycubic Photon Mono 4 is the pick from this round. Its 17 micrometer pixel, one-and-done leveling and quiet footprint make it the easiest path to a finished model that is worth priming.
Add the Elegoo Mars 5 Ultra if you want tilt-release speed and a camera in a similar size class, the Saturn 4 Ultra 16K if you print large resin pieces in a cold room, and a filament machine such as the Bambu Lab A1 for terrain, bases and bulk ranks. Those three together cover almost every miniature workflow we tested in 2026.